Table Of Contents
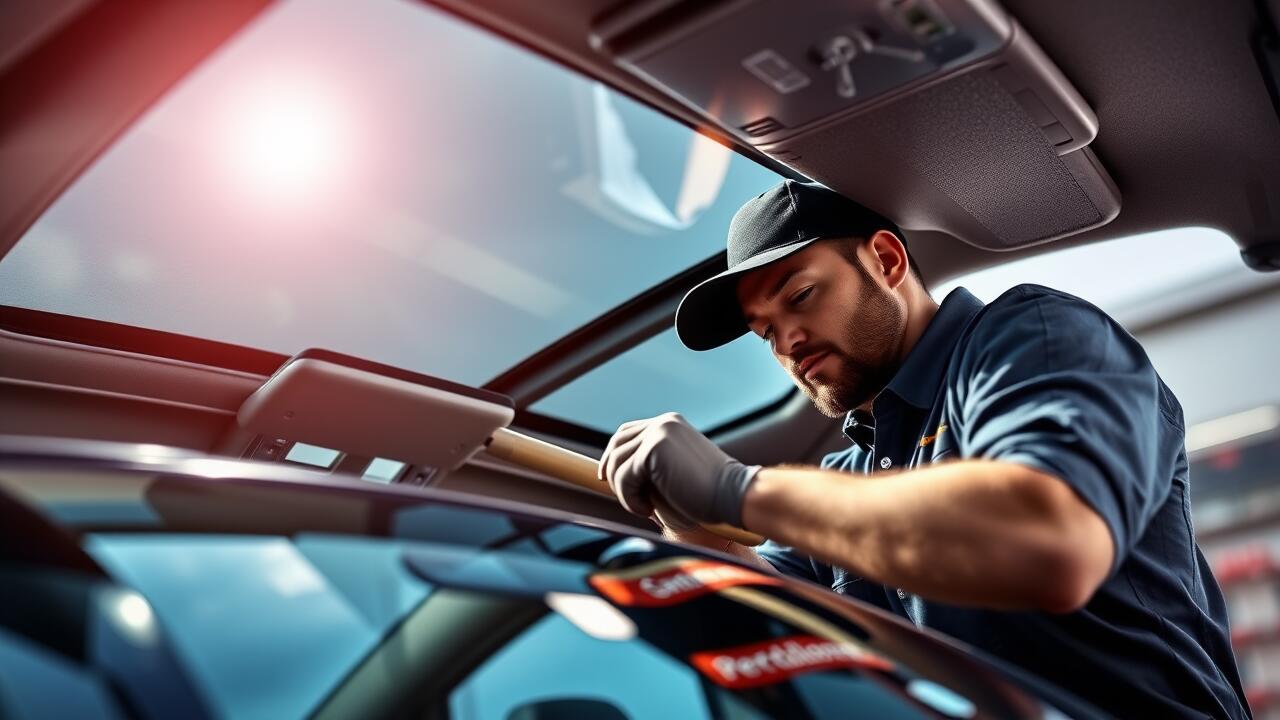
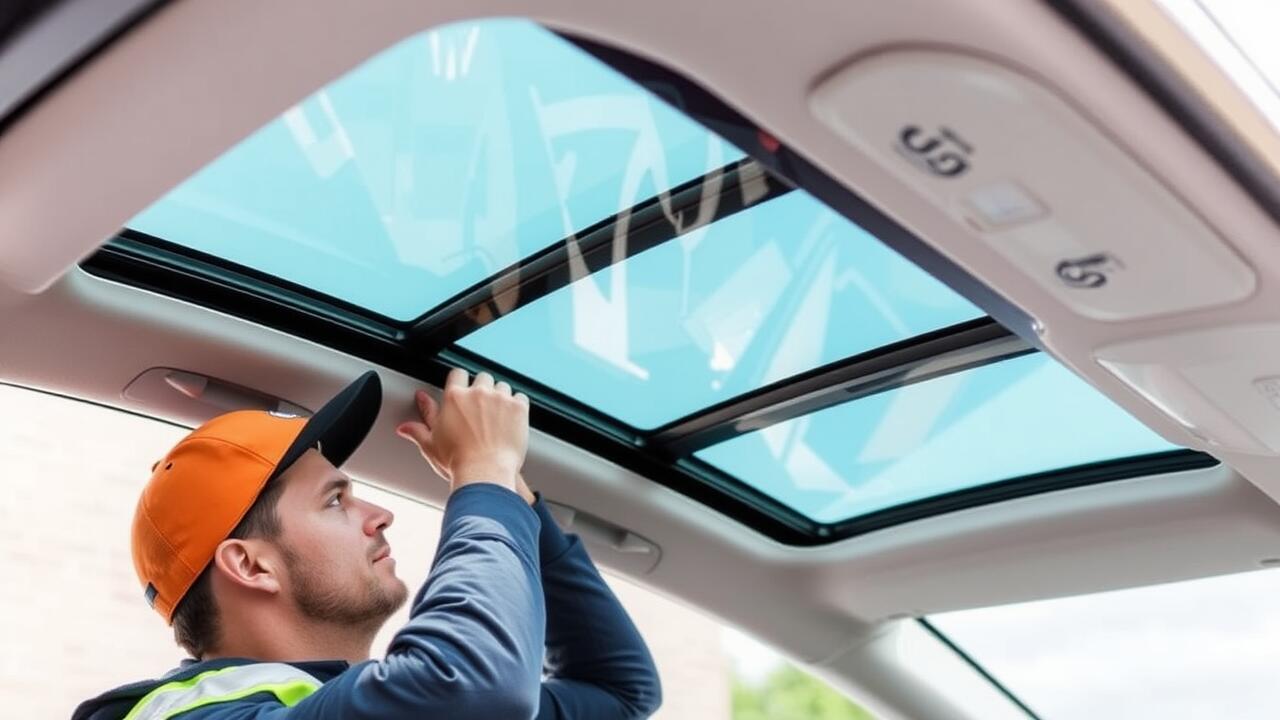
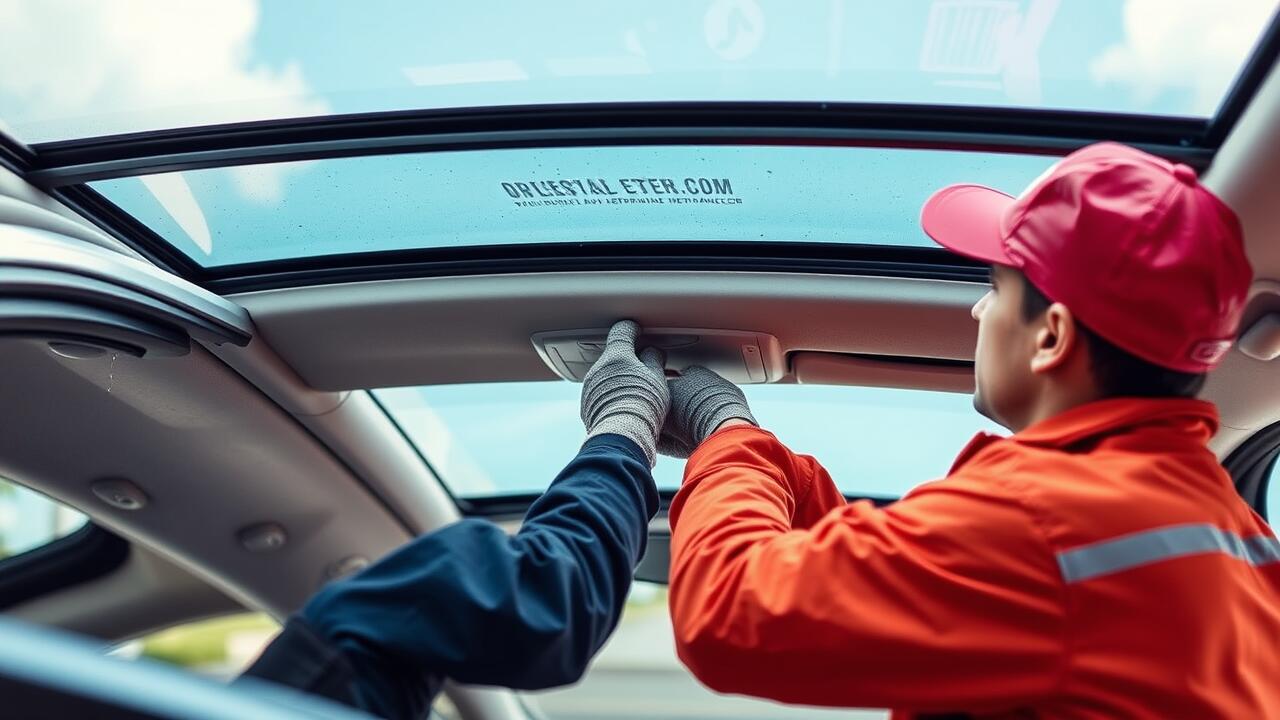
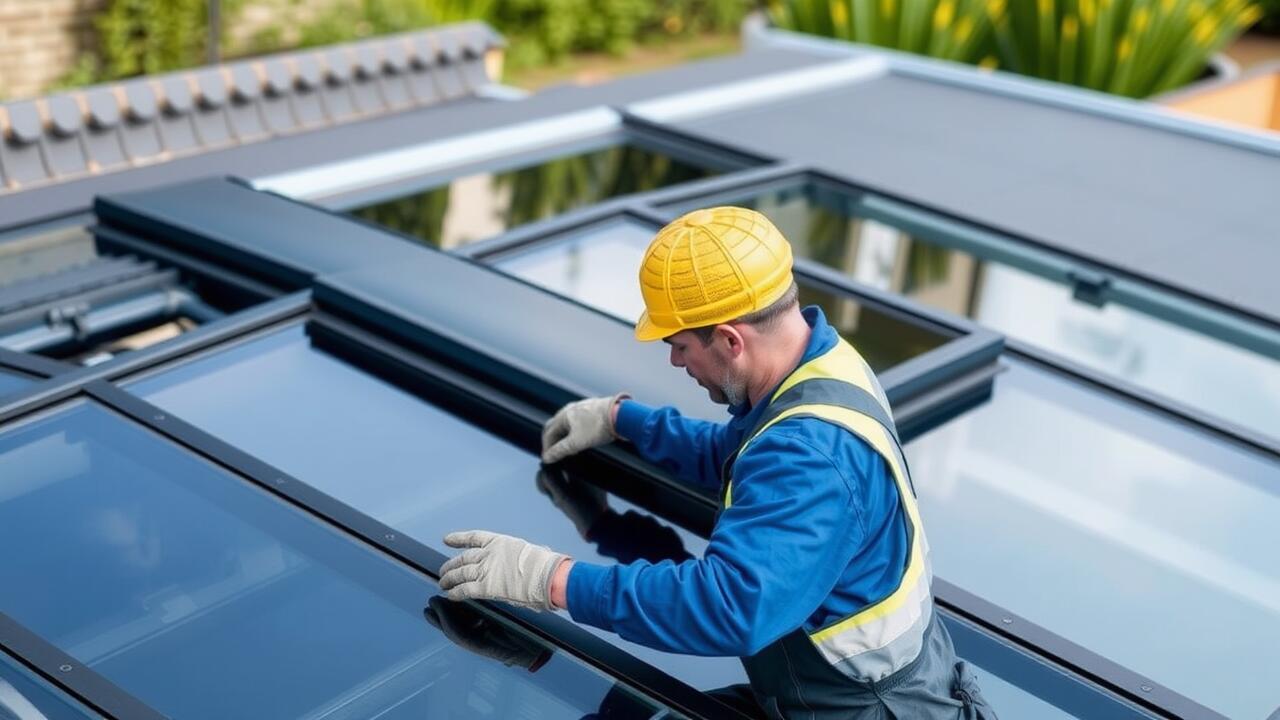
Applying the Sealant
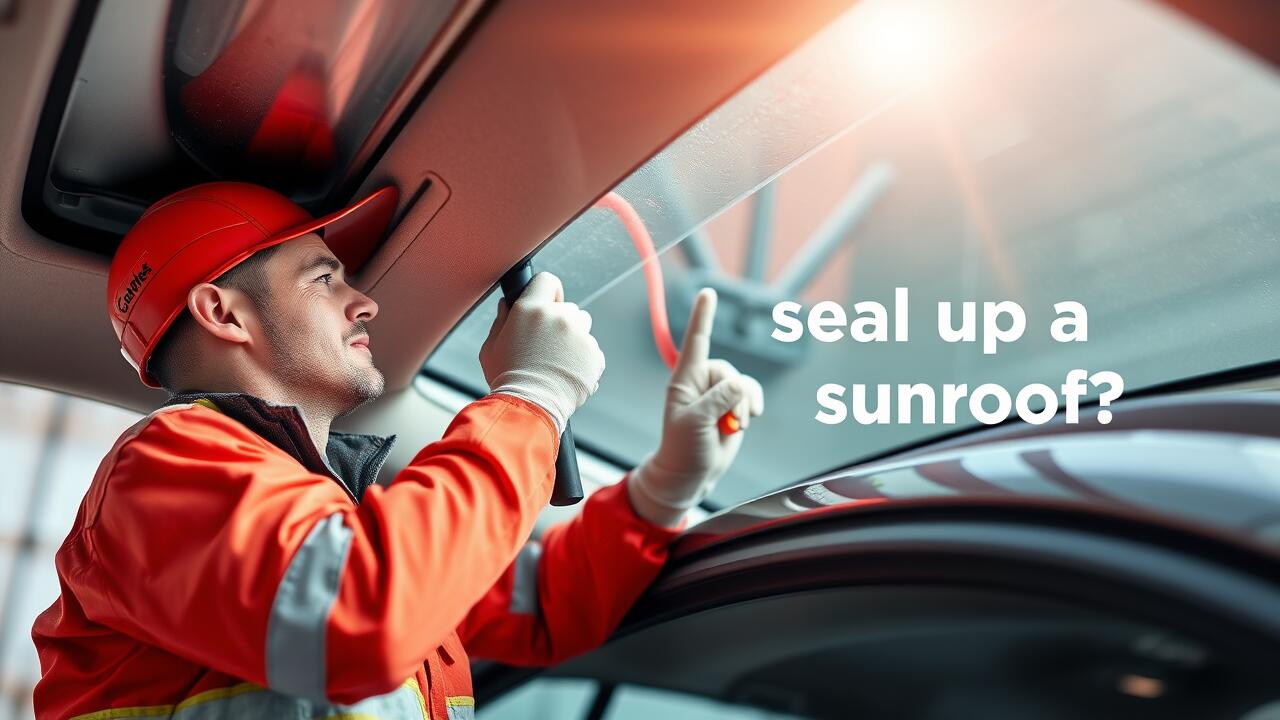
Before applying sealant to your sunroof, ensure the surface is clean and dry. Remove any old sealant, dirt, or debris using a scraper or cloth. This preparation helps the new sealant adhere properly. Choose a high-quality automotive sealant designed for glass or rubber materials. Sunroof replacements often require specific products, so verify compatibility with your vehicle's make and model.
When you're ready to apply the sealant, use a caulking gun for ease and precision. Start at one end of the sunroof and work your way to the other, applying a continuous bead of sealant along the edges. Take your time to ensure an even application, avoiding gaps that could lead to leaks. After applying, smooth the sealant with a finger or a tool to create a consistent finish. This step is crucial for achieving a reliable seal on your sunroof.
Techniques for Even Application
Achieving an even application of sealant is critical for the effectiveness of your sunroof sealing project. Start by using a high-quality sealant designed for automotive use, as these products adhere well to the materials typically found in sunroofs. Utilize a caulking gun for more controlled application, allowing you to maintain a steady flow of sealant along the edges. Apply a continuous bead and avoid stopping and starting to prevent unevenness, which can lead to gaps where water can enter.
Once the initial application is complete, smooth out the sealant with a gloved finger or a small tool. This helps to ensure a uniform layer, eliminating any air bubbles or inconsistencies. If you encounter difficulties achieving a smooth finish, consider using a sealant leveling solution before the product fully cures. After the sealant has been applied and smoothed, check that you have adequately covered all potential problem areas, particularly around the edges. Proper techniques during this phase can negate the need for sunroof replacement in the future.
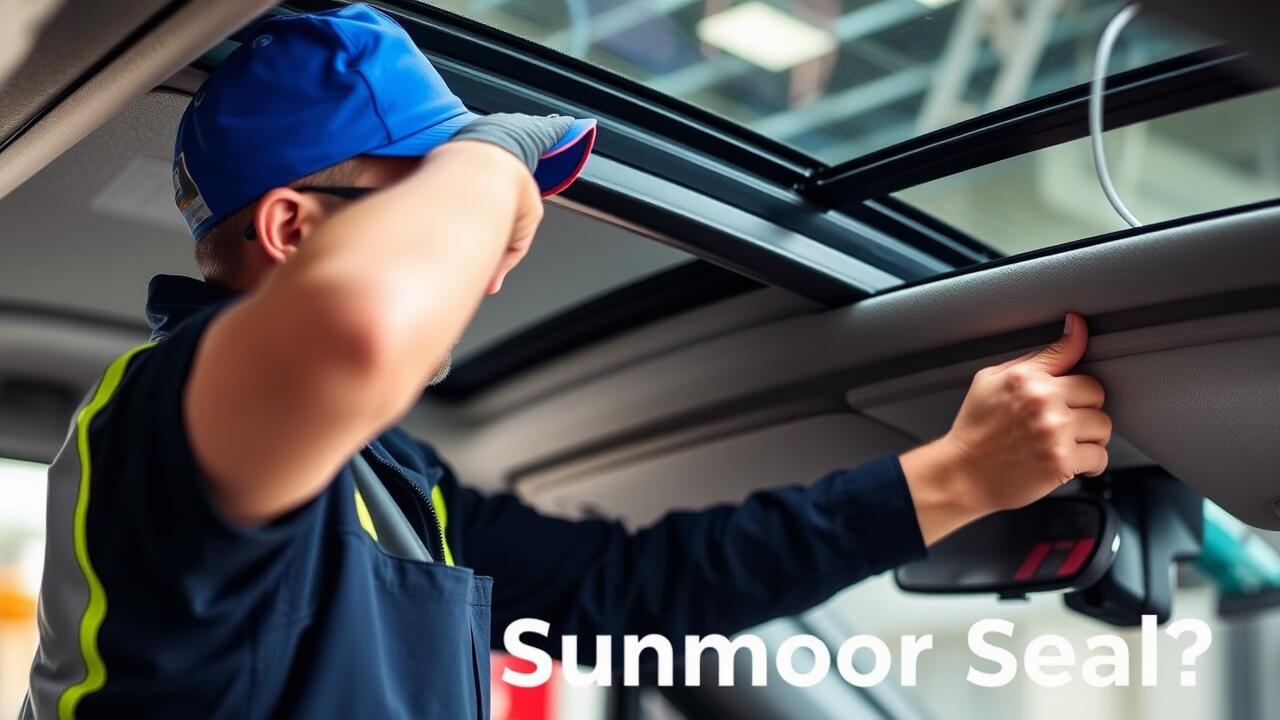
Ensuring a Proper Seal
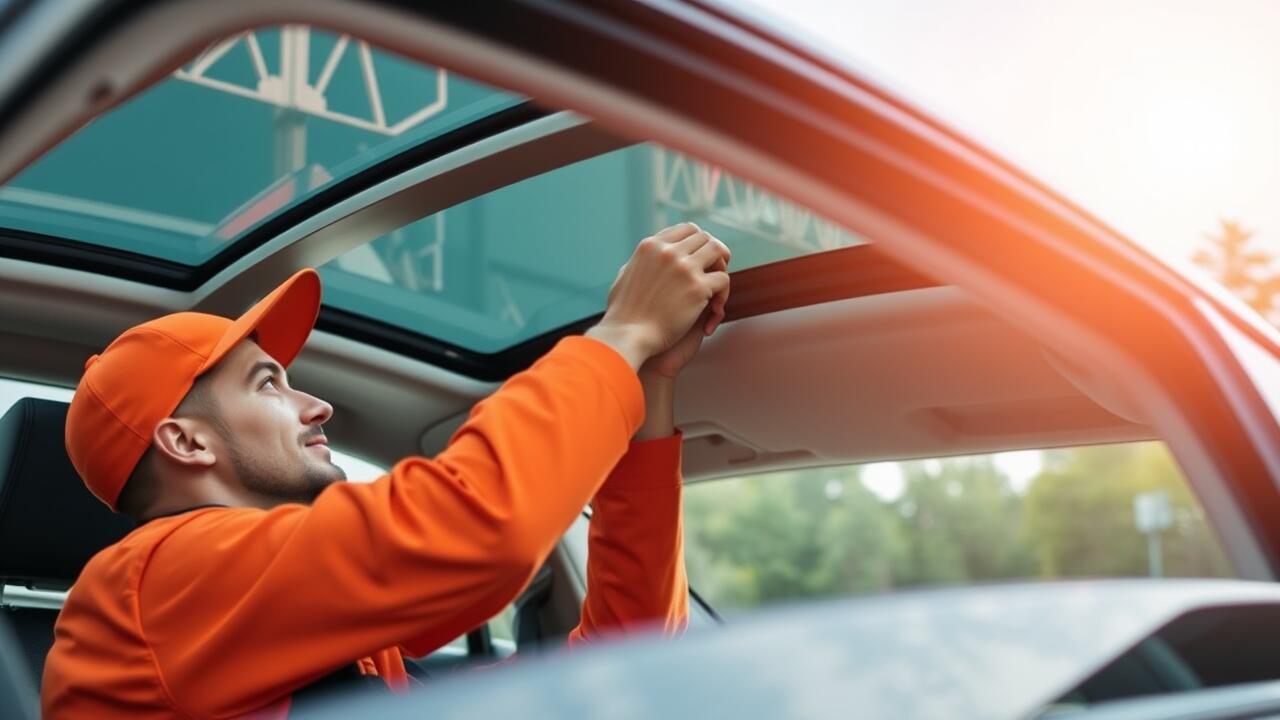
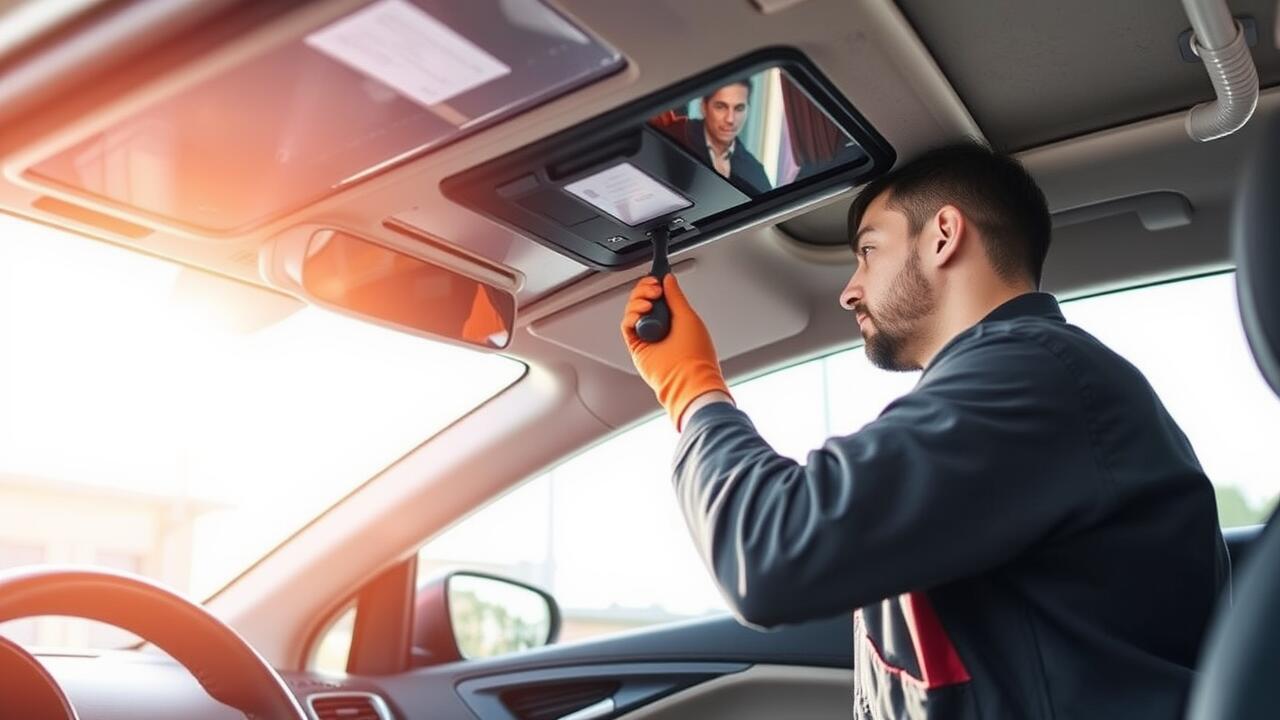
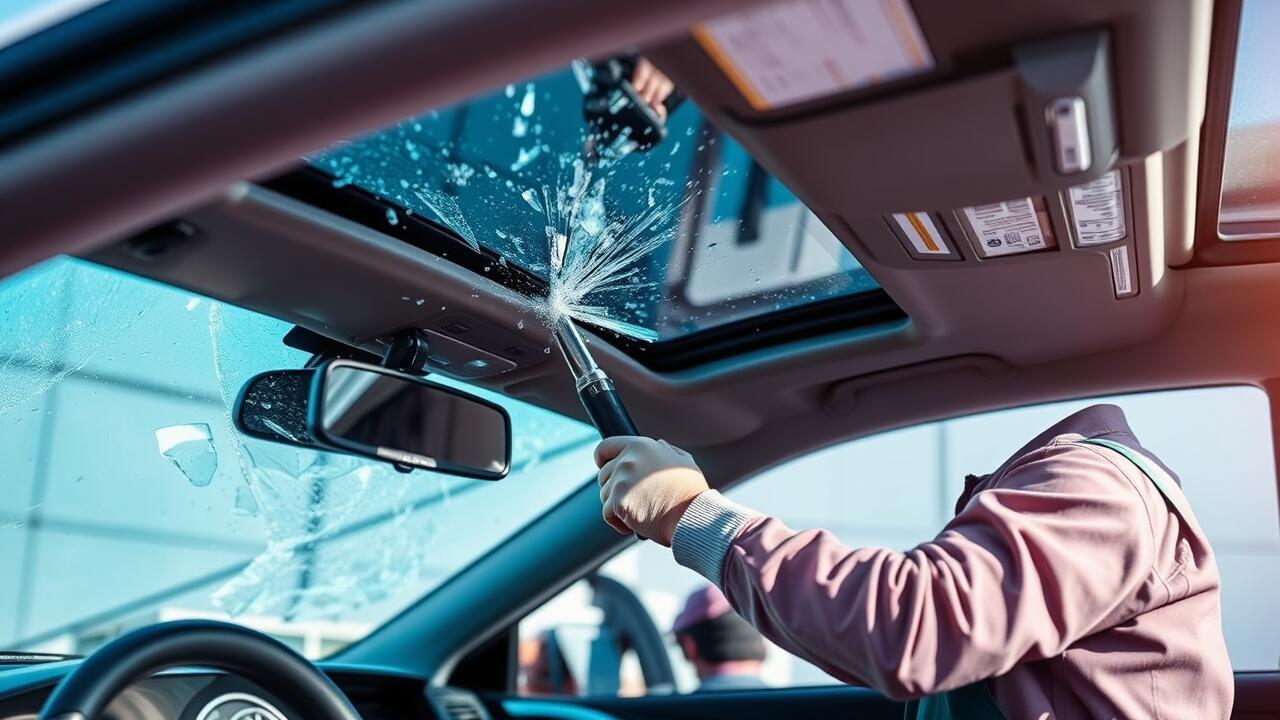
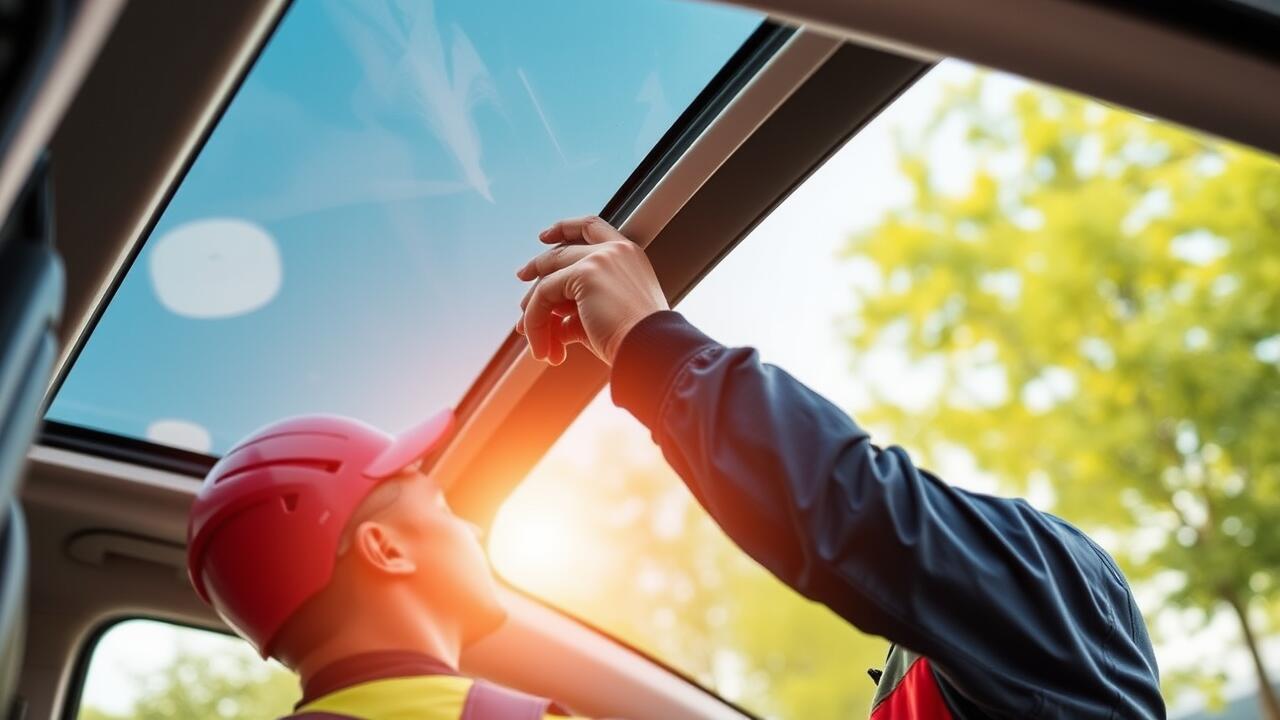
To ensure a proper seal on your sunroof after applying sealant, it's essential to thoroughly inspect the area for any gaps or leaks. Begin by visually examining the edges of the sunroof where the sealant has been applied. Pay attention to areas that might have been overlooked, especially at corners and joints. These spots are critical as even the smallest opening can lead to water intrusion, which may necessitate a sunroof replacement if left unresolved.
In addition to a visual inspection, performing a water test can help confirm the integrity of the seal. Lightly spray water over the sealed area and watch for any signs of leakage from inside the vehicle. If water seeps through, further sealing or adjustment may be required. Prompt action at this stage can save you from more extensive repairs or a costly sunroof replacement down the line.
Checking for Gaps and Leaks
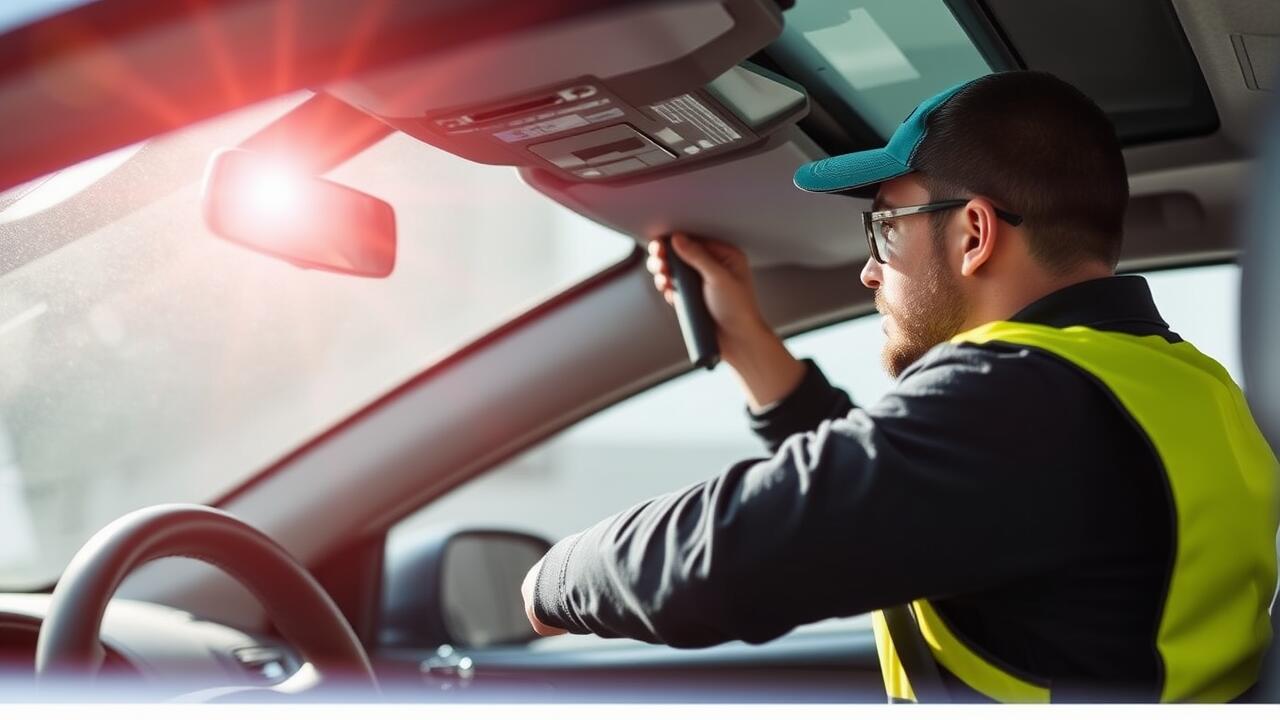
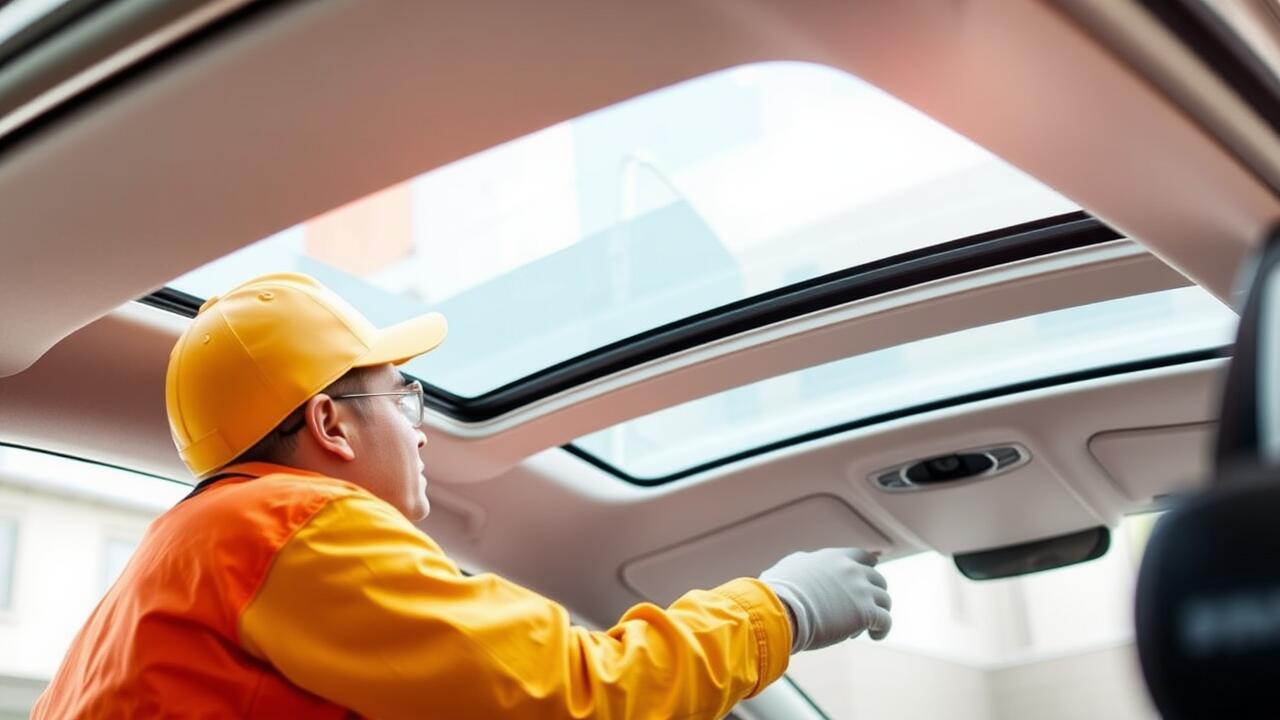
After applying the sealant, it's essential to check for any gaps and leaks to ensure a proper seal. Inspect the edges of the sunroof meticulously. This includes looking for visible openings or spaces where water might penetrate. A flashlight can help illuminate these areas, making it easier to identify any problem spots. Consider running a small amount of water over the sunroof to observe how it behaves.
If any leaks are detected, it may be necessary to reapply the sealant to those specific areas. In some cases, the existing seal may not be effective enough to prevent water intrusion. If the condition persists, further intervention such as sunroof replacement might be required. Addressing these issues promptly helps maintain the vehicle's interior and prevents larger problems down the line.
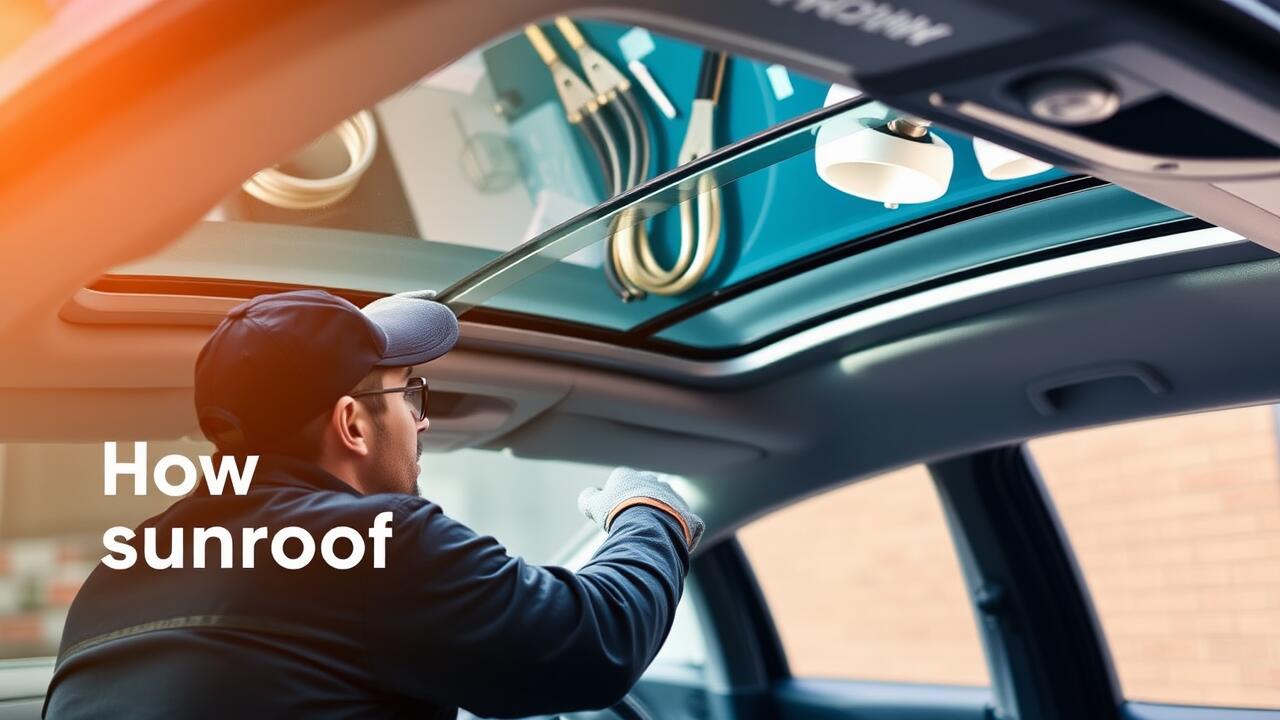
Curing the Sealant
After applying the sealant, allow it to cure according to the manufacturer's instructions. Curing time can vary based on the type of sealant used, temperature, and humidity conditions. It is crucial not to disturb the seal during this period, as any movement might compromise its effectiveness. Ensure that the area remains undisturbed to achieve optimal bonding and a durable seal.
In some cases, if a sunroof leak persists even after sealing, considering sunroof replacement might be necessary. This option provides a long-term solution and helps avoid potential water damage in the vehicle's interior. Regular checks after sealing can help identify any signs of failure, ensuring that the sunroof remains functioning and watertight.
Recommended Drying Time
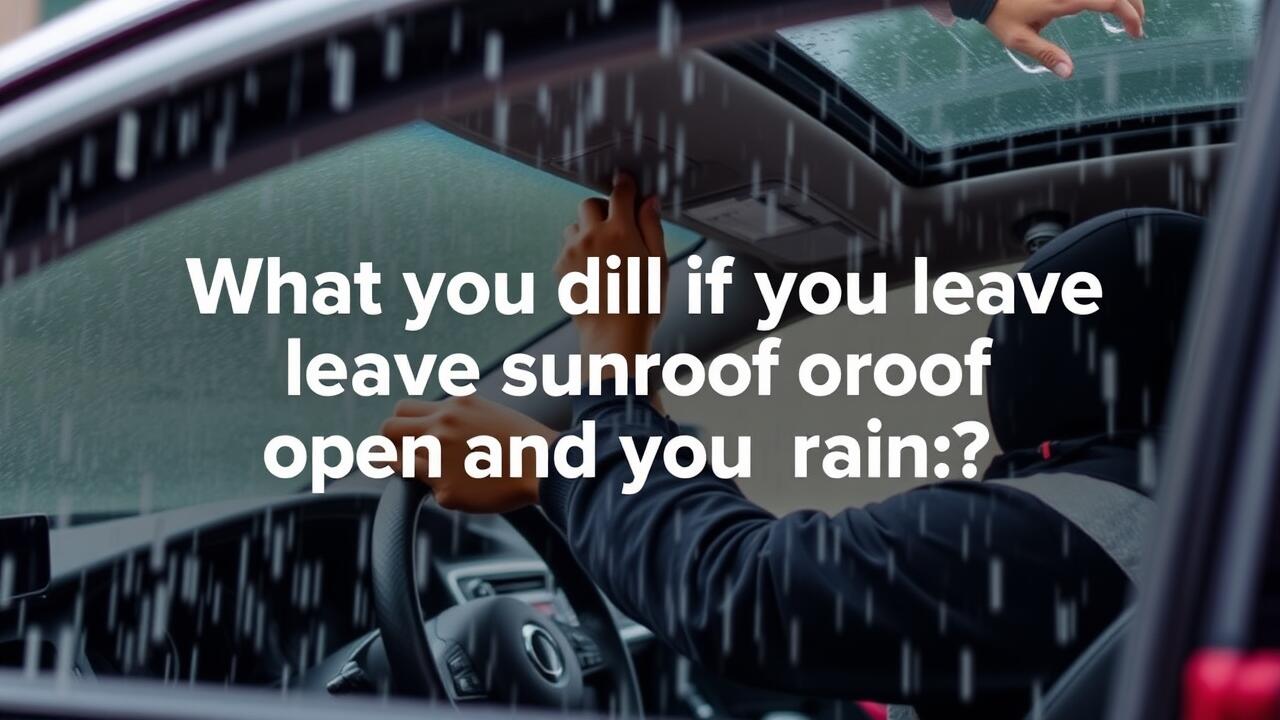
After applying the sealant, allowing sufficient drying time is crucial to ensure effectiveness. Each type of sealant comes with specific drying time recommendations, generally ranging from a few hours to a full day. During this period, it’s vital to keep the area around the sunroof undisturbed. Avoid exposing the vehicle to rain or extreme temperatures, which can interfere with the setting process.
In cases where the vehicle requires sunroof replacement, following the manufacturer’s guidelines for the sealant is especially important. A properly cured seal will provide the best protection against leaks and environmental factors. Taking the time to ensure a complete cure can save you from future issues and additional repairs down the line.
FAQS
Why would I want to seal my sunroof permanently?
Sealing your sunroof permanently can prevent leaks, reduce water damage, and eliminate the need for frequent maintenance. It can also improve the overall integrity and insulation of your vehicle.
What materials do I need to seal a sunroof?
To seal a sunroof, you typically need a high-quality sealant, a cleaner for the surfaces, a caulking gun, and tools for application such as a putty knife or foam brush.
How long does it take for the sealant to cure?
The curing time for sealant can vary based on the product used, but most sealants typically require 24 to 48 hours to fully cure. Always refer to the manufacturer’s instructions for specific drying times.
How can I check for gaps and leaks after sealing my sunroof?
After sealing, you can check for gaps and leaks by visually inspecting the edges of the sunroof and performing a water test by pouring water over the area to see if any leaks occur inside the vehicle.
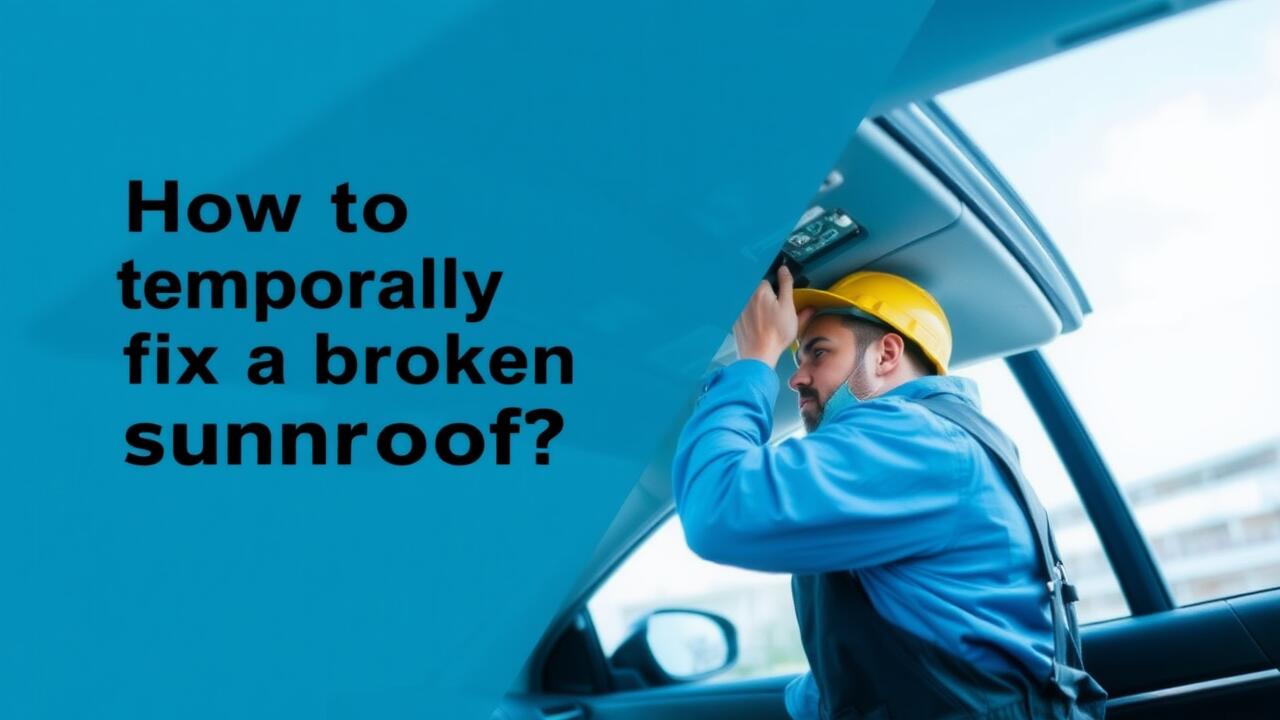
Is sealing a sunroof a DIY project, or should I hire a professional?
Sealing a sunroof can be a DIY project if you have the right tools and materials, as well as some experience with car maintenance. However, if you're unsure or uncomfortable with the process, hiring a professional is recommended for the best results.