Table Of Contents
Application Tools for Epoxy
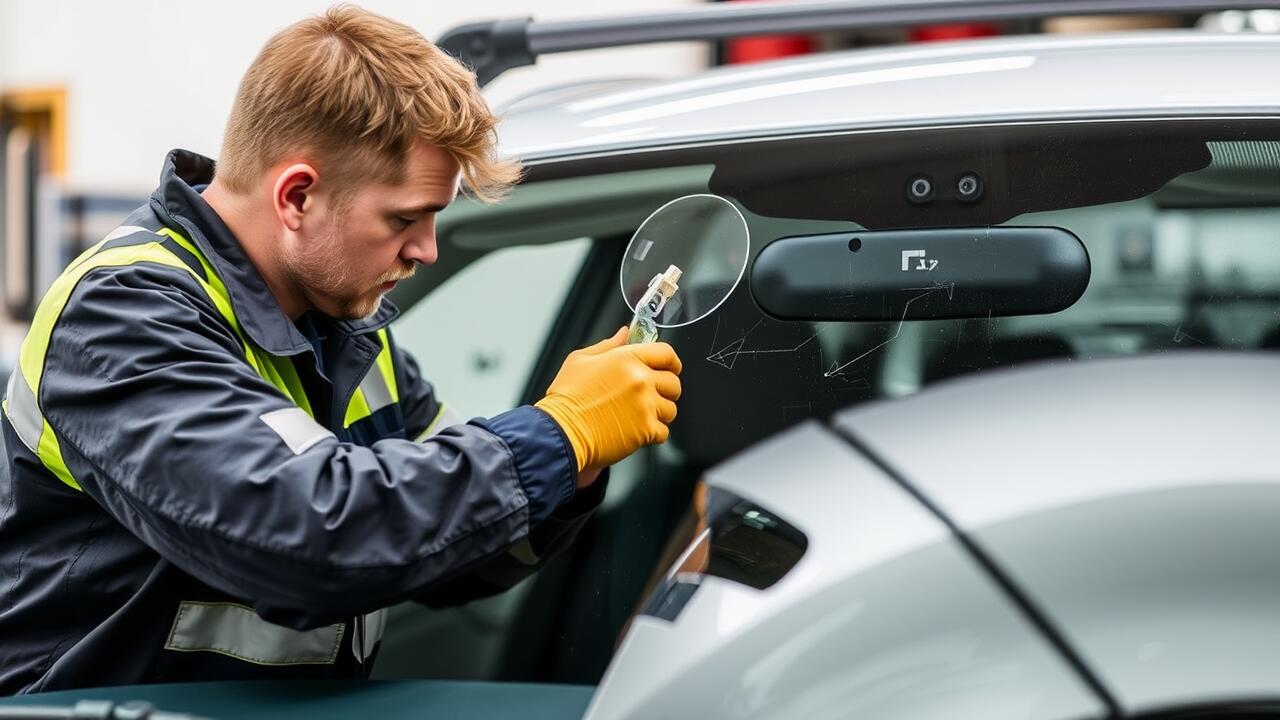
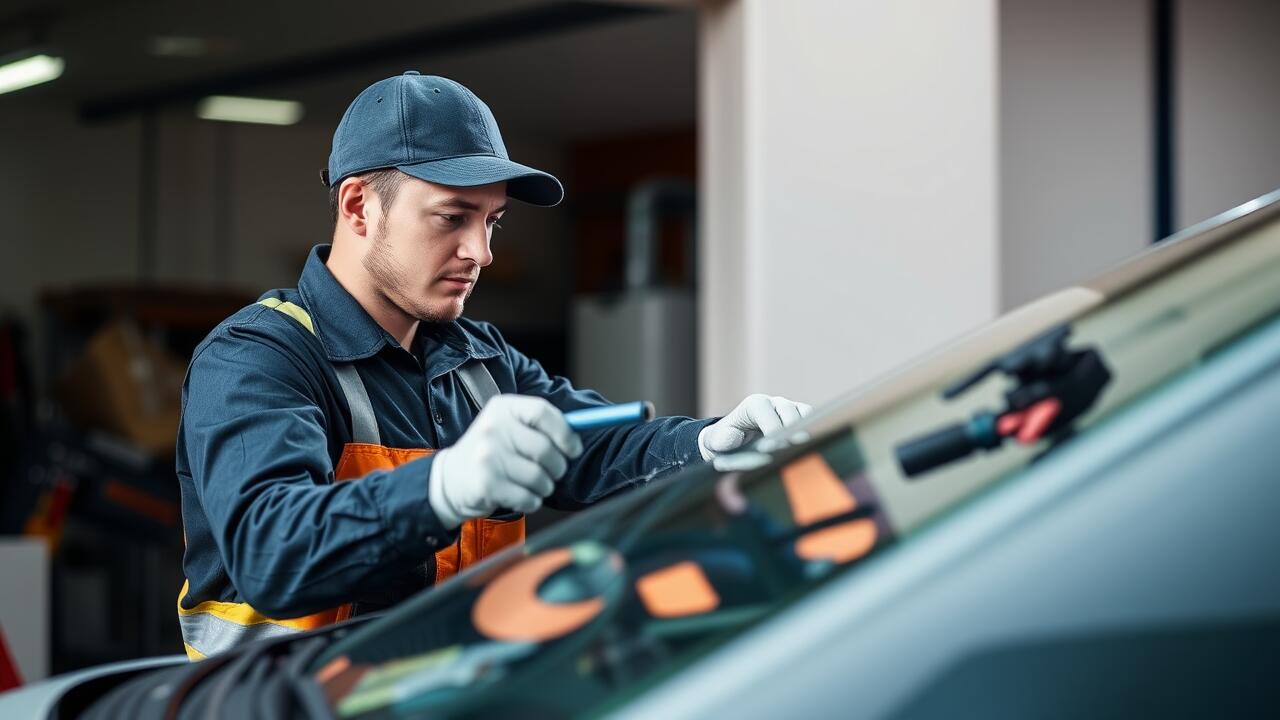
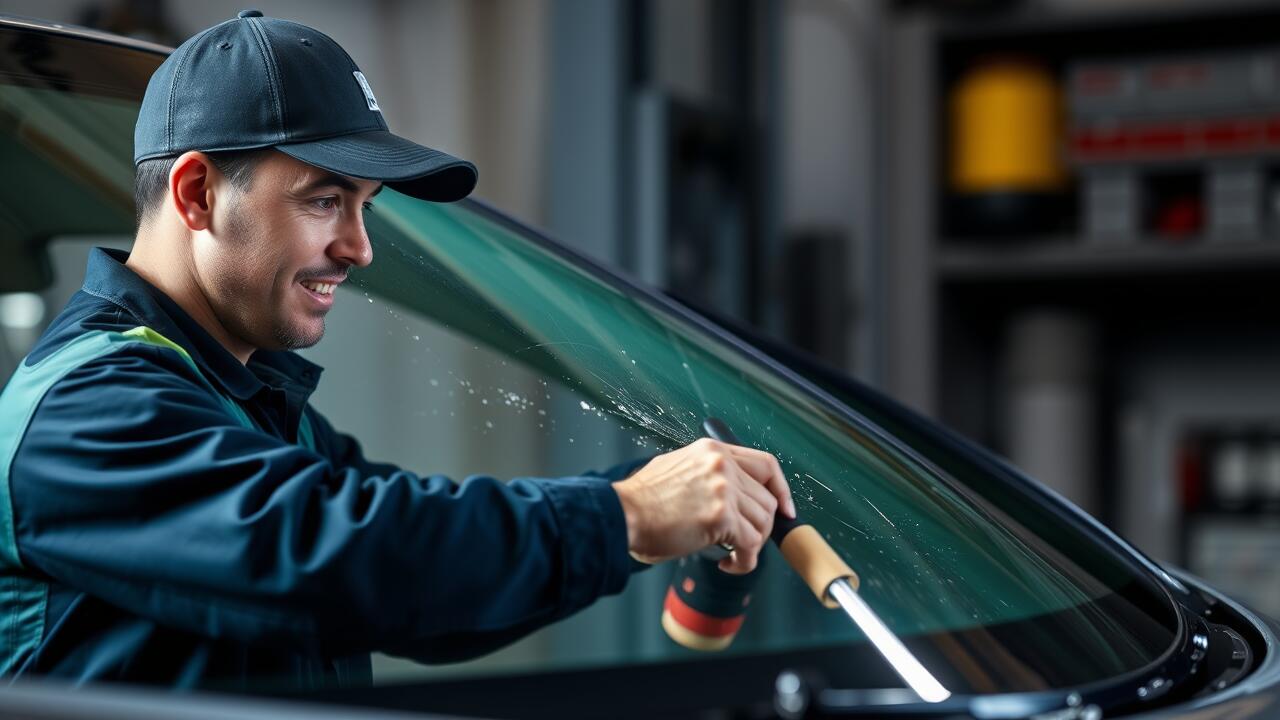
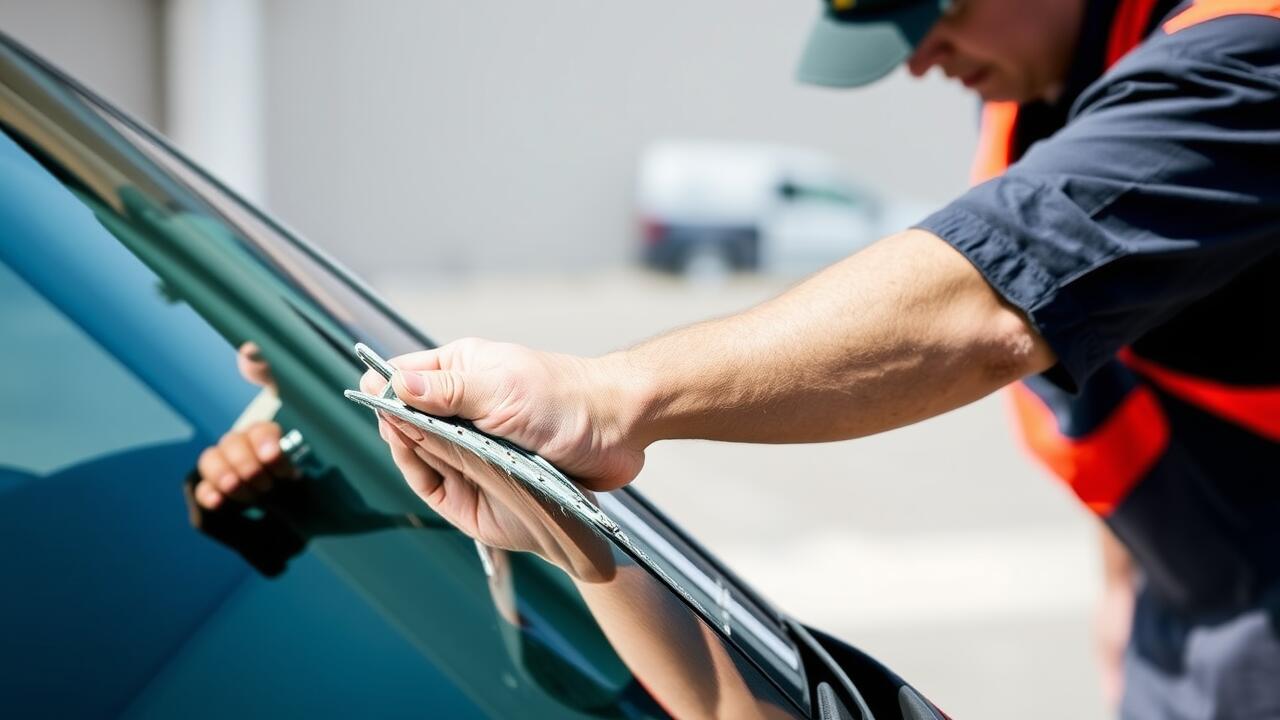
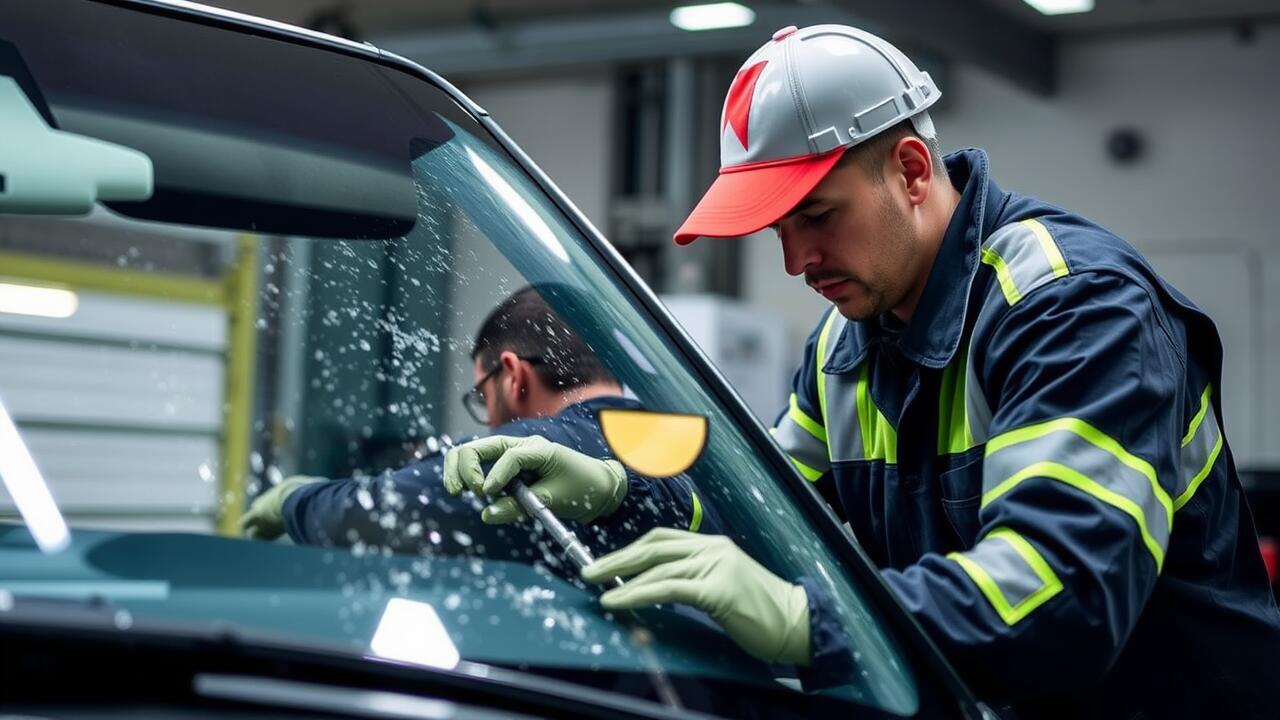
When it comes to applying epoxy for chip repair, having the right tools is crucial for achieving a seamless finish. A precision applicator is often the best choice, allowing for controlled and accurate dispensing of the epoxy. This ensures that the adhesive penetrates deeply into the chip, promoting effective bonding. Depending on the size of the chip, various sizes of these applicators can be utilized for better precision. For larger repairs, a syringe-style applicator can effectively deliver the necessary amount of epoxy without excess spillage.
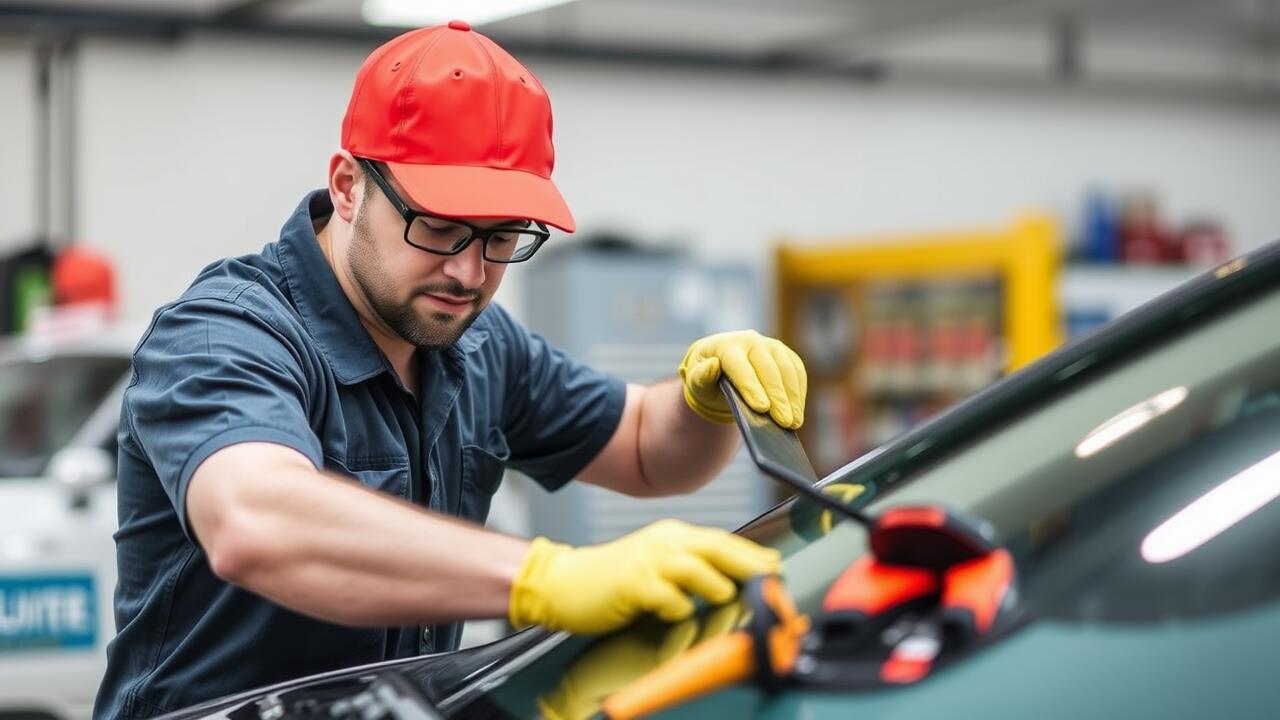
In addition to the applicator, a quality mixing tool is essential for preparing the epoxy mixture. Many epoxy kits come with these tools included, but sometimes a dedicated mixing paddle can help ensure a thorough blend, particularly for kits that require multiple components. A straight edge or plastic spatula can also be beneficial for smoothing the mixture into the chip. Proper application will lead to successful chip repair, enhancing the durability and aesthetic of the windshield.
Types of Applicators to Use
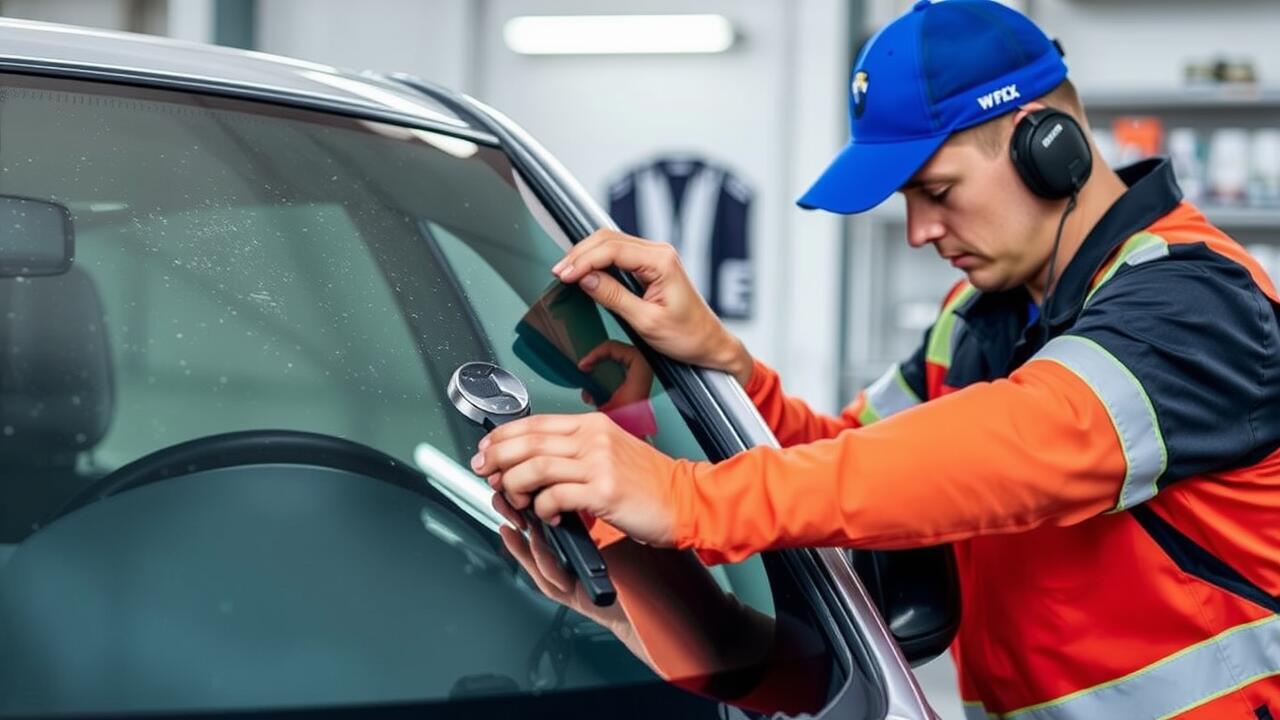
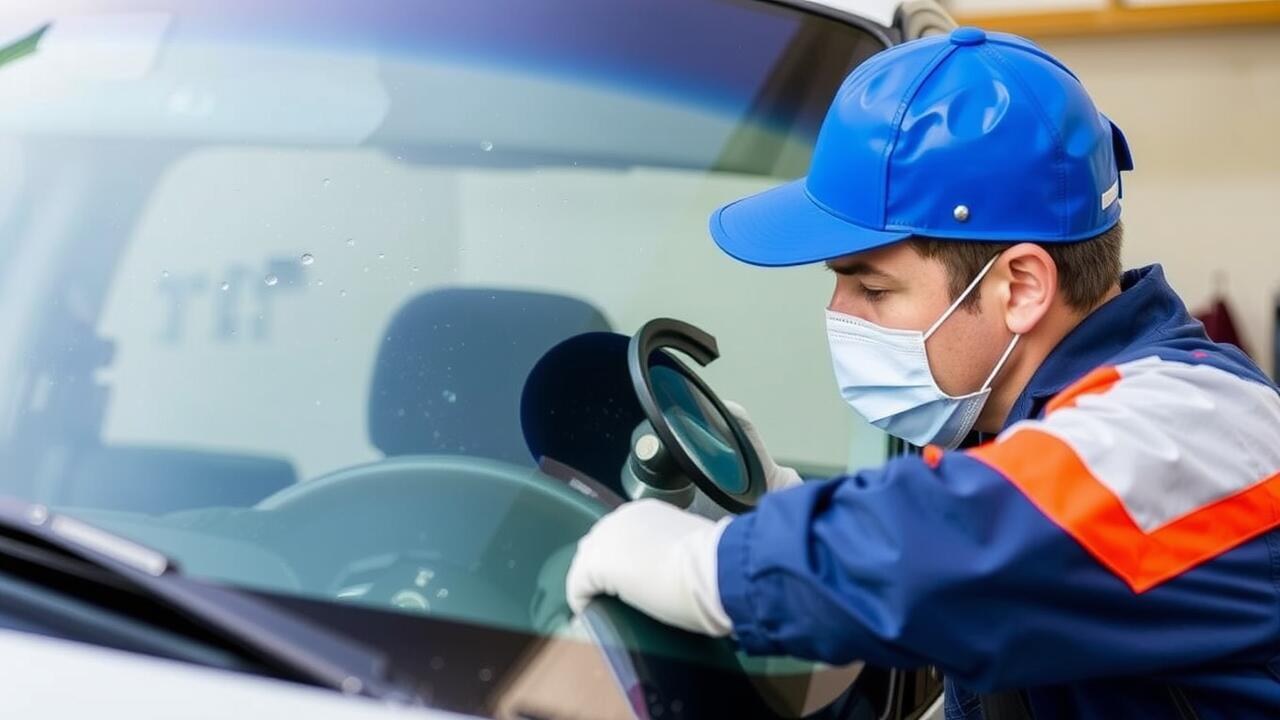
When it comes to DIY windscreen chip repair, choosing the right applicators is crucial for a successful outcome. Common options include syringes and precision applicators. Syringes offer precise control over the epoxy application, allowing for targeted delivery directly into the chip. Precision applicators, with their fine tips, can help to fill smaller chips or cracks effectively, ensuring that the repair resin reaches every corner of the damaged area.
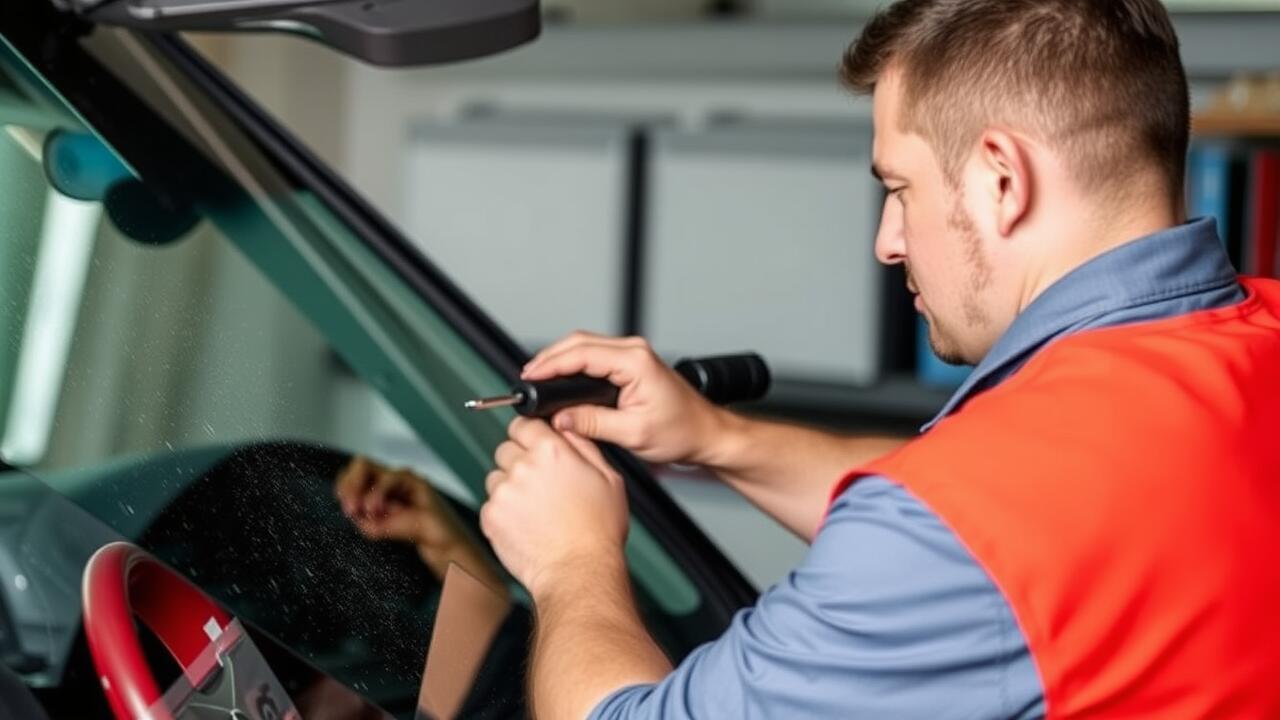
Some kits come with dual applicators that can serve different purposes. A combination of a syringe and a flat applicator enables users to push the epoxy into the chip while also spreading it smoothly over the surface. This versatility can enhance the overall effectiveness of the chip repair process. Investing in quality applicators not only makes the repair easier but also increases the chances of achieving a seamless finish in the windscreen's surface.
Curing Tools for the Repair Process
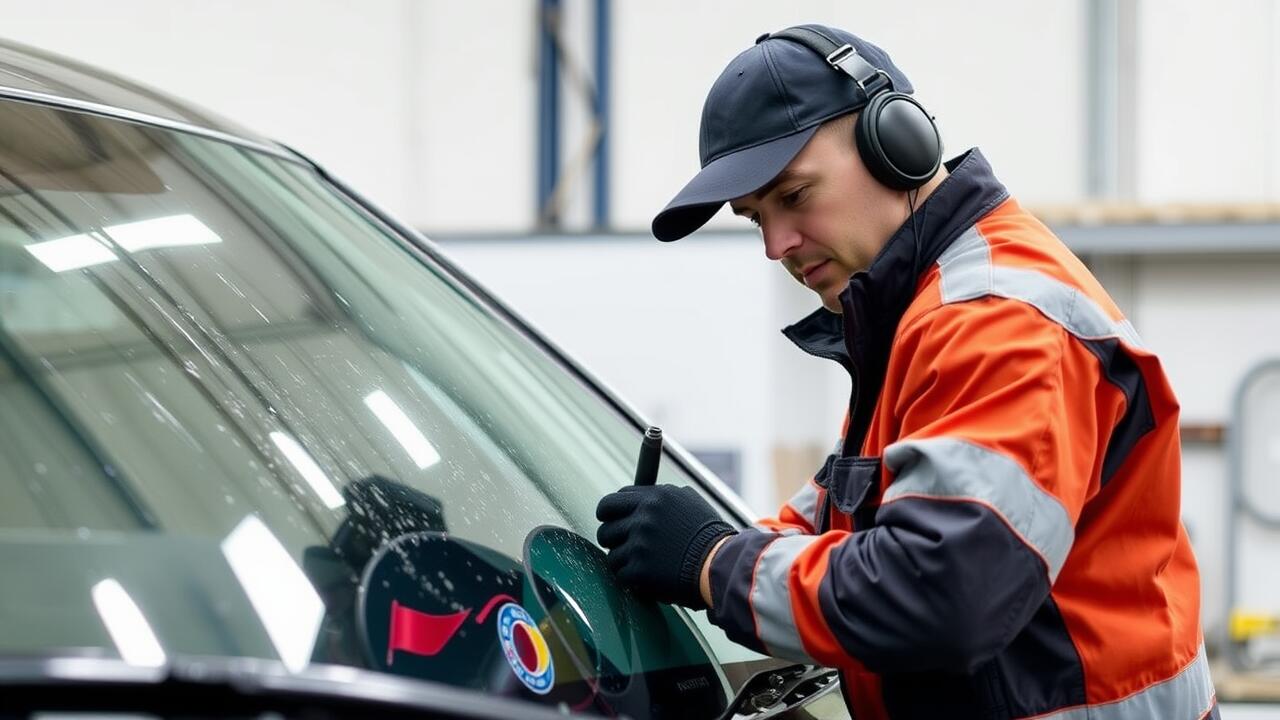
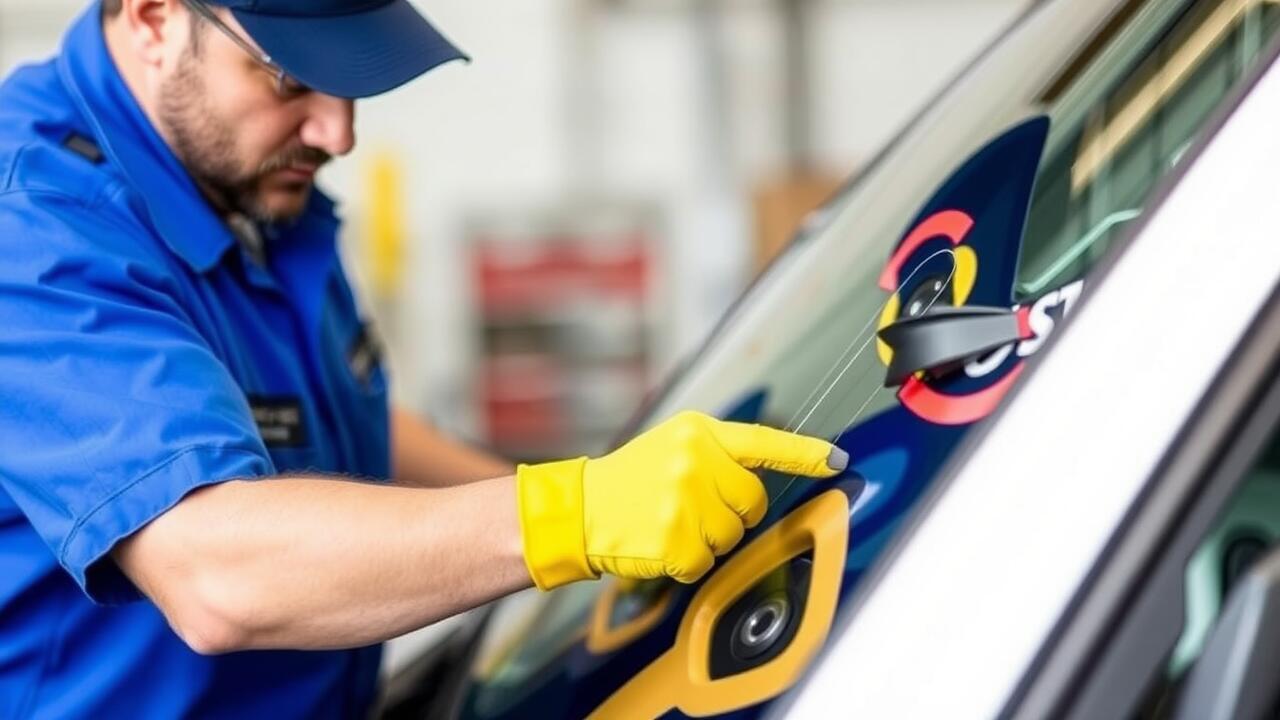
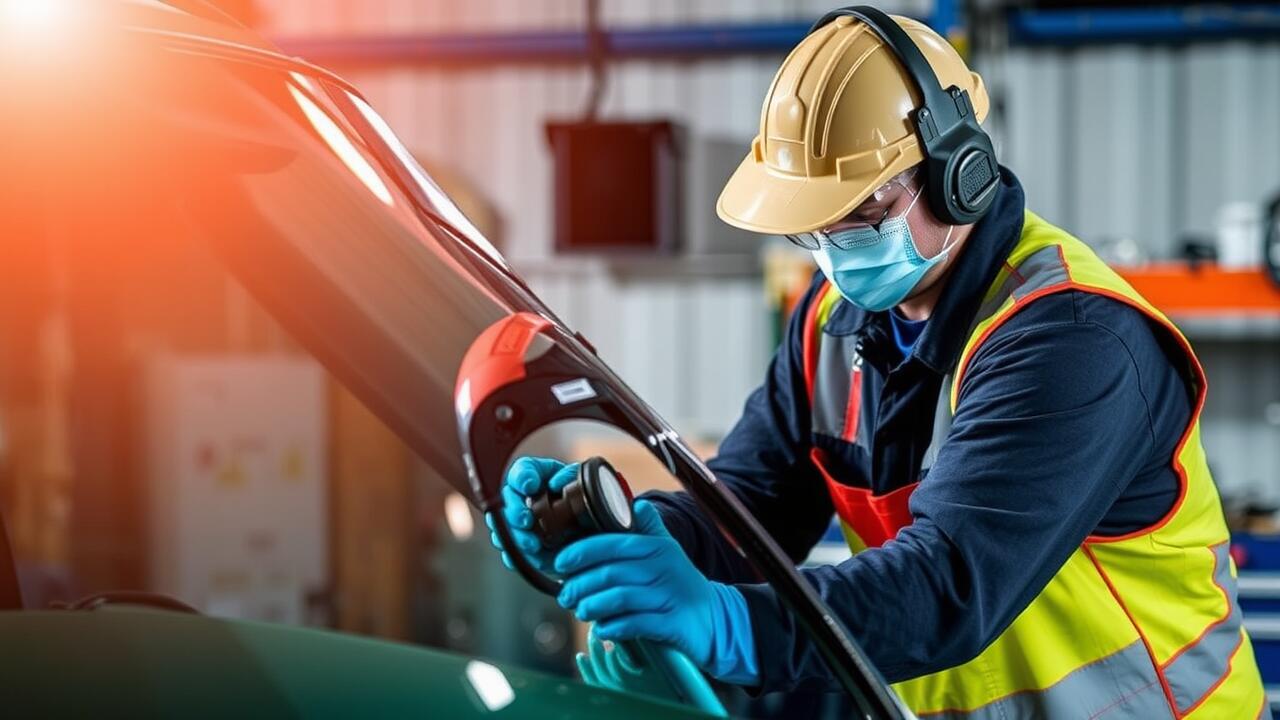
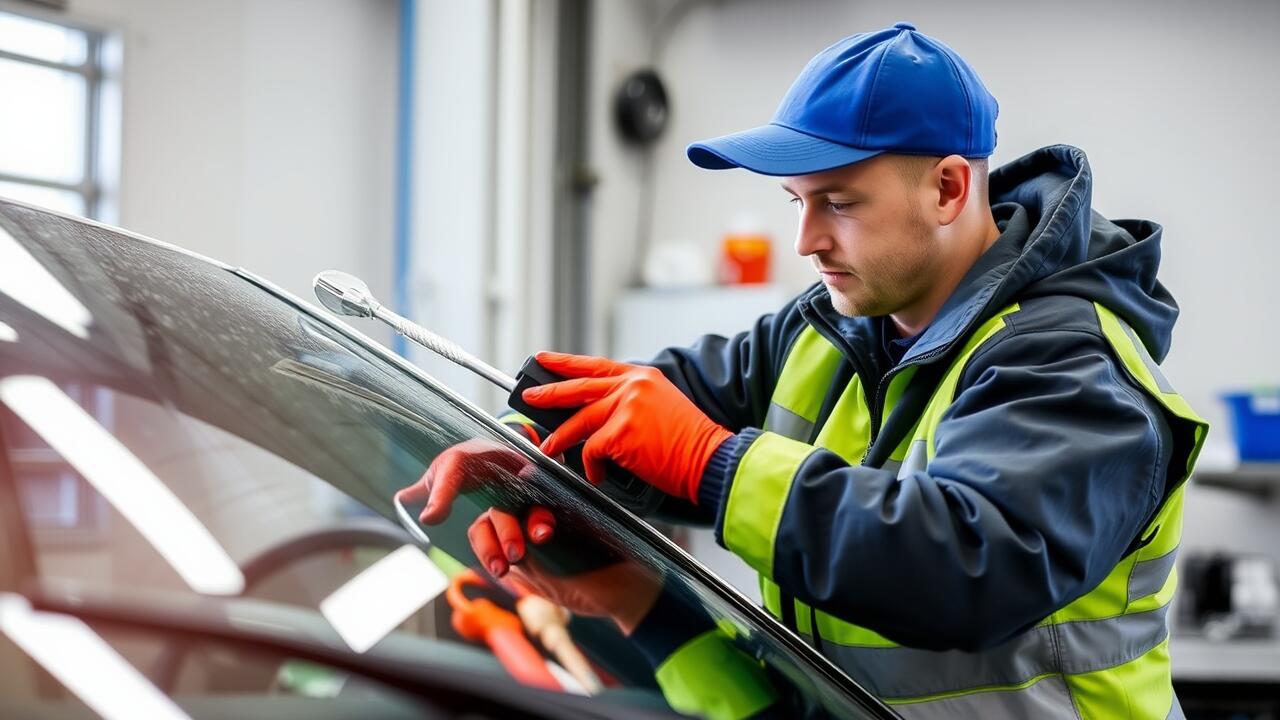
Curing tools play a vital role in the windscreen chip repair process, ensuring that the resin solidifies effectively and creates a strong bond. One common method involves employing a UV light unit. This tool accelerates the curing time by exposing the resin to ultraviolet light, prompting it to harden rapidly. Many repair kits include a UV light option, making it easy to incorporate into the repair procedure.
Heat also serves as a helpful component in the curing process, with a heat pad or lamp often used to enhance the effectiveness of the epoxy. Applying gentle heat can increase the flow of the resin, allowing it to fill the chip properly and adhere better to the glass. Using these curing tools effectively is crucial for achieving a successful chip repair and ensuring long-lasting results that restore visibility and integrity to the windscreen.
Understanding UV Light and Its Role
UV light plays a crucial role in the chip repair process by facilitating the curing of specially formulated resins. When applied to the repaired area, UV light accelerates the hardening of the epoxy, ensuring that it bonds effectively with the glass surface. This rapid curing not only enhances the structural integrity of the repair but also helps to restore clarity to the damaged area, minimizing the appearance of the chip.
Proper application of UV light requires an understanding of the device's specifications and the recommended distance for optimal results. Direct exposure for the correct duration is essential, as both underexposure and overexposure can compromise the repair quality. Ensuring that your UV light tool is functioning correctly will significantly impact the success of your chip repair, leading to a more durable and visually appealing outcome.
Storage and Maintenance of Tools
Proper storage of your DIY windscreen chip repair tools is essential for maintaining their effectiveness. Always keep applicators, syringes, and other equipment in a clean, dry place, away from direct sunlight. A dedicated toolbox or storage container can help organize these items and prevent damage. Ensure that components are secured to avoid breakage, particularly glass or precision instruments.
Regular maintenance plays a crucial role in the longevity of your tools. Clean all applicators and syringes thoroughly after each use to prevent any leftover resin from hardening inside them. Inspect the seals and nozzles for any wear or damage. A proactive approach in caring for your chip repair tools will ensure they remain reliable during future repairs, providing consistent results every time.
Keeping Your Equipment in Top Condition
To ensure longevity and reliability, maintaining your chip repair tools is crucial. After each use, clean the applicators meticulously to remove any residue from the epoxy. This practice helps prevent clogs and ensures that each application remains smooth and effective. Store tools in a dry, cool environment to avoid moisture and contaminants that could compromise their function. Keeping everything organized promotes efficient workflows during future repairs.
Regularly inspect your equipment for signs of wear and tear. Check for any damages to the applicators or curing tools, replacing as necessary. A well-maintained set of tools not only ensures the success of each chip repair but also enhances the overall efficiency of your work. Investing time in proper storage, cleaning, and inspections will pay off in the long run, making your DIY repair tasks more enjoyable and productive.
FAQS
What basic tools do I need for a DIY windscreen chip repair?
You will need an epoxy resin repair kit, a razor blade or knife, an applicator tool, a curing light or UV flashlight, and a clean cloth for surface preparation.
How do I choose the right epoxy resin for windscreen repair?
Look for a high-quality epoxy specifically designed for windscreen repairs. It should be clear, durable, and capable of bonding well to glass surfaces.
Can I use regular tools for the repair process?
While some regular tools may be helpful, it’s best to use specialized windscreen repair tools for optimal results. This includes applicators and curing lights designed for this purpose.
How do I maintain my windscreen repair tools?
Clean your tools after each use with a suitable solvent, keep them dry, and store them in a protective case or designated area to avoid damage.
What should I do if the chip doesn't completely disappear after the repair?
Some chips may not fully vanish, but if the repair has stabilized the area and prevented further cracking, it is still considered a successful repair. If you’re not satisfied, consider consulting a professional.