Table Of Contents
Curing the Repair
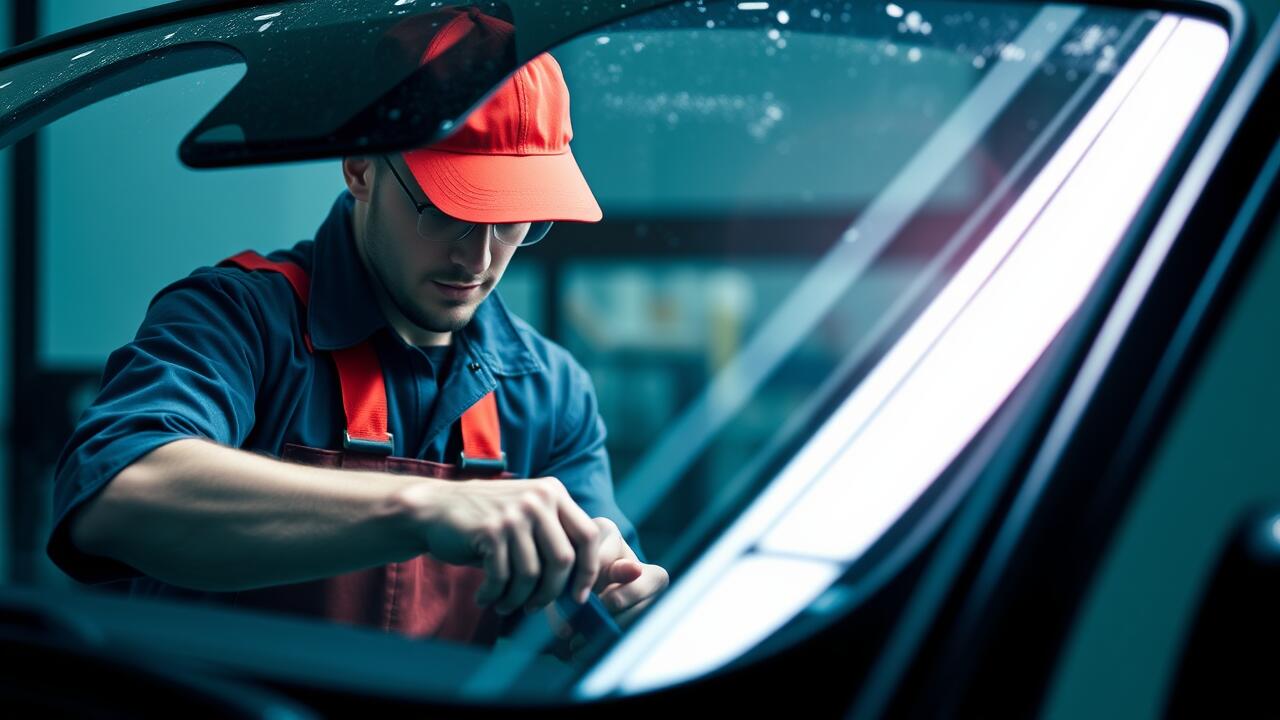
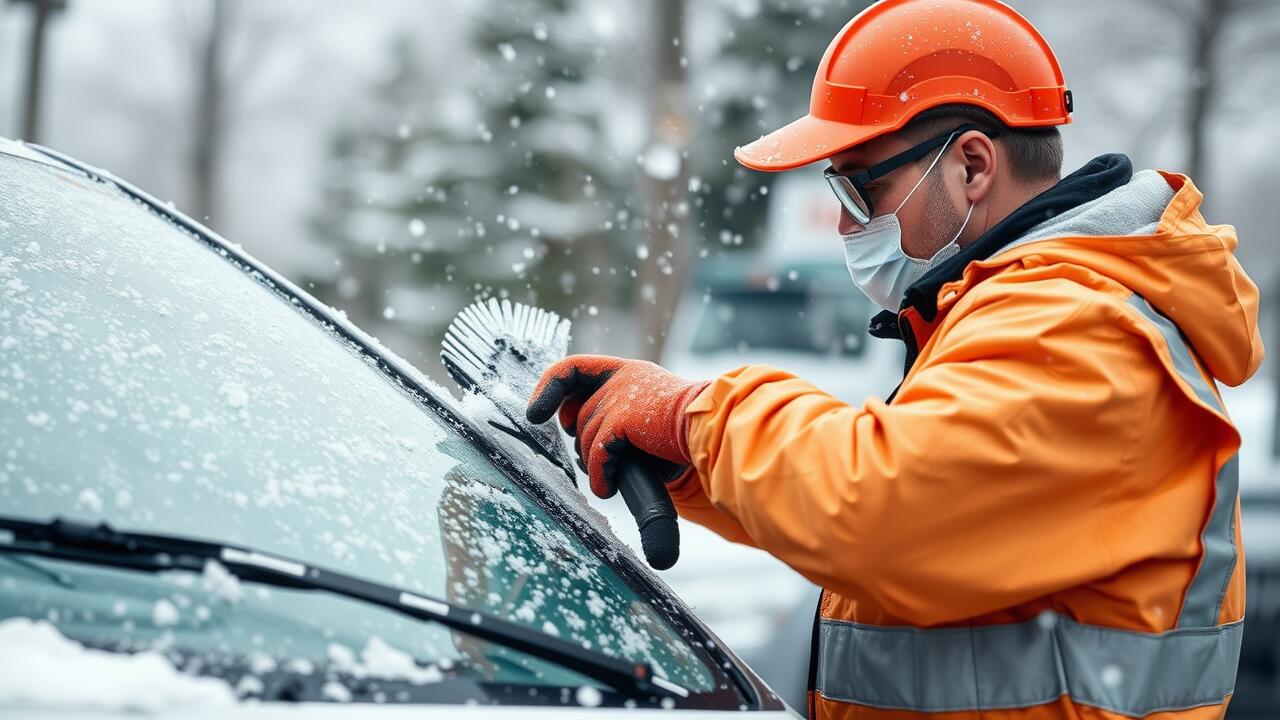
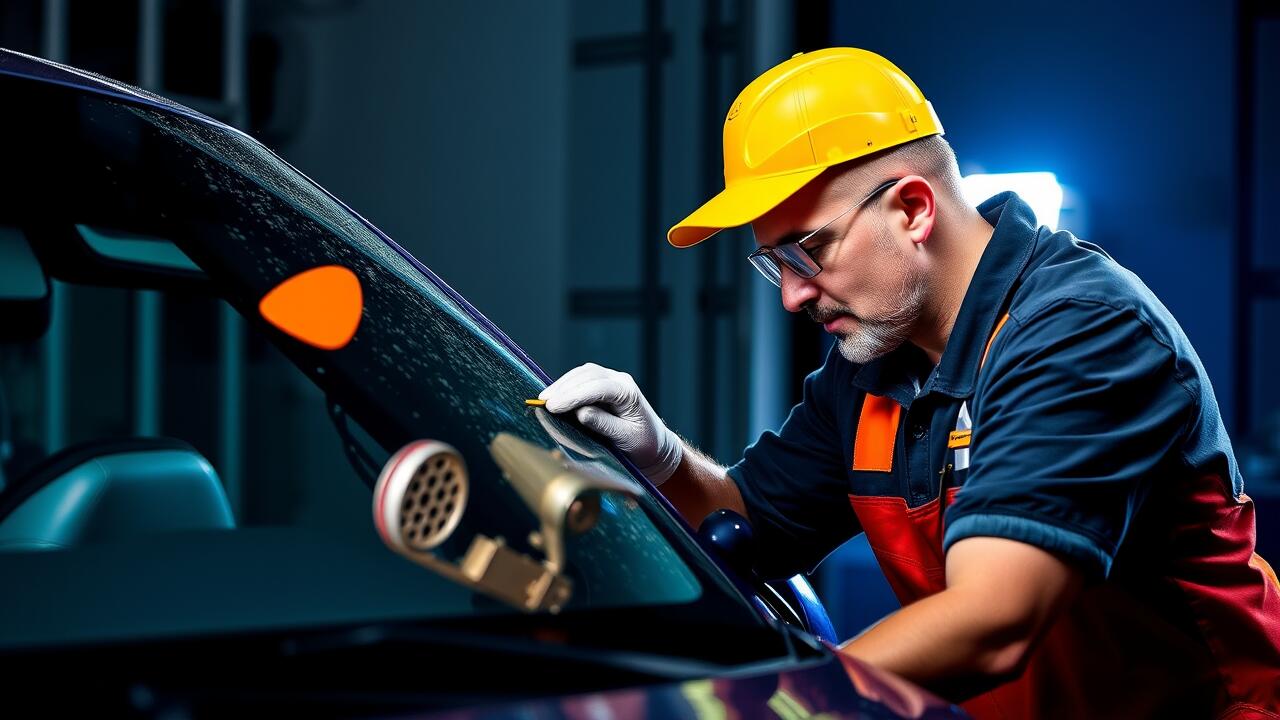
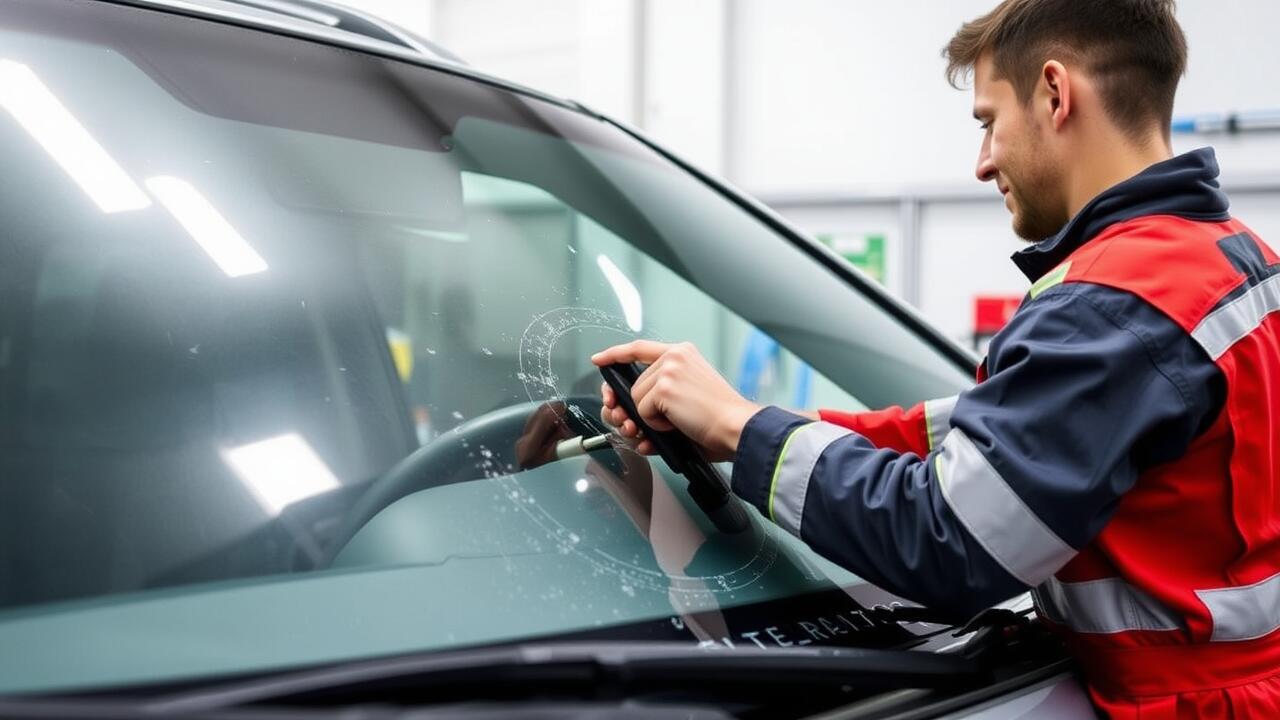
After applying the repair resin to the chip, the next vital step is to allow it to cure properly. The resin needs time to harden and bond with the glass to ensure a strong and long-lasting repair. Follow the manufacturer's recommendations regarding curing time, as this can vary depending on the product used and the environmental conditions. Factors such as temperature and humidity may influence how quickly the resin sets, so it’s crucial to choose a day with favorable weather for your windshield repair.
To expedite the curing process, some repair kits may include a UV light that helps activate the resin more quickly. However, not all kits have this feature. Ensure that the repaired chip is exposed to direct sunlight if using ambient light to cure the repair. This can maximize the resin's effectiveness. Once the curing time has elapsed, check the repair to confirm that the resin has fully set before attempting any additional finishing touches or cleaning.
Importance of Proper Curing Time
Proper curing time is crucial in any windshield repair process. The resin used to fill the chip needs adequate time to bond effectively with the glass. Rushing this step can compromise the repair’s integrity, leaving the windshield vulnerable to further damage or even shattering in extreme conditions.
Environmental factors play a significant role in the curing process. Temperature and humidity levels can affect how quickly the resin hardens. Following the manufacturer's guidelines on curing time ensures that the windshield repair achieves maximum strength and clarity. Patience during this phase can result in a durable and barely visible repair.
Finishing Touches
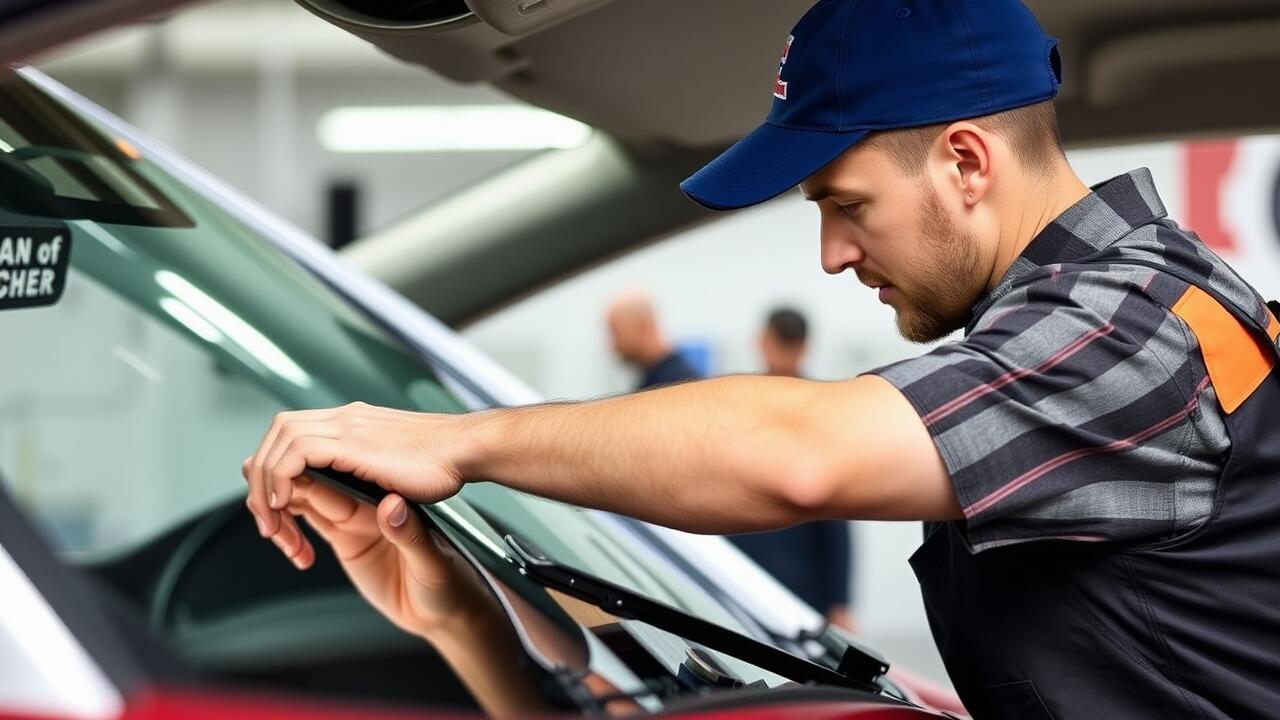
After completing the initial repair process, focus on cleaning and polishing the area around the chip. Dust and debris can obstruct the view, which is why it’s crucial to use a microfiber cloth to gently wipe the surface. An effective glass cleaner will eliminate any fingerprints or smudges. Ensuring the area is spotless not only improves visibility but also gives a polished finish to your windshield repair.
To further enhance the repair’s appearance, consider applying a glass polish specifically designed for automotive use. This product can fill in any tiny scratches and improve clarity. Be careful to follow the manufacturer's instructions closely for the best results. A clean and well-polished windshield not only looks better but can also help maintain the integrity of the repair and extend the life of your windshield.
Cleaning and Polishing the Area
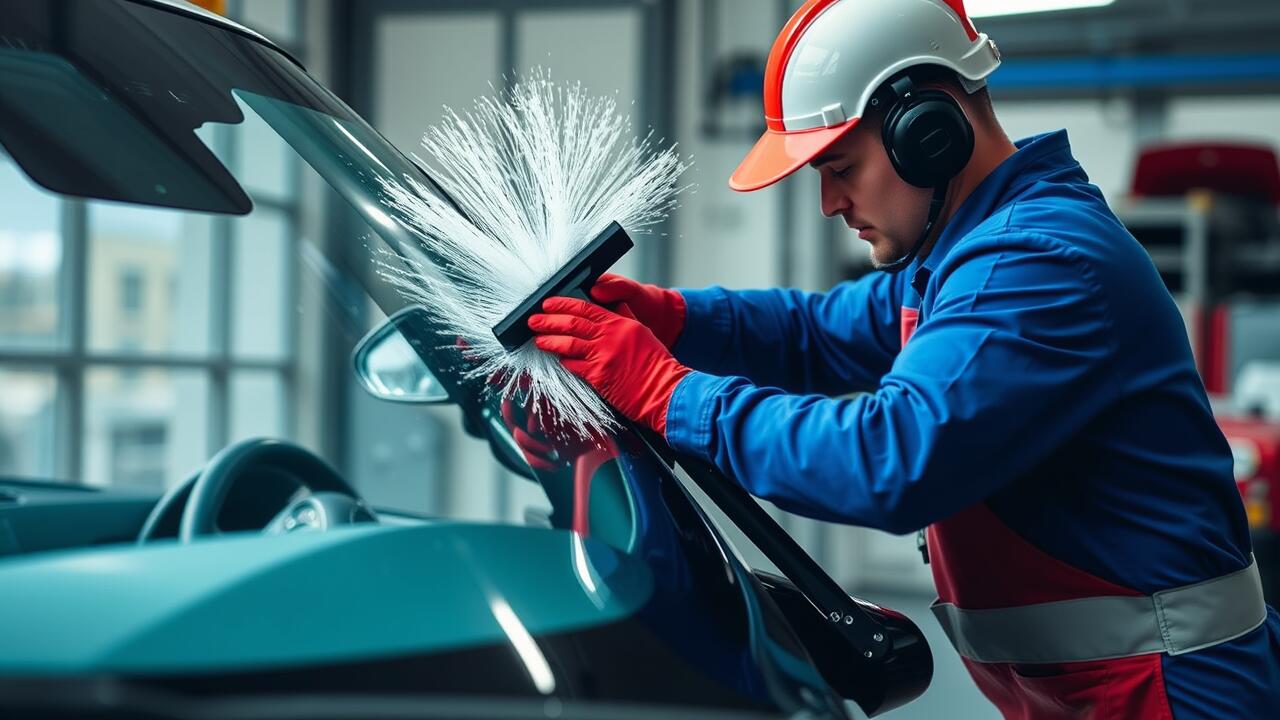
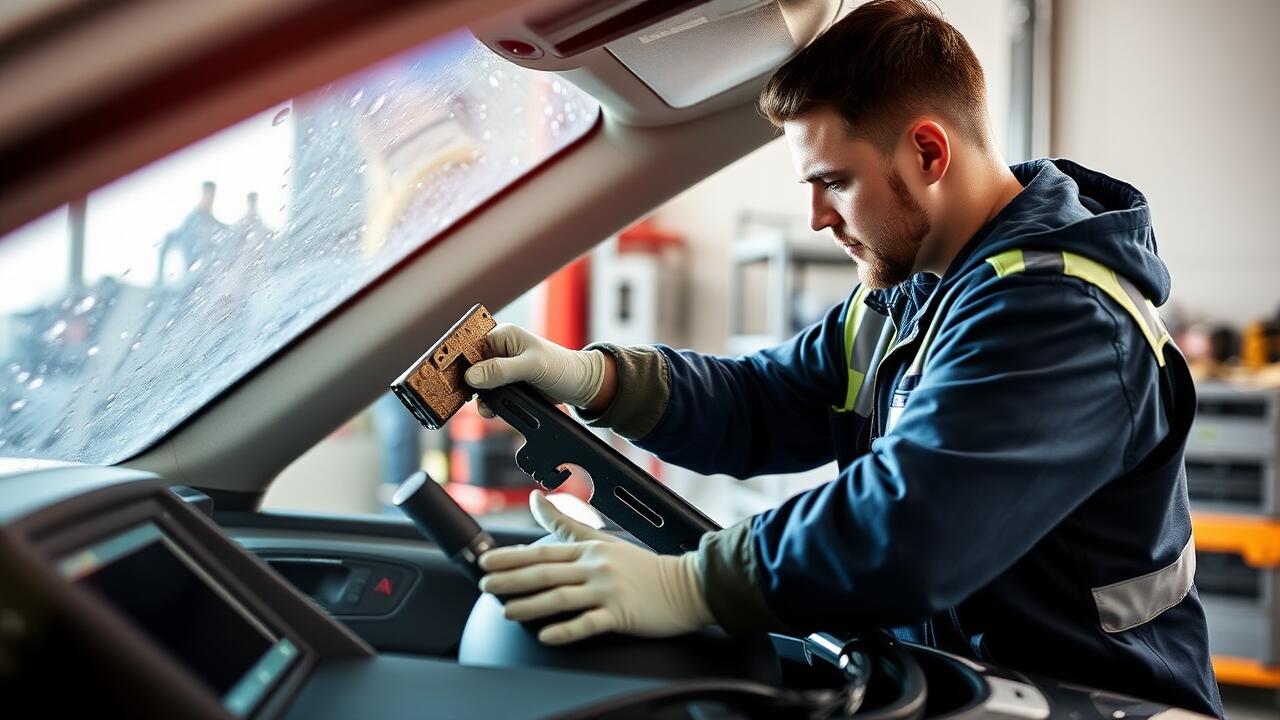
After completing the chip repair process, the next step involves cleaning and polishing the area to ensure a professional finish. Begin by using a soft cloth or microfiber towel to wipe away any excess resin that may have spilled over during the application. Make sure to be gentle to avoid scratching the windshield. A glass cleaner can be applied to remove any streaks or smudges, preparing the surface for polishing.
Polishing the treated area enhances clarity and helps blend the repair with the surrounding glass. Using an appropriate glass polish, apply a small amount to a clean cloth and gently buff the area in circular motions. This step not only improves appearance but also reinforces the integrity of the Windshield Repair. Take care to avoid over-polishing, as this might compromise the newly repaired section.
Safety Considerations
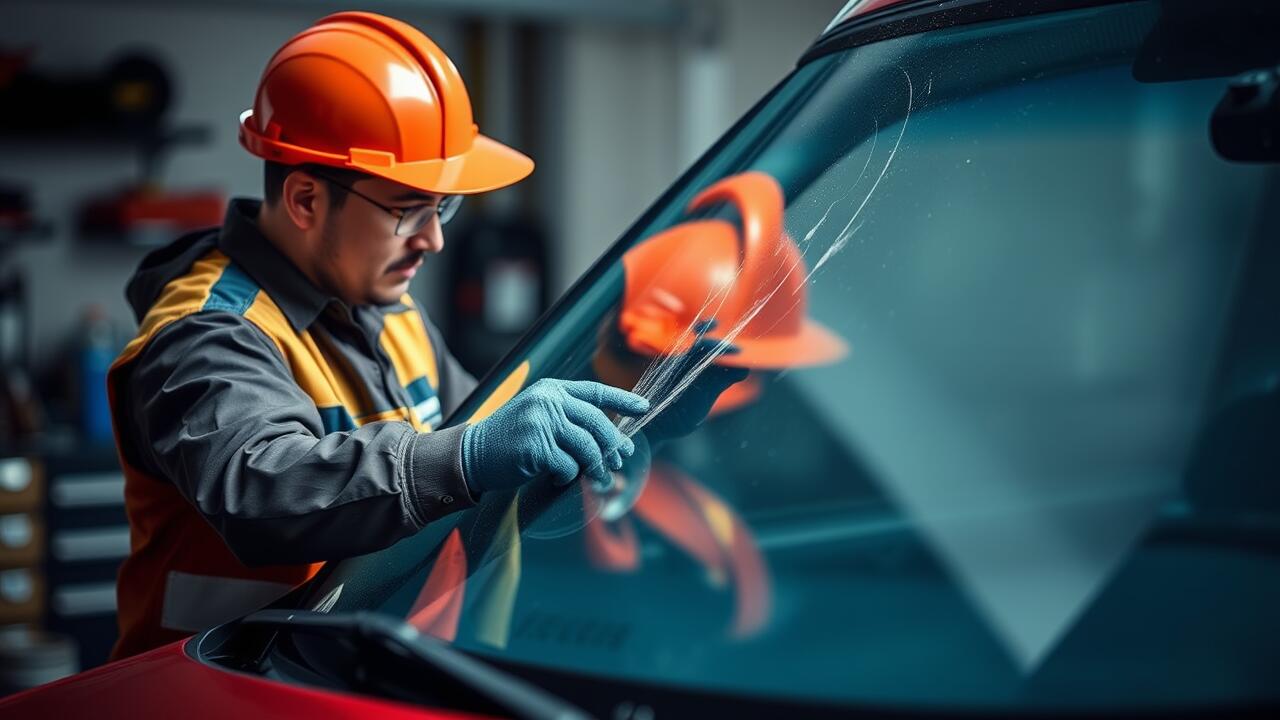
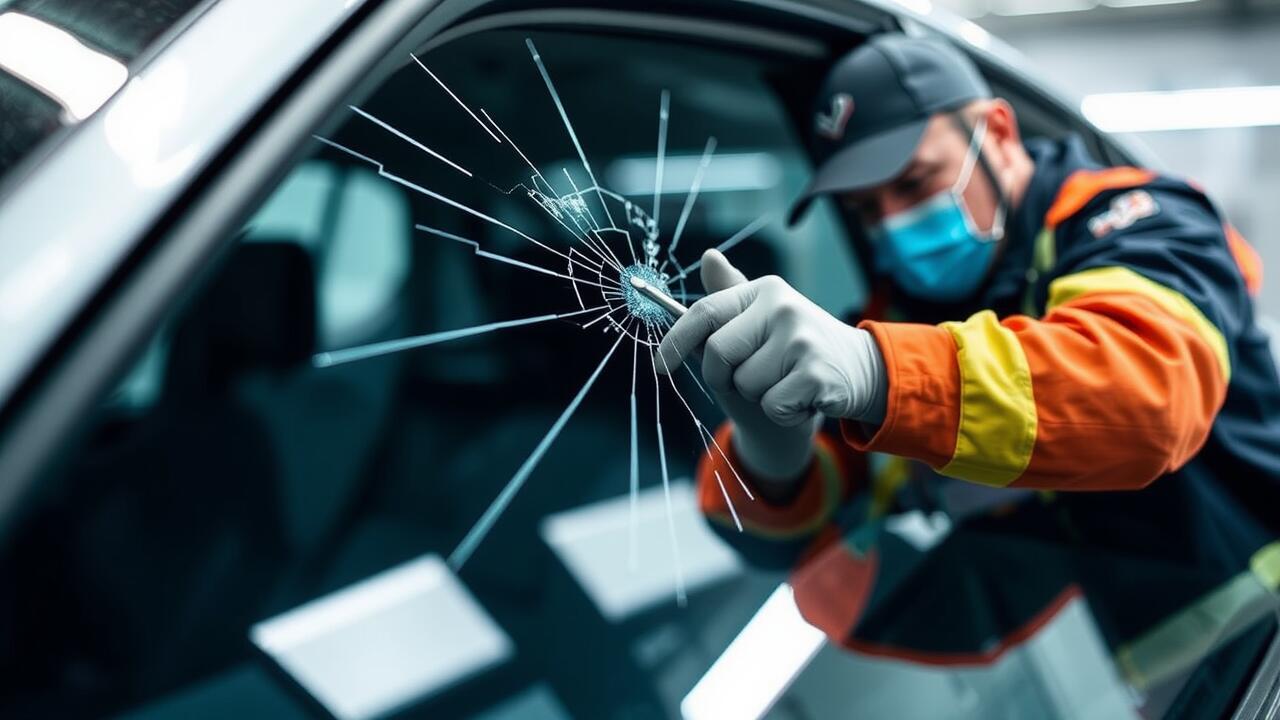
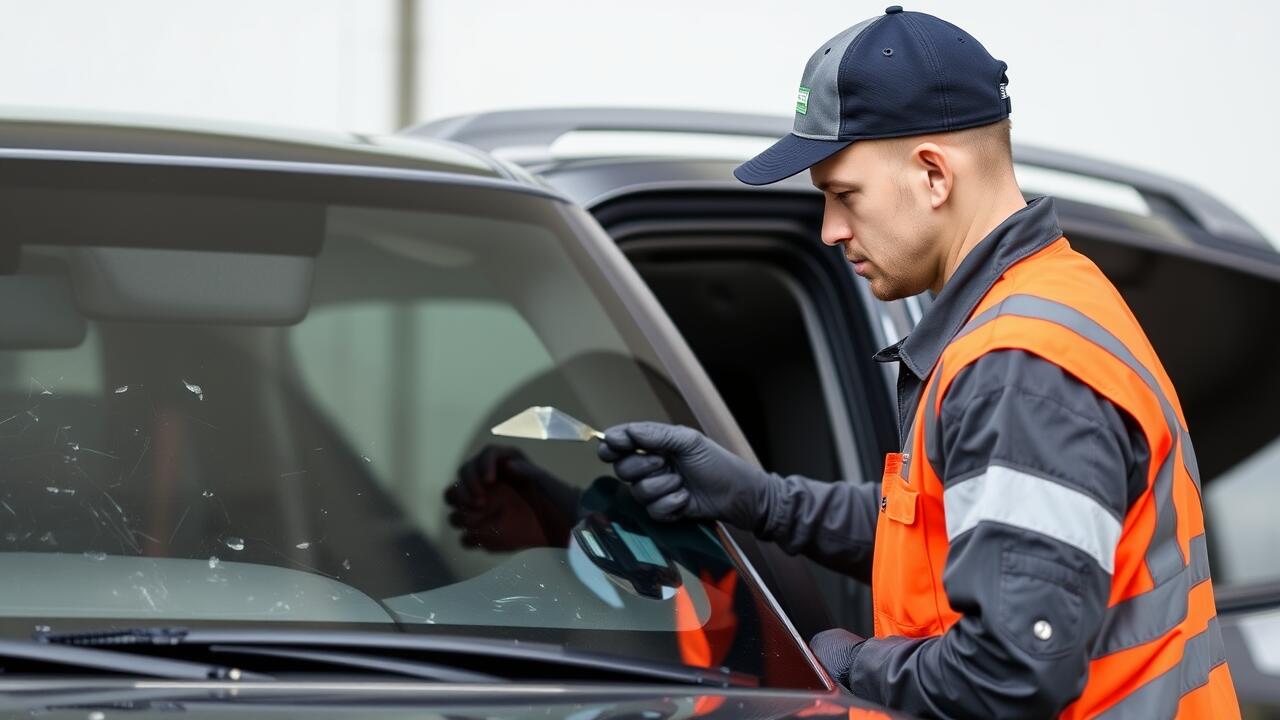
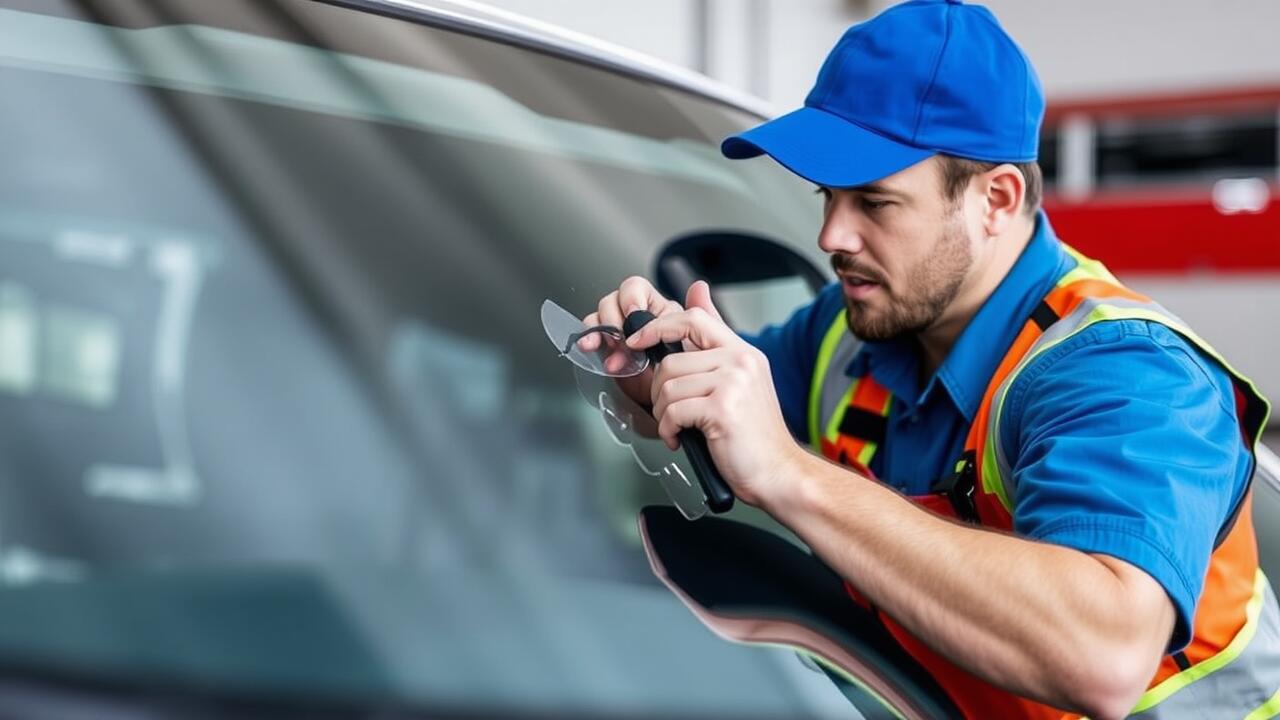
When undertaking a windshield repair, safety should always be a top priority. Proper safety gear, such as gloves and eye protection, can prevent injuries from sharp glass shards or resin materials. Working in a well-ventilated area is also essential since some of the repair chemicals can release fumes that may be harmful if inhaled. Taking these precautions ensures a safer experience throughout the repair process.
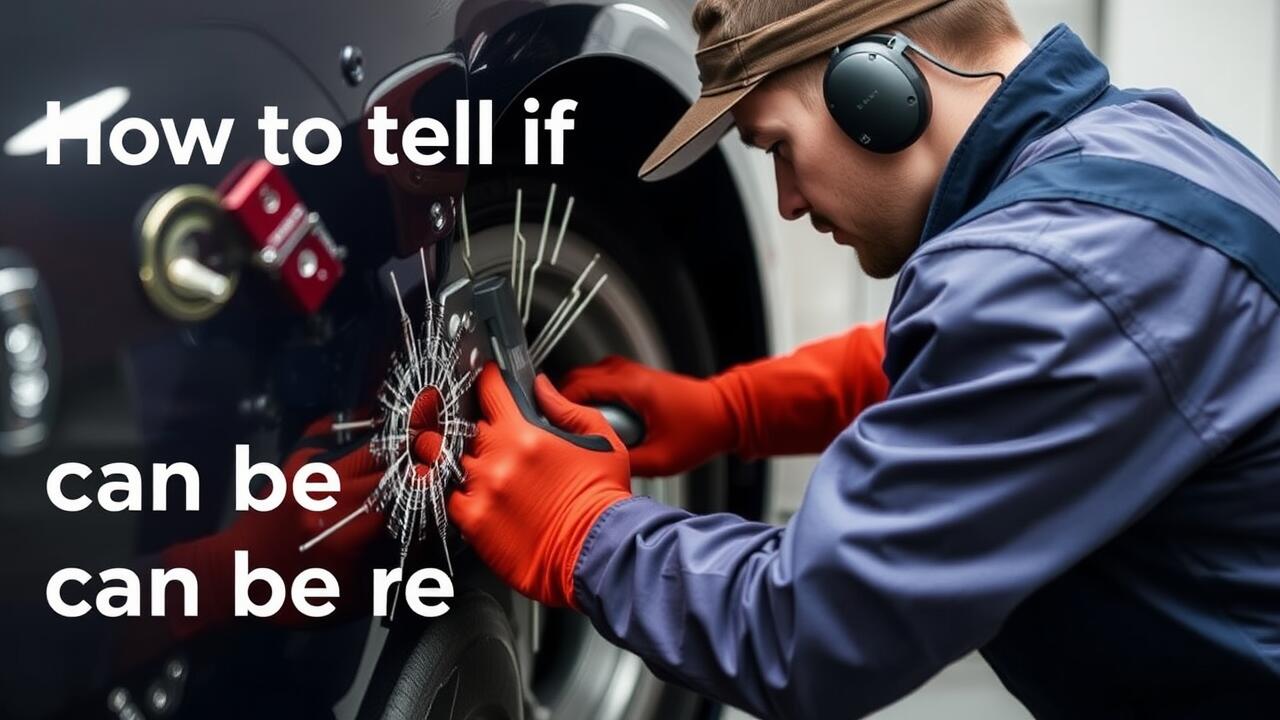
It is also crucial to assess the extent of the damage before attempting any repairs. If the chip or crack is too large or deep, the integrity of the windshield may be compromised, posing a risk while driving. In such cases, it is advisable to consult a professional rather than attempting a DIY fix. Being cautious and aware of the limitations can significantly reduce potential safety hazards during a windshield repair.
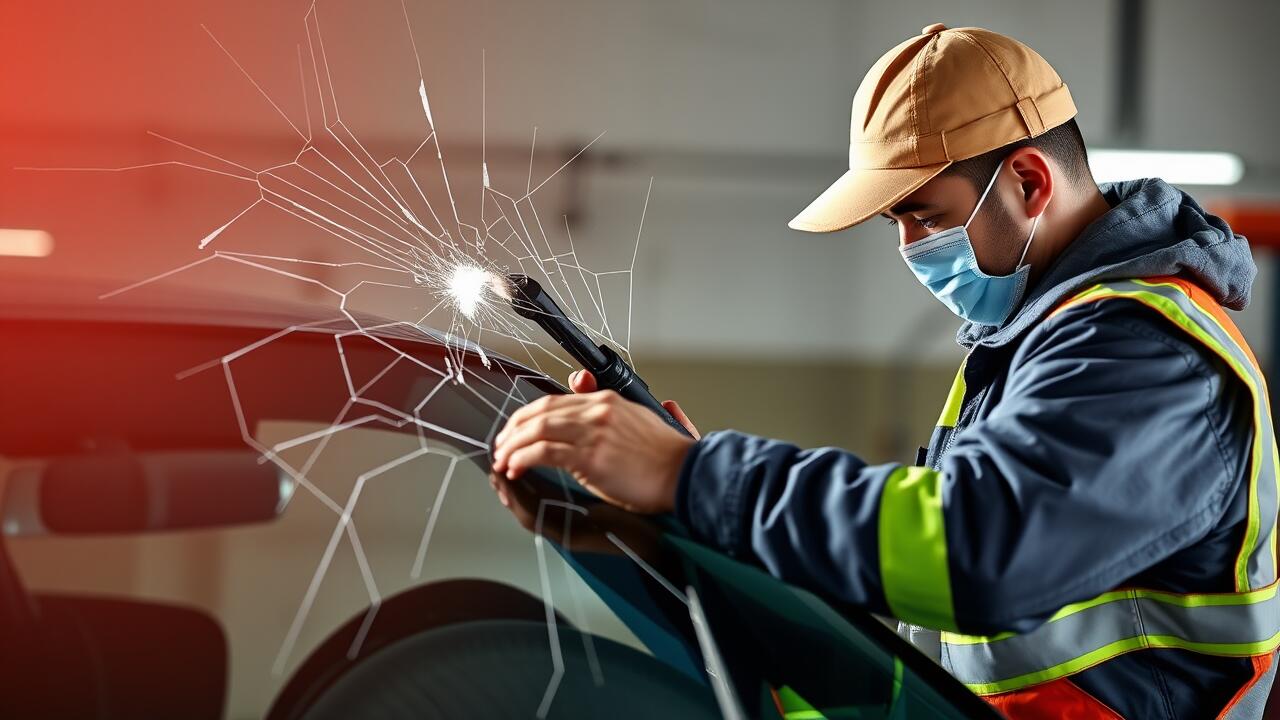
Precautions During the Repair
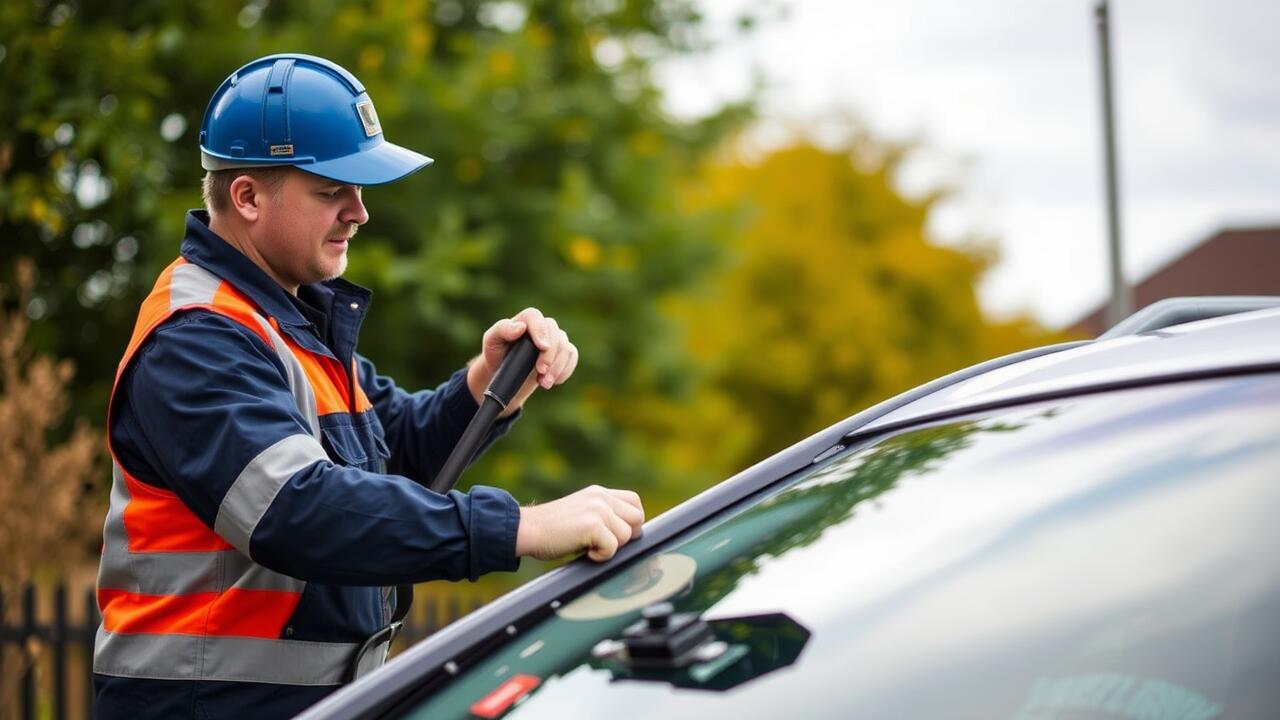
When undertaking windshield repair, safety should be your top priority. Ensure you're working in a well-ventilated area to avoid fume accumulation from the repair resin. Protect your hands with gloves to prevent skin contact with the adhesive materials. Moreover, wearing safety goggles will shield your eyes from any splatters that might occur during the process. Keeping a first aid kit nearby is advisable in case of an accident.
It's equally important to follow the manufacturer's instructions carefully during the repair process. Read through all guidelines before beginning. Inadequate application or incorrect tools can lead to complications that may worsen the chip damage. Ensure all materials are at room temperature for optimal results. Maintaining a clean work area will help avoid contamination of the resin, which is crucial for a successful windshield repair.
FAQS
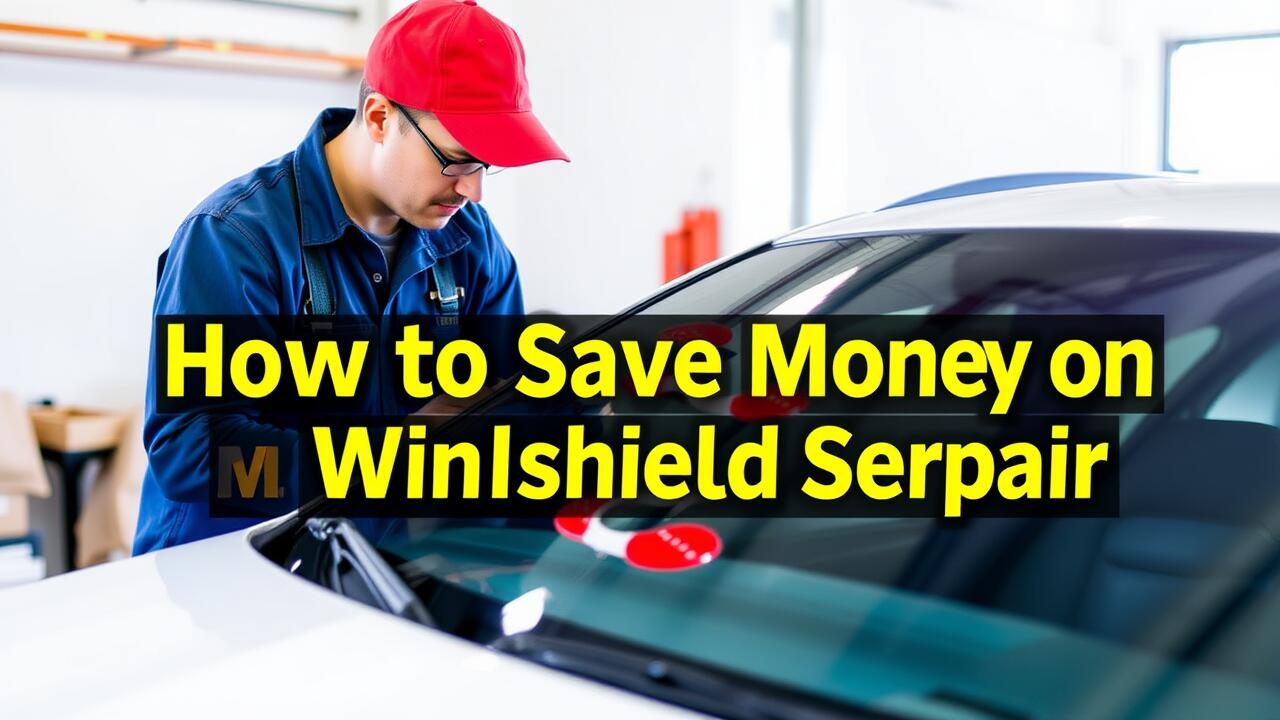
Can I fix a chip in my windshield myself?
Yes, many people successfully repair small chips or cracks in their windshields at home using repair kits available at automotive stores.
What tools do I need to fix a chip in my windshield?
You will typically need a windshield repair kit, which includes resin, a suction tool, and sometimes a cleaning solution or a razor blade for finishing touches.
How long does it take for the repair resin to cure?
The curing time can vary depending on the product used and environmental conditions, but it generally takes about 30 minutes to a few hours for the resin to fully cure.
Is it safe to drive my car after repairing a windshield chip myself?
It is advisable to wait until the resin has fully cured before driving your vehicle. Ensure that you follow the instructions provided with your repair kit for safety.
Are there any risks associated with DIY windshield repairs?
Yes, if the repair is not done correctly, it can worsen the damage or obstruct your view while driving, which can compromise safety. In cases of significant damage, it’s best to seek professional help.