Table Of Contents
Review of the Top Windshield Repair Kit
When considering windshield repair kits, a few products stand out in the crowded market. These kits typically include resin, applicators, and tools designed to effectively fill cracks and chips in the glass. Many users prefer kits that offer easy-to-follow instructions and require minimal tools for application. Some kits even feature additional components for professional-grade repairs, enhancing their appeal to DIY enthusiasts.
Product C is noted for its user-friendly design and high success rate. The included resin is engineered to bond with the glass seamlessly, ensuring durability once cured. Customers often highlight the clarity of the repair, which makes it difficult to discern the affected area after treatment. The straightforward application process contributes to its popularity among those looking to tackle windshield repair without calling in a professional.
Comparison of Effectiveness and Ease of Use
When comparing the effectiveness of various windshield repair kits, it's essential to consider the quality of the resin and application method. Kits that feature high-viscosity resins often provide better adhesion to cracks, leading to stronger repairs. The way a kit is designed can also influence the repair process; systems with vacuum chambers or specialized injection tools typically yield superior results. Users report that those kits which simplify the application process often result in more consistently successful repairs.
Ease of use is another critical factor to evaluate. Some windshield repair kits come with comprehensive instructions, making them suitable for beginners. Others may require a bit of experience or finesse to achieve optimal results. The availability of user-friendly features, such as pre-measured resin and clear templates, can significantly affect how straightforward the repair process is. A balance between effective results and user experience will help anyone choosing a kit feel confident in their DIY windshield repair efforts.
Step-by-Step Guide to Using a Repair Kit
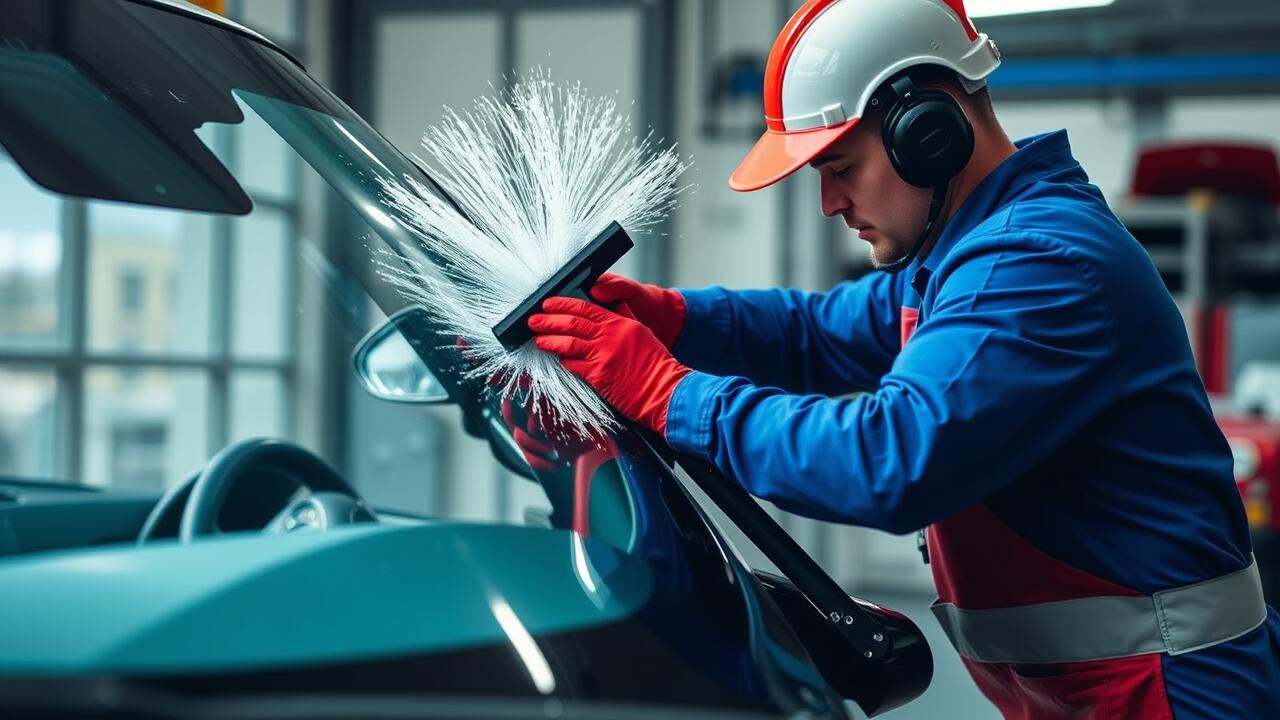
Using a windshield repair kit can be a straightforward process if you follow the essential steps. Begin by cleaning the area around the damage to ensure there is no dirt or debris. This cleaning step is crucial as it prepares the surface for better adhesion. After cleaning, carefully position the repair device over the chip or crack according to the manufacturer’s instructions. Ensure the suction cup creates a tight seal against the glass, which is vital for effective resin injection.
Next, proceed to inject the repair resin into the damaged area. Take your time to ensure that the resin fills the entire crack or chip, as this will help restore the glass's integrity. After allowing the resin to cure, use a razor blade to remove any excess and ensure a smooth finish. Always check the manufacturer’s guidelines for specific curing times and additional steps. A successful windshield repair not only improves the appearance but also enhances the safety of your vehicle.
Preparing Your Windshield for Repair
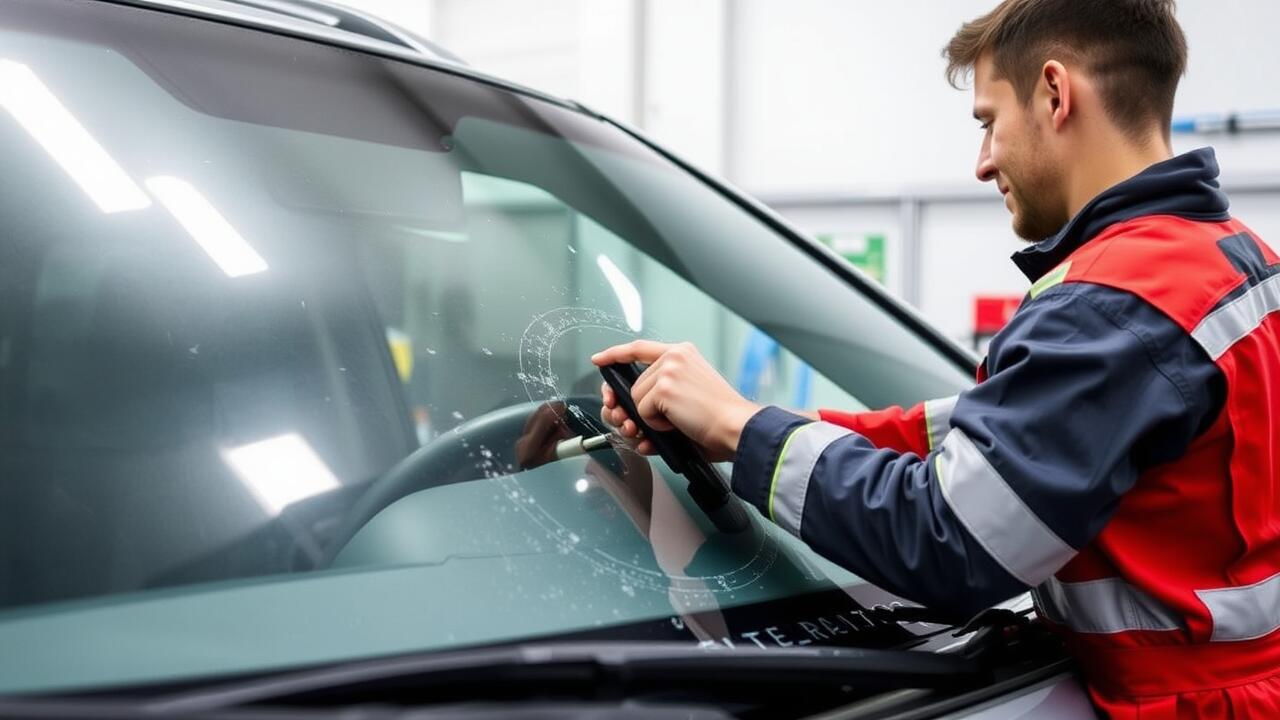
Before beginning any windshield repair task, it is essential to prepare the area you will be working on. Clean the affected section thoroughly with glass cleaner to remove dirt and debris. This step not only improves visibility but also helps the resin penetrate the crack or chip more effectively. Ensure the area is completely dry after cleaning; any moisture can interfere with the repair process and lead to unsatisfactory results.
Once the windshield is clean and dry, inspect the damage carefully. Determine whether the chip or crack is small enough for a DIY repair. Most kits are designed for chips up to a quarter-sized diameter or cracks not exceeding a few inches in length. If the damage is larger or in critical areas that could impair visibility or safety, consulting a professional may be the best course of action. Proper assessment will help you decide whether the windshield repair kit you’ve chosen is suitable for the job.
Tips for Achieving the Best Results
To achieve the best results with your windshield repair, it is crucial to carefully select the right kit that suits the type of damage. Different kits offer various tools and resins that cater to specific crack sizes and shapes. Properly assess the damage before proceeding. Identify if the crack is small and superficial or larger and more complex, as this will dictate the effectiveness of the repair.
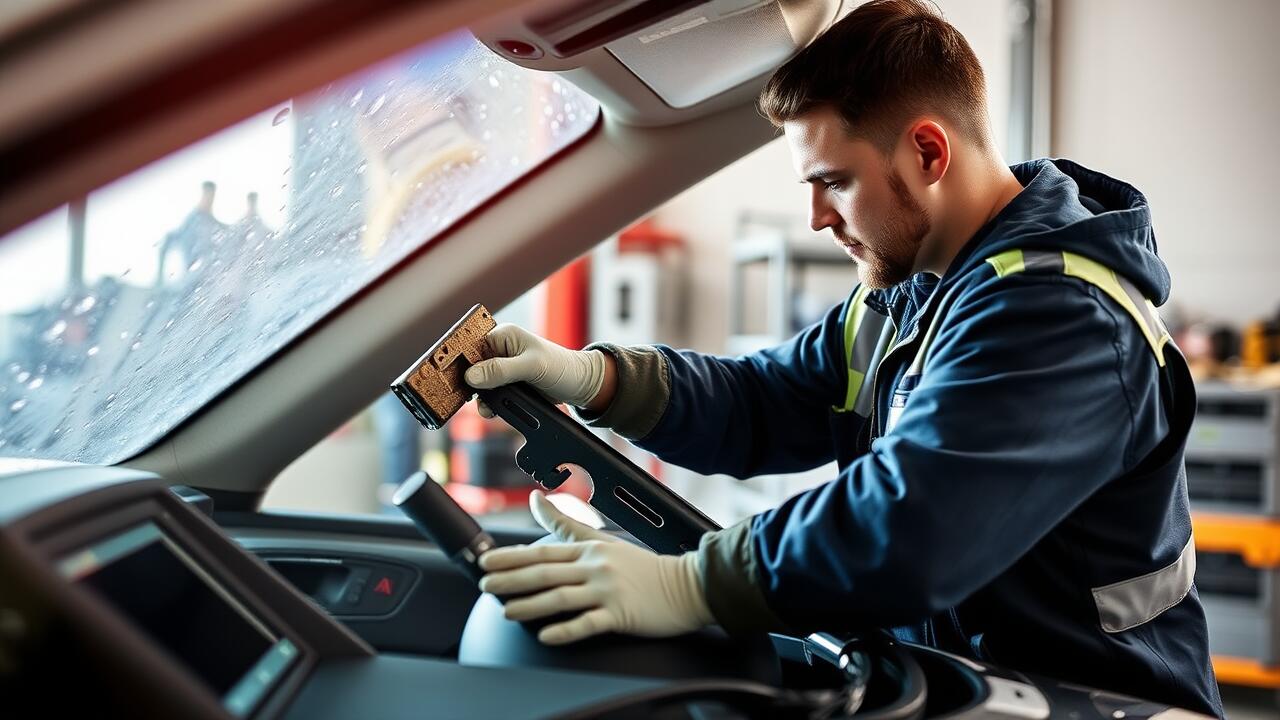
Preparation plays a significant role in the windshield repair process. Before applying any resin, ensure the area around the crack is clean and free from debris. Use a cloth to wipe away any dirt, and avoid moisture on the windshield surface. This cleanliness ensures a better bond between the resin and glass, enhancing the effectiveness of your repair effort.
Common Mistakes to Avoid
Many DIY enthusiasts overlook the importance of proper preparation when starting a windshield repair. Failing to clean the area around the damage can lead to trapped dirt and debris that interferes with the adhesive and resin used in the repair process. A clean surface ensures that the repair material bonds effectively, enhancing the overall effectiveness of the Windshield Repair.
Another common mistake is applying too much pressure during the repair. While it's important to ensure that the resin fills the damaged area, excessive force can result in further cracking or damage. Patience is key; allowing the resin to cure properly without rushing the process increases the chances of achieving a clear and effective Windshield Repair.
FAQS
What is a windshield repair kit?
A windshield repair kit is a set of tools and materials designed for DIY fixing of small chips or cracks in a vehicle's windshield. It typically includes resin, a curing film, and various other applicators.
How effective are DIY windshield repair kits compared to professional repairs?
DIY windshield repair kits can be quite effective for small chips and cracks, often restoring the structural integrity of the glass. However, for larger or more complex damage, professional repair may be necessary to ensure safety and clarity.
Can I use a windshield repair kit on any type of damage?
Windshield repair kits are best suited for minor damage, such as small chips or cracks up to a certain length (usually around 6 inches). Larger cracks or those that extend to the edges of the windshield may need professional attention.
How long does it take to repair a windshield using a DIY kit?
The repair process can take anywhere from 30 minutes to a few hours, depending on the kit used, the size of the damage, and the curing time required for the resin.
Are there any specific conditions under which I should avoid using a windshield repair kit?
Yes, it's best to avoid using a windshield repair kit in extreme weather conditions, such as heavy rain or freezing temperatures, as these can affect the curing process of the resin and the effectiveness of the repair.