Table Of Contents
Preparing the New Window
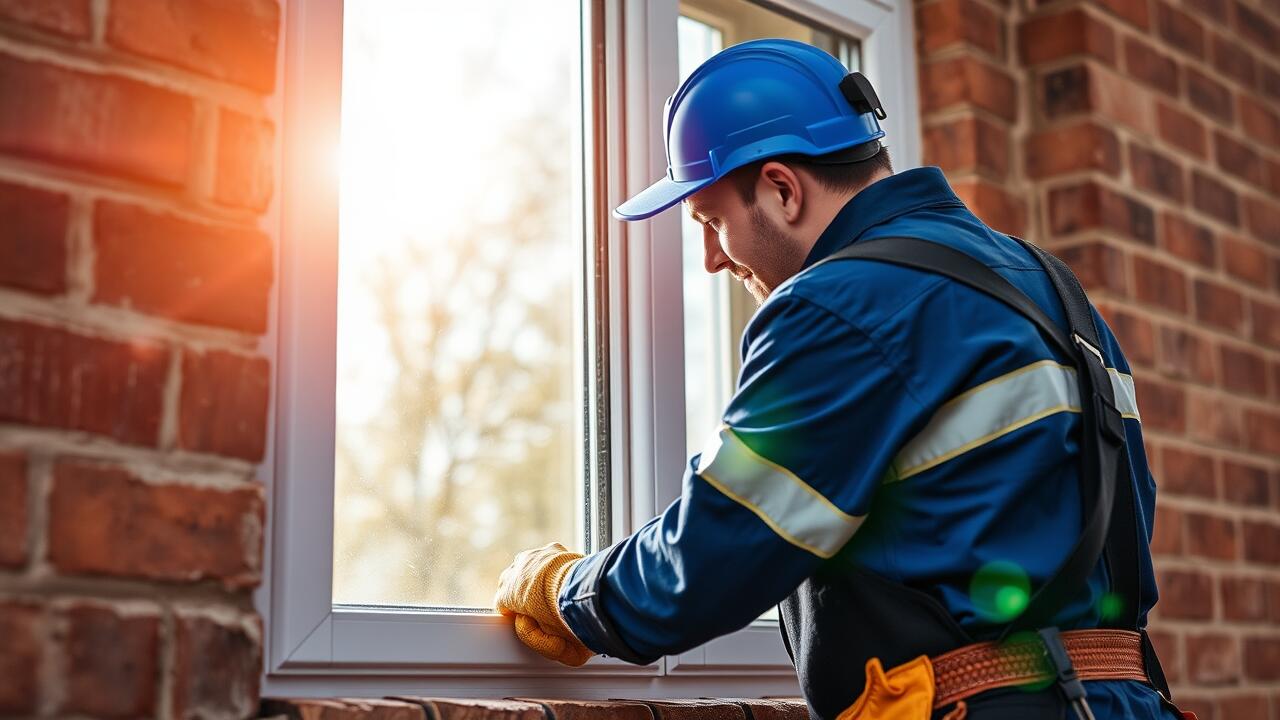
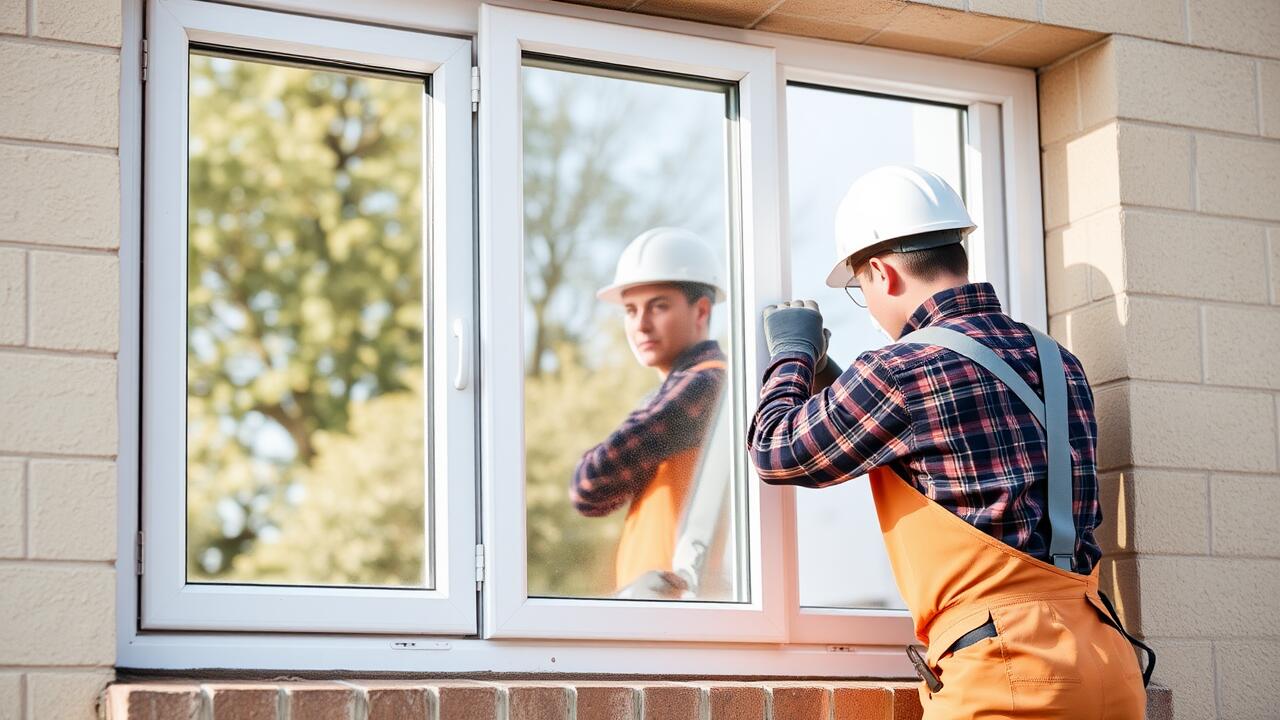
When preparing for a side window replacement, it's crucial to ensure that you have the right materials in hand. Start by sourcing a window that matches the specifications of your vehicle. Check the make, model, and year to avoid any discrepancies. Additionally, inspect the new window for any scratches, chips, or defects that may affect its integrity or functionality. Having a clean and undamaged replacement guarantees a better fit during installation.
Once you have the new window, gather necessary tools and materials for the task. This may include a urethane adhesive, trim tools, and safety gear. Understanding the installation requirements for your specific vehicle model can also streamline the process. Follow any guidelines provided, ensuring that you are equipped to handle the window carefully. Taking these preparatory steps will facilitate a smoother replacement experience.
Ensuring Proper Fit and Condition
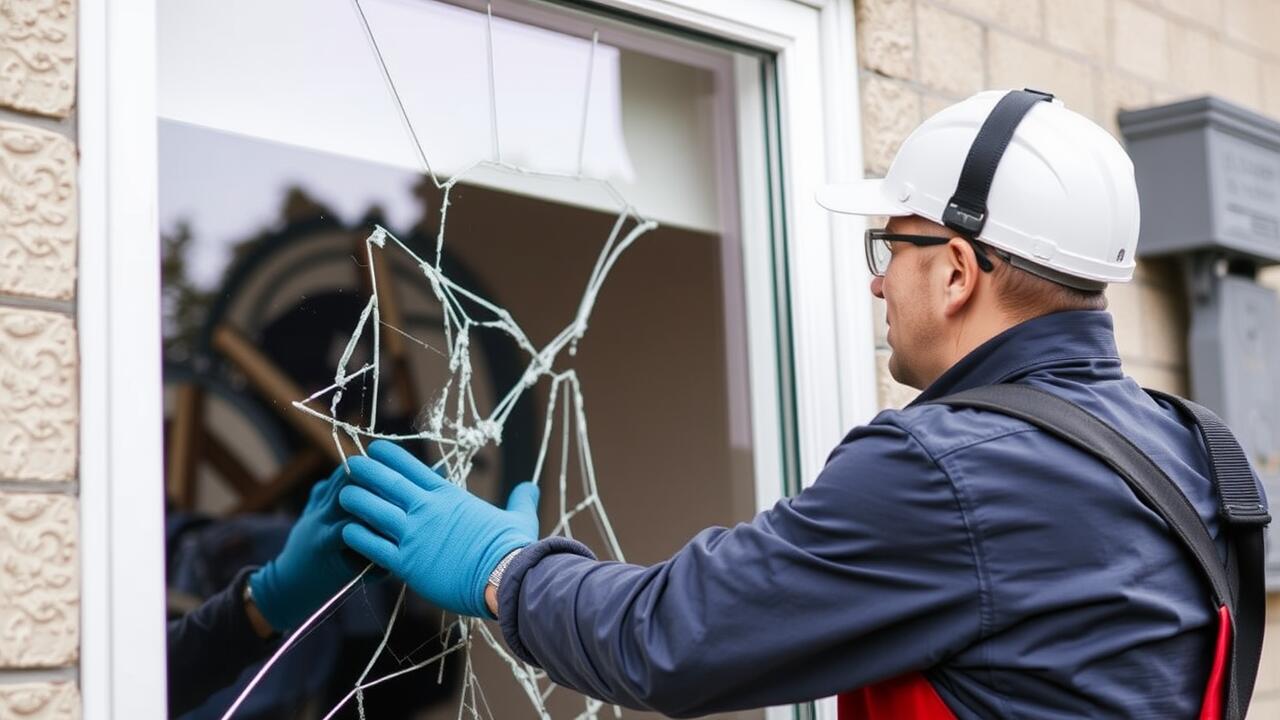
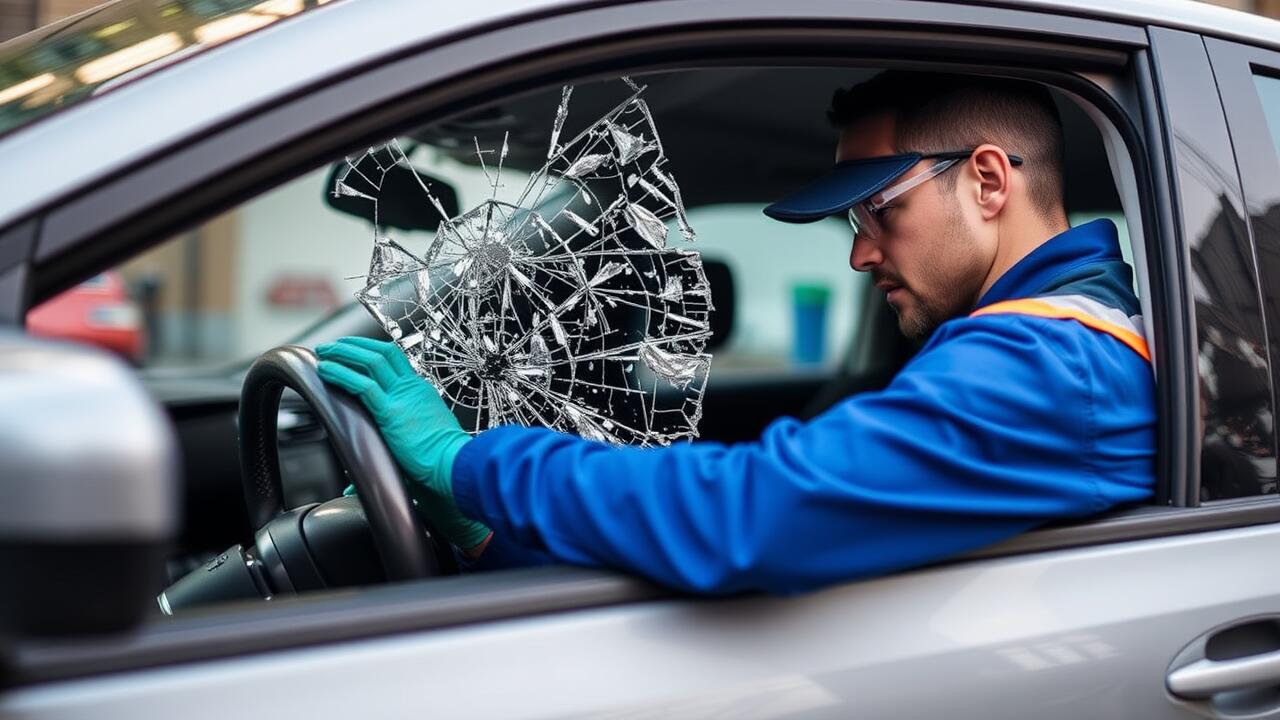
Before proceeding with your side window replacement, it is essential to ensure that the new window fits properly within the frame of your vehicle. Begin by measuring the dimensions of the existing window or referencing the specifications provided in your vehicle’s manual. This can prevent complications during installation. Inspect the new window for any visible defects, such as scratches or cracks, that could compromise its integrity. A high-quality replacement will provide better durability and visibility.
The condition of the window seals is also crucial for a successful installation. Check the rubber gaskets or weatherstripping around the window frame for any signs of wear or damage. Old or compromised seals may allow water and air to enter, leading to potential issues down the line. If necessary, you may need to replace these components before installing the new window. Ensuring both the window and seals are in good condition will contribute to a long-lasting and effective side window replacement.
Installing the New Window
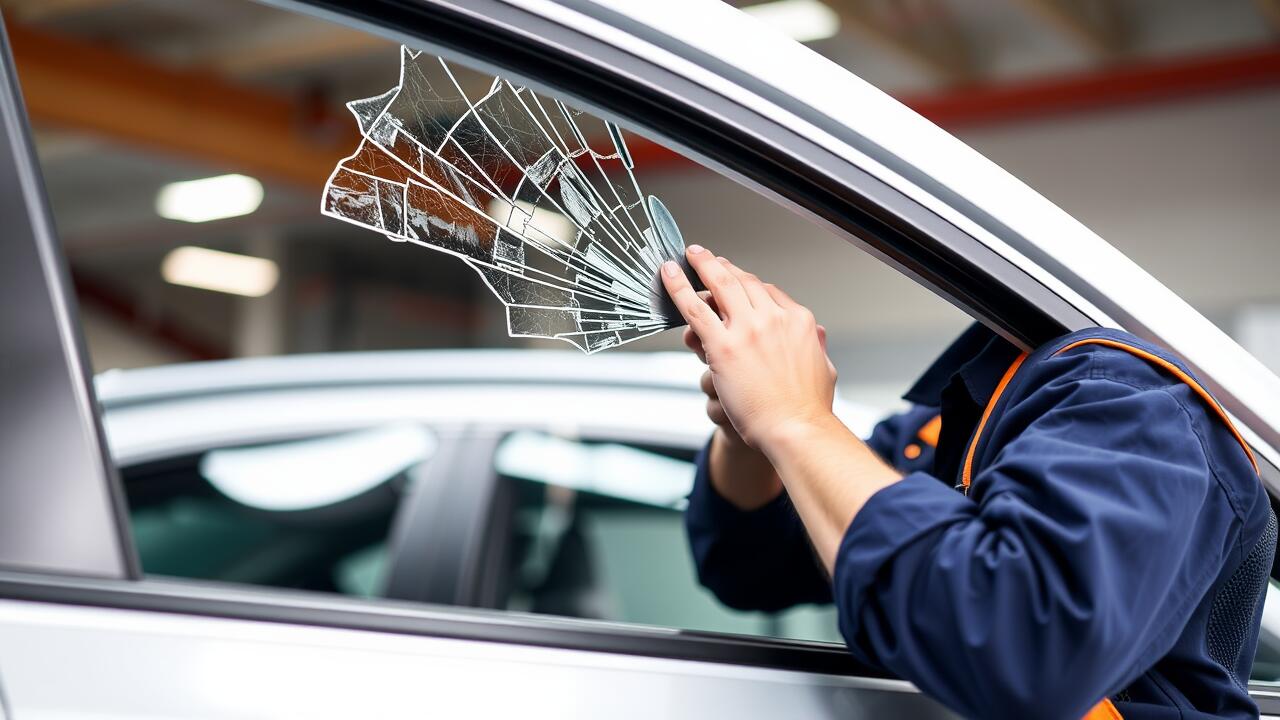
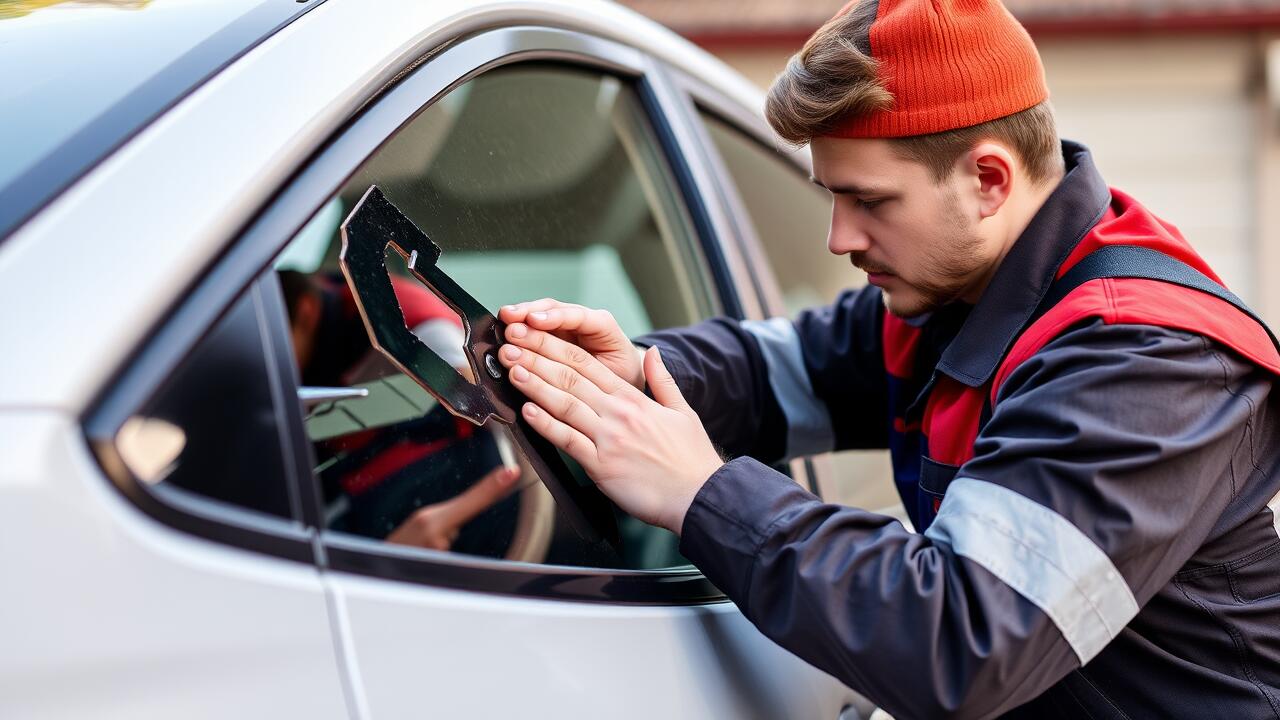
When tackling the installation of a new driver side window, begin by carefully aligning the glass with the frame. Make sure that the window sits evenly in the channel. Support the window with one hand while using your other hand to guide the window into place. This step requires precision to avoid any mishaps or misalignment. Ensuring the window fits snugly in the frame is crucial for a successful side window replacement.
Once the window is in the correct position, it’s time to secure it properly. Attach any necessary clips or fasteners that hold the glass in place. Check that everything is tight and fit for use. After confirming a solid installation, proceed to reconnect any components that were removed during the replacement process. This attention to detail will help guarantee a functional driver side window for the foreseeable future.
Step-by-Step Guide to Positioning
Positioning the new driver side window requires precision and care. Begin by tilting the window slightly as you guide it into the frame of the door. It's crucial to align the edges of the glass with the pre-set grooves in the window regulator. Ensure that the window is securely seated within the frame to avoid any potential movement during operation.
Take a moment to check the alignment before fully securing the window. Adjust it if necessary to ensure an even fit along the top and sides. If you notice any gaps or misalignment, make the necessary corrections before proceeding to the next steps of the installation. Proper positioning during this Side Window Replacement will contribute to the overall functionality and longevity of the new window.
Reconnecting the Window Regulator
After the new driver side window is installed, reconnecting the window regulator is crucial for the window's operation. Begin by positioning the regulator assembly in line with the window slot. Ensure that the guide pins align correctly with their counterparts in the door frame. Tighten any screws or bolts securely to hold the regulator in place. A loose connection could lead to malfunctioning or even damage to the new window during operation.
Next, connect the electrical harness to the window motor if applicable. This part is essential for electric window systems, as it provides the necessary power for the window to rise and fall. Test the regulator by using the switch to lower and raise the window. Proper testing ensures that the installation was successful and that the window operates smoothly, completing the side window replacement process effectively.
Ensuring a Secure and Functional Connection
When performing a side window replacement, ensuring the connection between the window regulator and the new glass is crucial for functionality. Begin by aligning the window glass properly within the track. This may require adjusting it slightly to make sure it fits snugly. Once aligned, securely attach the clips and brackets that hold the glass in place. These components are designed to withstand the movement of the window, so it's essential they are fastened correctly.
After securing the glass to the regulator, check the movement of the window. Manually raise and lower the window to verify it glides smoothly without obstruction. If there’s any hesitation or misalignment, make necessary adjustments before finalizing the installation. Properly reconnecting the window regulator not only ensures the new glass operates effectively but also prevents future issues that could arise from a faulty connection.
FAQS
What tools do I need to replace the driver side window?
You will typically need a flathead screwdriver, Phillips screwdriver, socket wrench set, trim removal tool, and possibly a glass suction cup for handling the new window.
How do I know if the new window will fit my vehicle?
Ensure that the new window matches the specifications of your vehicle's make and model. Check for part numbers and confirm with the retailer or manufacturer that it is compatible.
Can I replace the driver side window myself, or should I hire a professional?
If you have some mechanical skills and the right tools, you can replace the window yourself by following a step-by-step guide. However, if you're unsure or uncomfortable with the process, it may be best to hire a professional.
What should I do if my window regulator is damaged?
If you notice any issues with the window regulator while replacing the window, it’s advisable to replace it as well. A damaged regulator can prevent the window from functioning properly.
Is there a warranty for the new window I purchase?
Many retailers offer warranties on automotive glass, but it’s essential to check the specific warranty terms when purchasing. Make sure to keep your receipt and any warranty information for future reference.