Table Of Contents
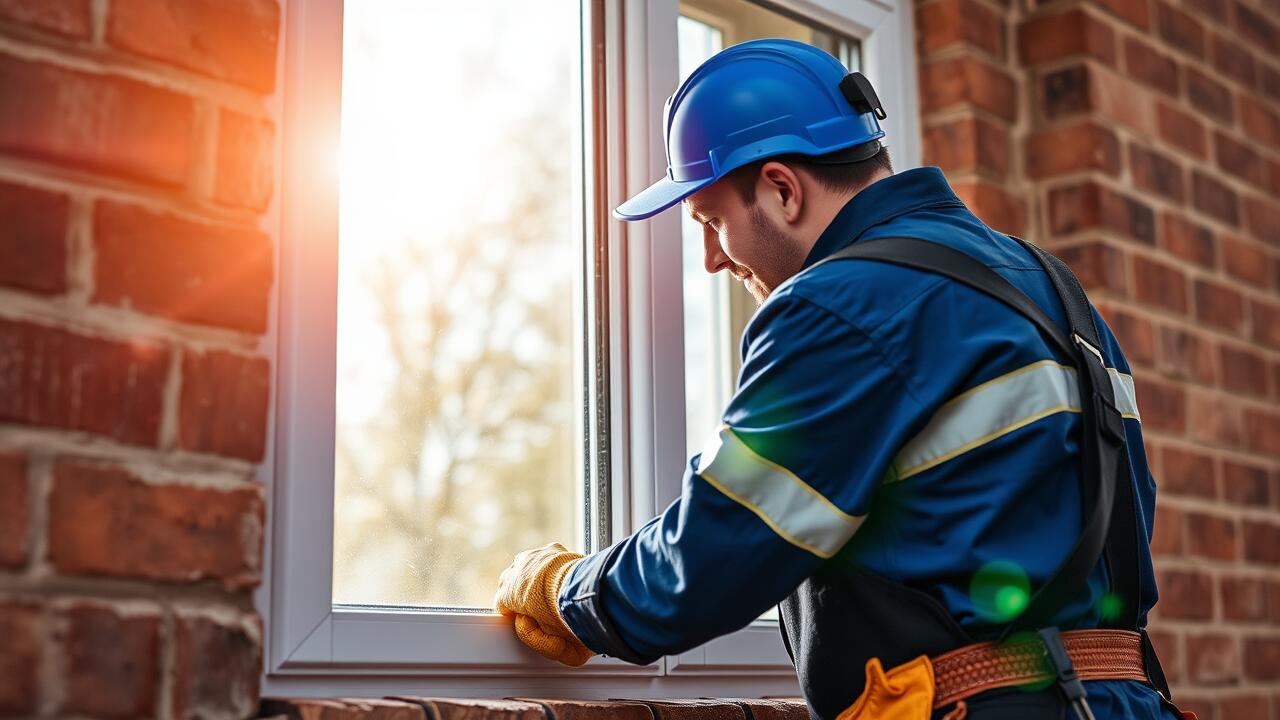
Removing the Old Window
Removing the old window is a crucial first step in the replacement process. It is essential to gather the right tools, which typically include a utility knife, pry bar, and screwdrivers. Start by removing any interior trim or casing around the window. Carefully score along the edges with a utility knife to break the paint seal and prevent damage to the surrounding wall. Once the trim is removed, inspect for any screws or nails securing the window frame in place.
After clearing the area, proceed to detach the window from its frame. This may involve peeling away insulation or caulk that has held it in place over the years. Take careful measures to handle the old window gently, especially if it is made of glass. For those attempting a side window replacement, both the removal and installation stages require extra attention to ensure a proper fit. Dispose of the old window appropriately, considering recycling options if applicable.
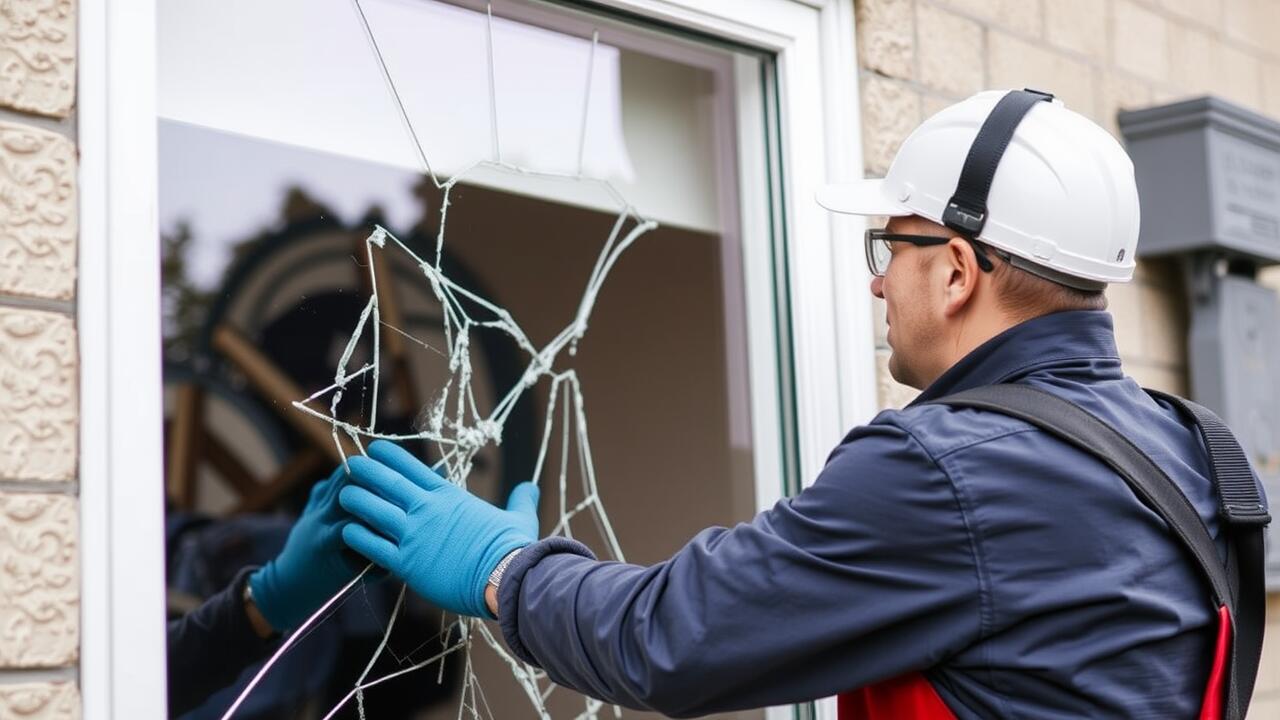
Safe Techniques for Window Removal
When undertaking a side window replacement, safety should be the top priority. Begin by wearing appropriate gear, including safety glasses and gloves, to protect against glass shards and other debris. Before starting, clear the surrounding area to minimize the risk of tripping. Use a utility knife to cut through any paint or caulking that may be sealing the window into the frame. This will help prevent damage to surrounding structures.
To remove the window, start by carefully prying off the trim and casing with a pry bar, taking care not to mar the surrounding walls. As you detach the window, ensure that you support it to avoid sudden falls. If the window is heavy or awkward, it may be necessary to have someone assist in the removal. After pulling the window free, inspect the frame for any damage that may need repair before installing the new window.
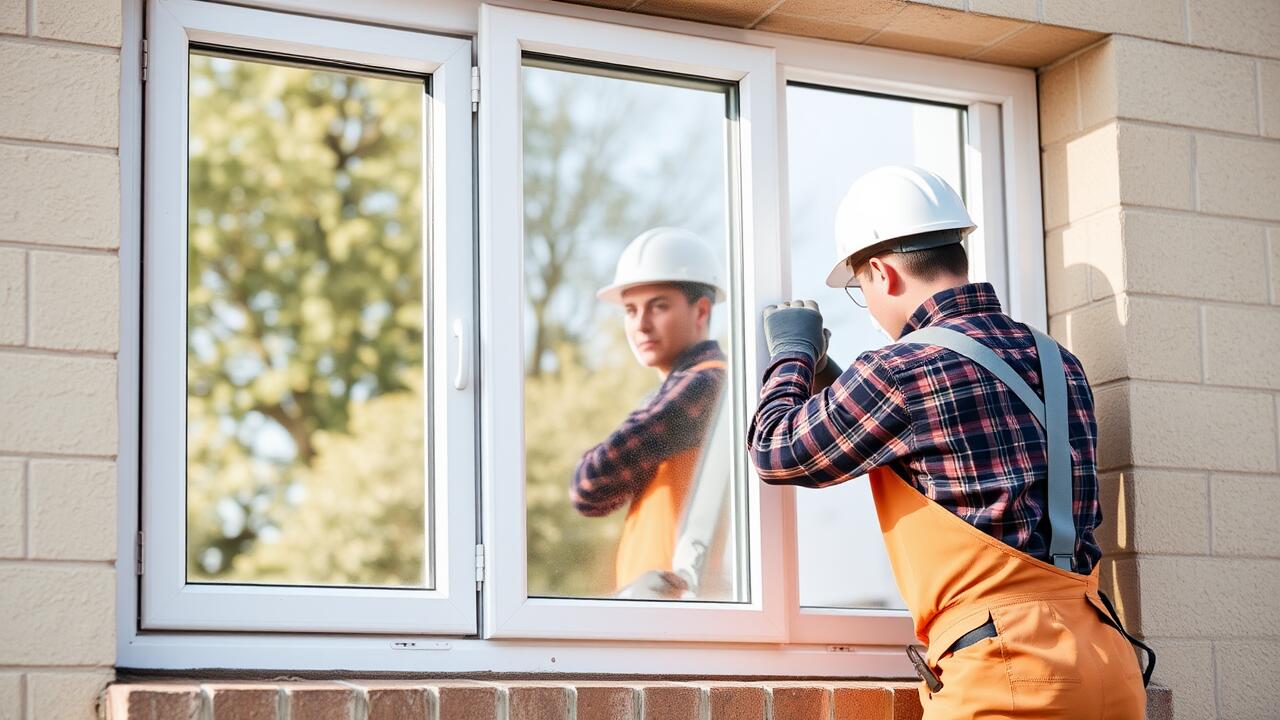
Installing the New Window
When installing a new window, it is essential to ensure a proper fit within the frame to prevent air leaks and enhance energy efficiency. First, carefully position the new window into the opening, ensuring that it sits level and plumb. Use shims to adjust the window as necessary, maintaining an even gap around all sides. It’s crucial to check that the window operates smoothly before securing it in place.
Once the window is aligned correctly, fasten it according to the manufacturer's instructions. Typically, this involves driving screws through the designated holes in the window frame into the surrounding structure. For a side window replacement, make sure that you also double-check the hardware and weather stripping to guarantee a secure installation. After this step, you are ready to move on to sealing and insulating the window properly to maximize its performance.
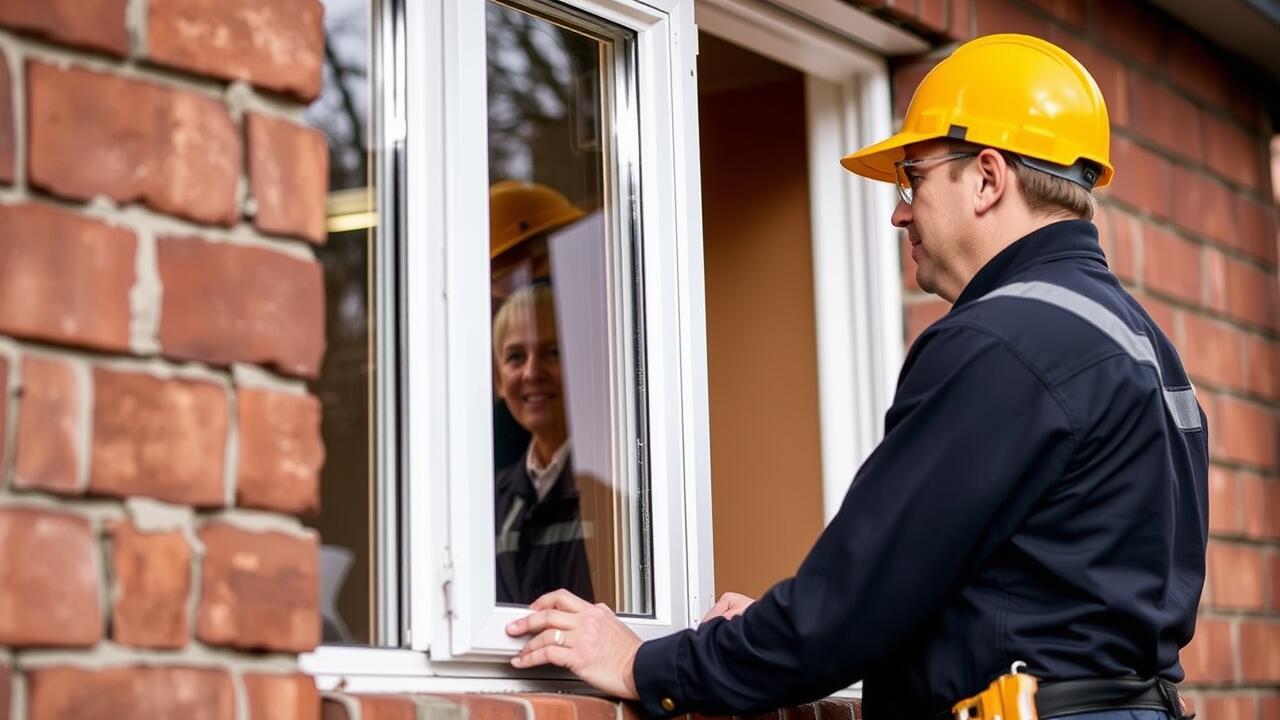
Step-by-Step Guide to Installation
To begin the process of side window replacement, ensure that all necessary tools and materials are readily available. Having a level, shims, and screws on hand will make the installation smoother. Start by carefully inserting the new window into the opening. Check for proper fit and alignment before securing the window. It is crucial that the window is straight and level, ensuring it functions correctly once installed.
Once the window is positioned, use shims to hold it in place. This step is essential for preventing any movement during the installation process. After securing it with screws, check again for alignment. The final steps involve adding insulation around the frame and ensuring the window is tightly secured. This careful attention to detail will help guarantee that the new window provides both energy efficiency and structural integrity.
Sealing and Insulating
Proper sealing and insulating are crucial steps in the side window replacement process. Gaps left unsealed can lead to drafts and moisture infiltration, which may result in energy loss. Utilizing weatherstripping and caulking helps to create a tight barrier. Pay attention to common leakage points such as the edges of the window and around any hardware. This attention to detail enhances the window's overall performance and lifespan.
In addition to sealing, effective insulation plays a vital role in energy efficiency. For side window replacement, choosing the right insulation material can significantly impact the indoor climate. Foam insulation or fiberglass can help maintain consistent temperatures, regardless of the weather outside. Proper insulation reduces the workload on heating and cooling systems, leading to lower energy bills and increased comfort within the home.
Importance of Proper Sealing
Proper sealing is a crucial step during a side window replacement. Gaps and leaks can lead to drafts, moisture intrusion, and energy loss. Utilizing high-quality sealant not only prevents air leaks but also minimizes the risk of water damage. A well-sealed window enhances the overall energy efficiency of your home, which can contribute to lower heating and cooling costs.
In addition, sealing safeguards against pests and elements that can enter through unsealed spaces. It is essential to choose the right materials for both the exterior and interior sealing. Ensuring a tight seal around the window helps maintain a comfortable indoor environment while prolonging the life of the window itself. This attention to detail can yield significant benefits in the long run, making it a vital aspect of any window installation project.
FAQS
How difficult is it to replace a window on my own?
Replacing a window can be moderately challenging, especially if you have little experience with DIY projects. However, with the right tools, techniques, and step-by-step guidance, many homeowners successfully complete the task themselves.
What tools do I need to replace a window?
Essential tools for window replacement typically include a pry bar, screwdriver, utility knife, level, measuring tape, and caulk gun. Depending on your specific window type, you may need additional tools like a drill or saw.
Can I install a replacement window without professional help?
Yes, many homeowners choose to install replacement windows on their own. However, it’s important to follow safety precautions and the proper installation steps to ensure the window is secure and energy-efficient.
How long does it take to install a replacement window?
The time it takes to replace a window can vary, but on average, it may take between 2 to 6 hours per window, depending on your skill level and the complexity of the installation.
What should I do if I encounter problems during installation?
If you face challenges during the installation process, take a break to reassess the situation. Consult installation guides, or consider reaching out to a professional for advice or assistance if you feel uncomfortable proceeding.