Table Of Contents
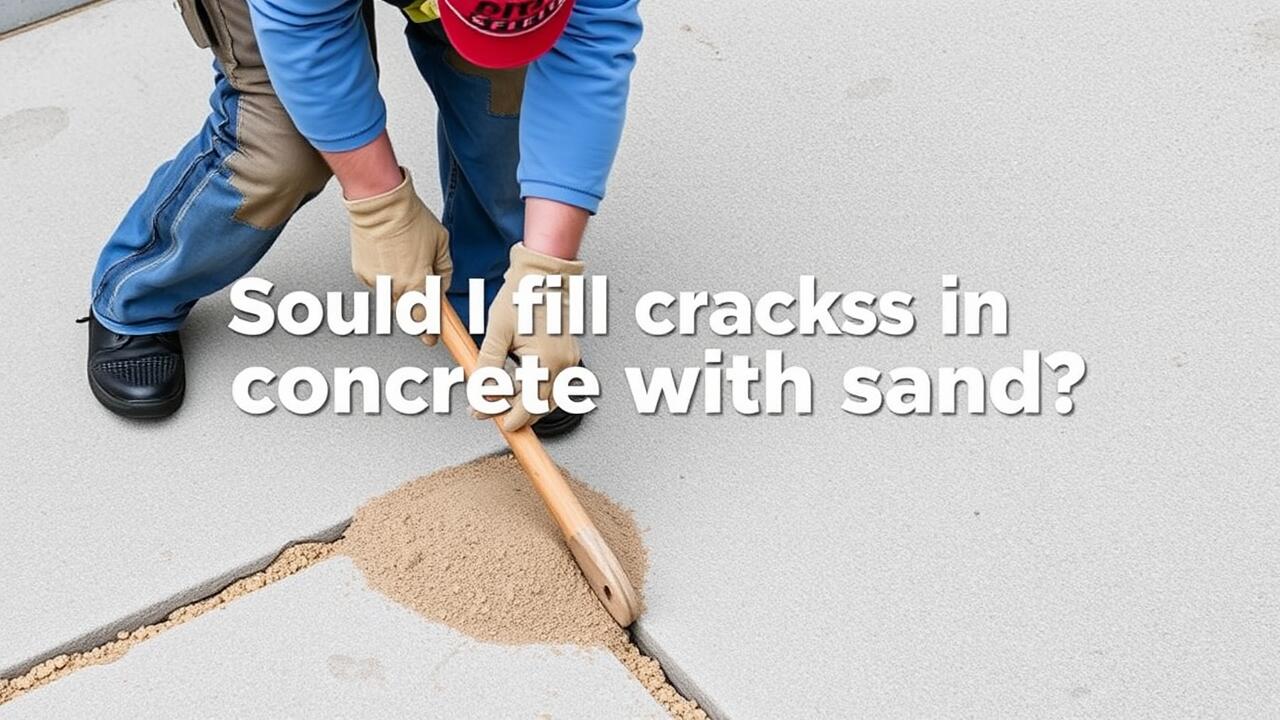
Step-by-Step Guide to Filling Cracks
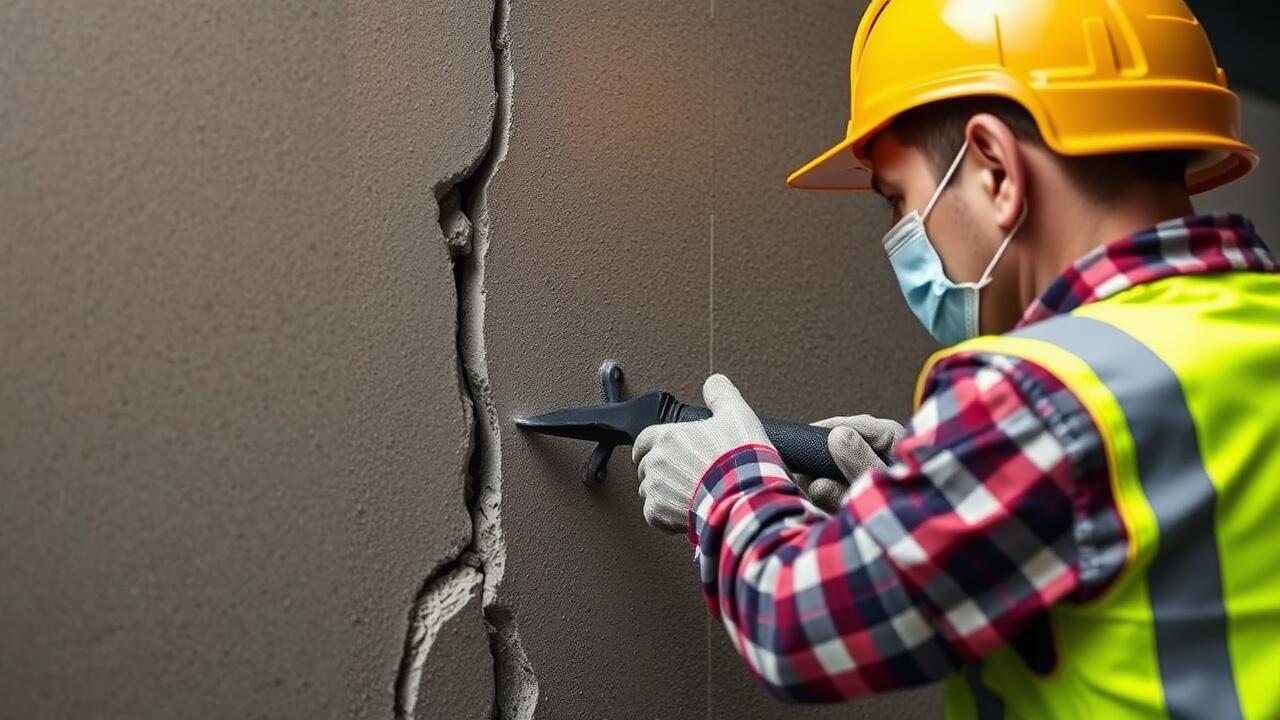
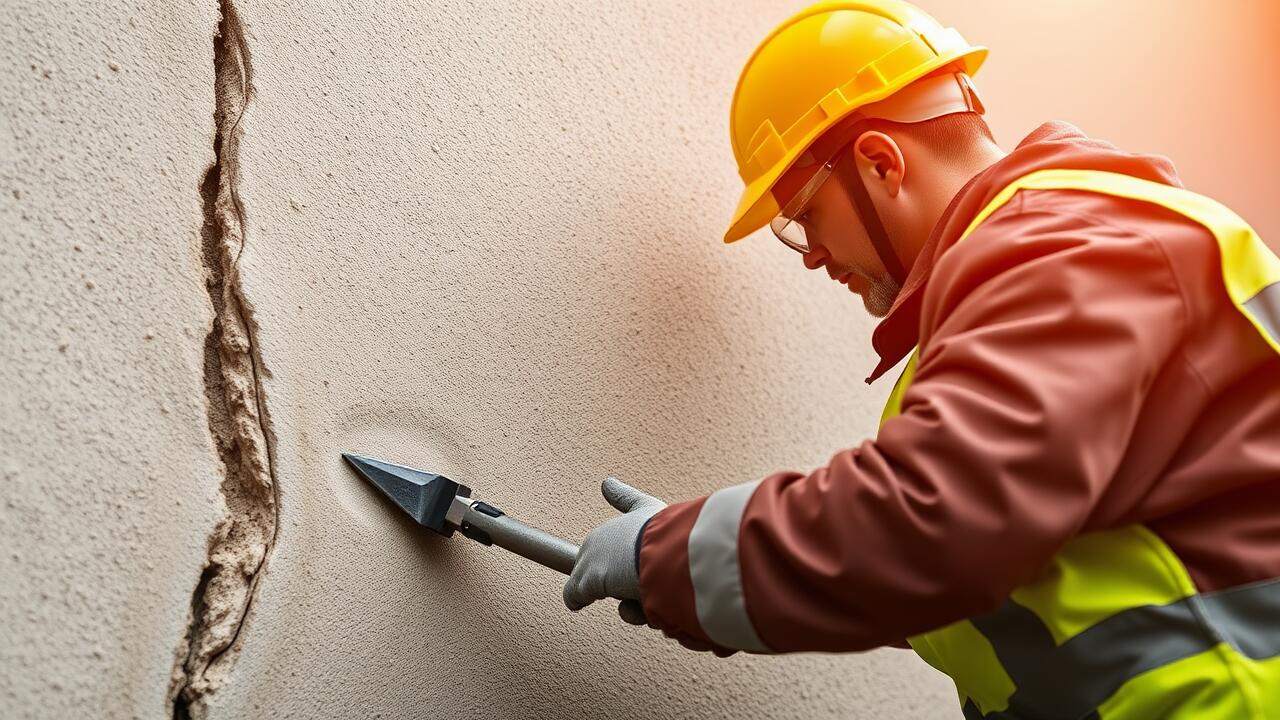
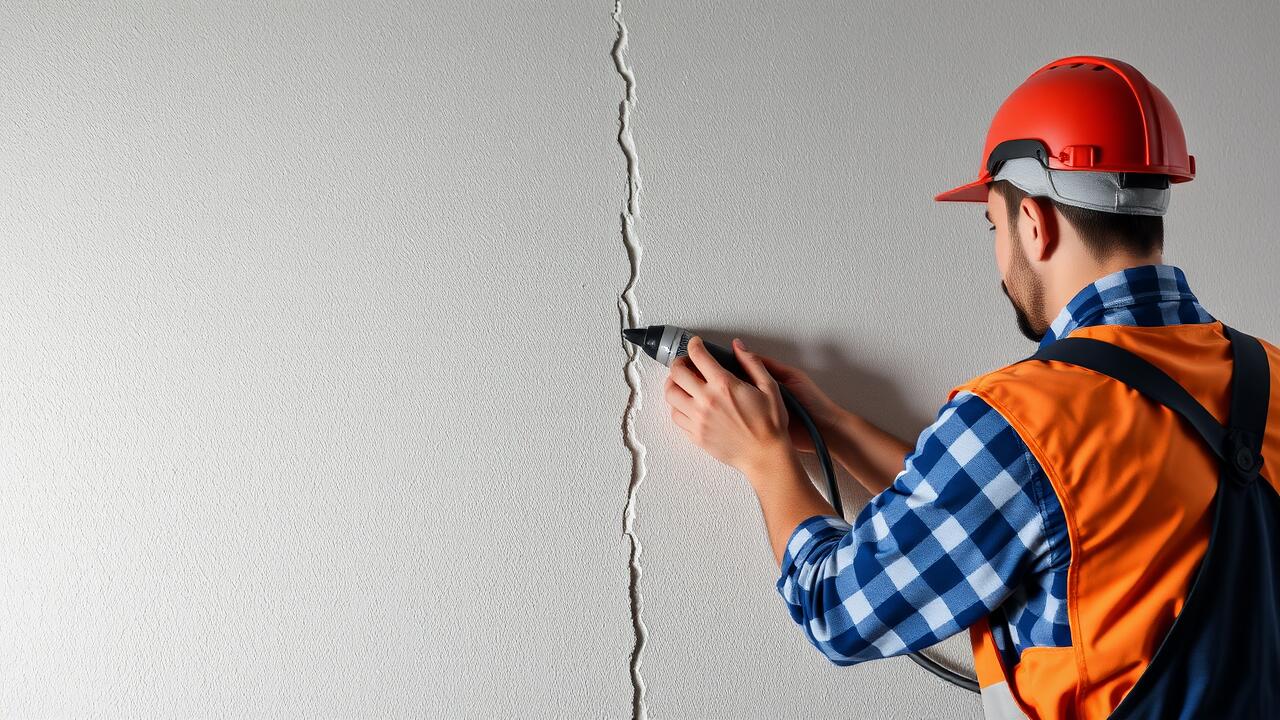
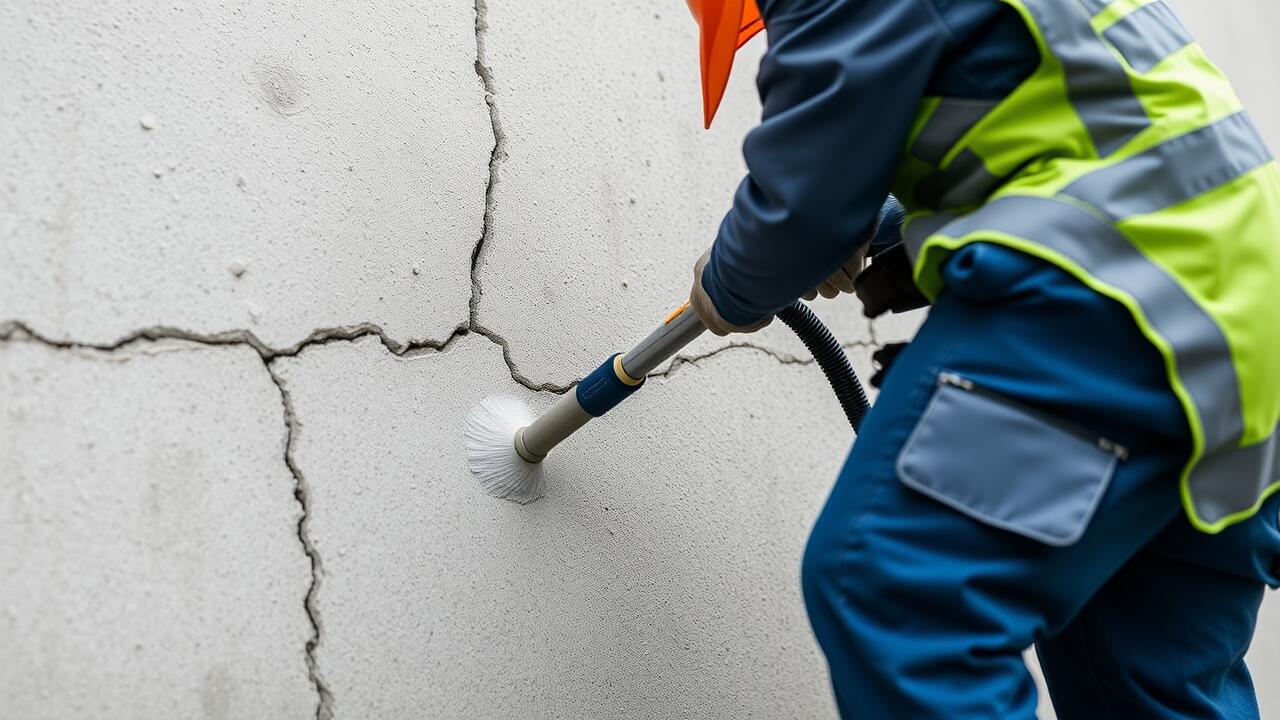
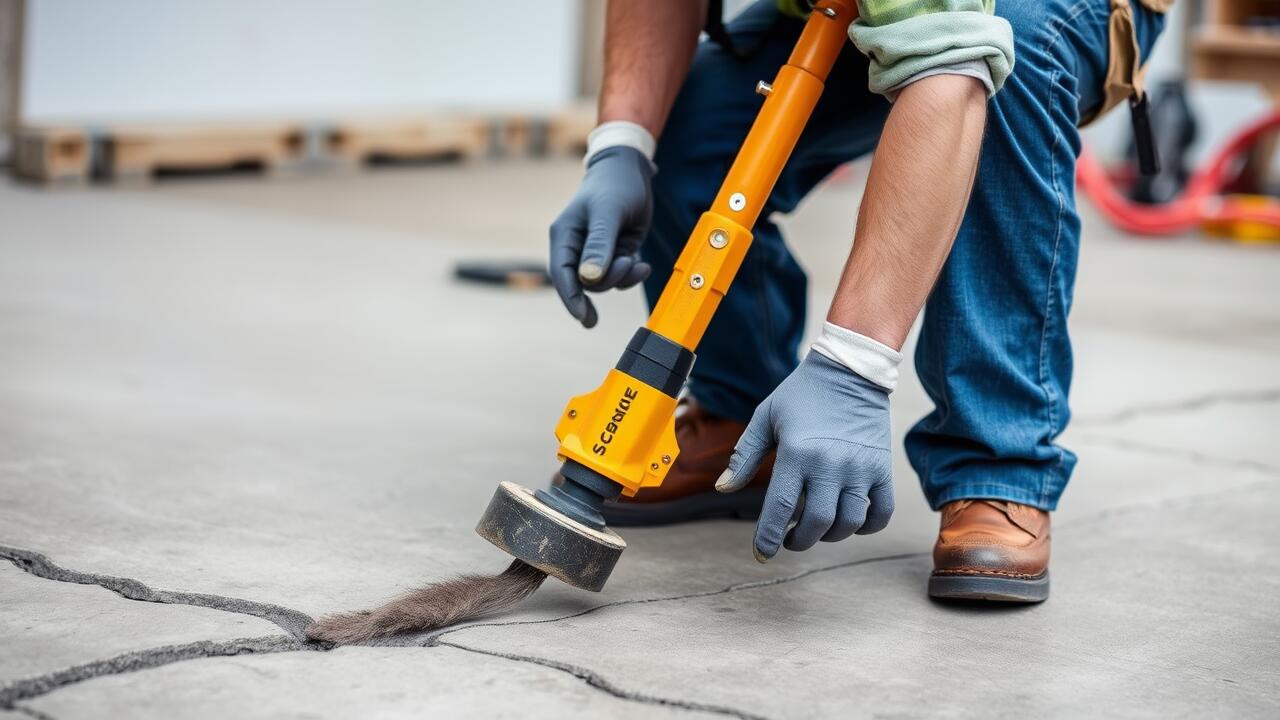
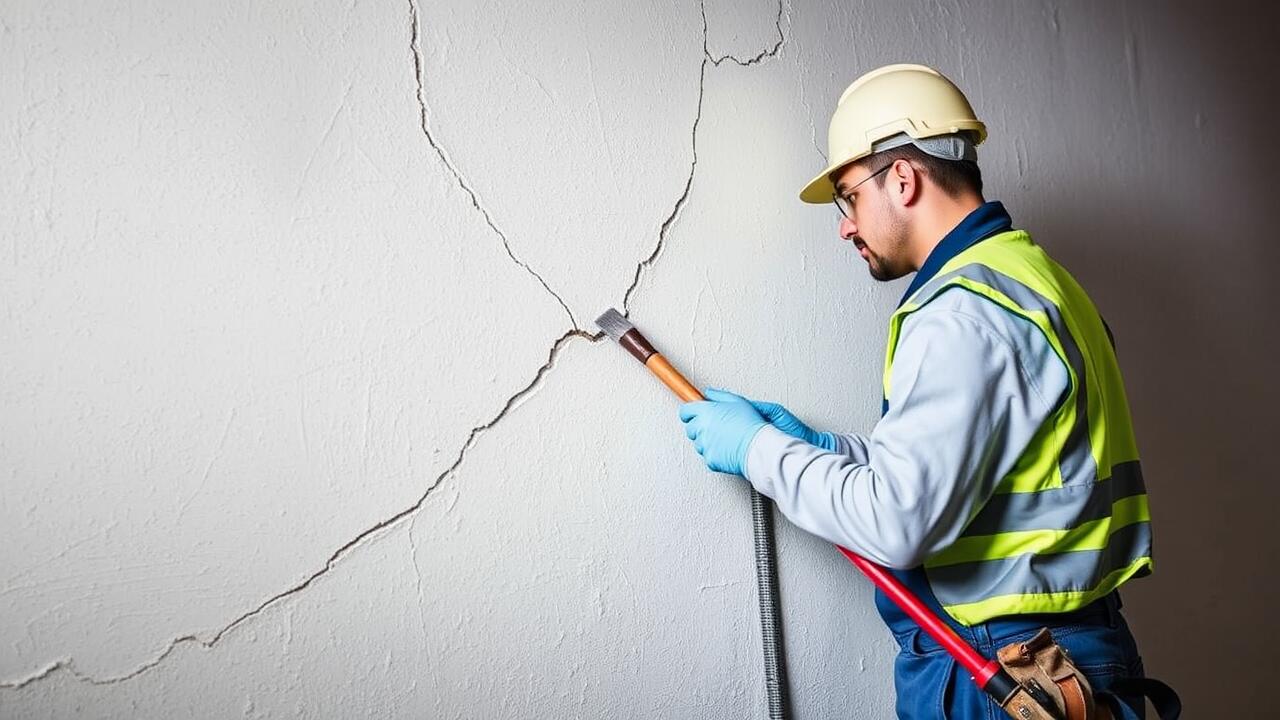
Filling structural cracks is essential to maintain the integrity of surfaces. Begin by assessing the size and depth of the crack. For small cracks, a crack repair compound or a flexible sealant works well. Clean the area thoroughly to remove any debris, grease, or loose material. Use a putty knife to apply the crack repair material, ensuring the compound fills the crack completely. Smooth the surface to blend with the surrounding area.
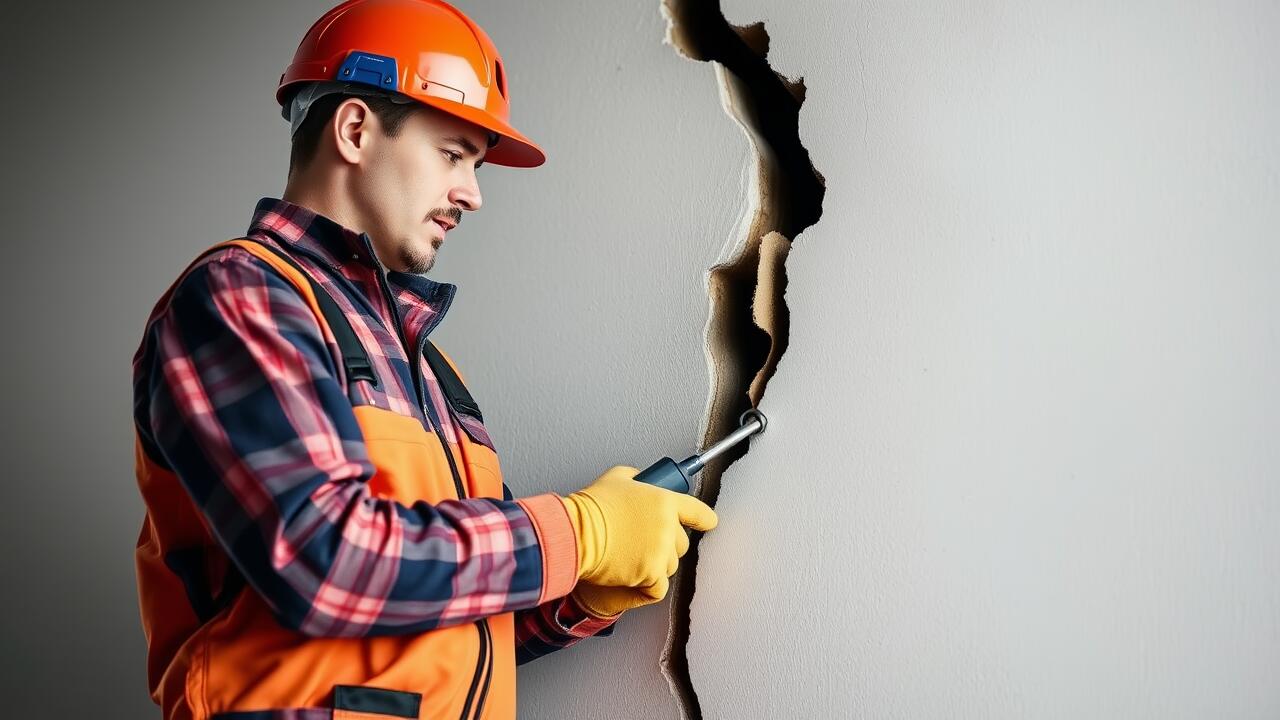
For larger gaps, a more robust approach may be necessary. If the crack is deeper than half an inch, consider using a foam backer rod before applying the crack repair material. This rod will help support the filler and prevent it from sinking. After applying the compound, smooth it out and allow it to set according to the manufacturer’s instructions. This careful attention during the crack repair process will enhance the strength and appearance of the repaired area.
Application Techniques
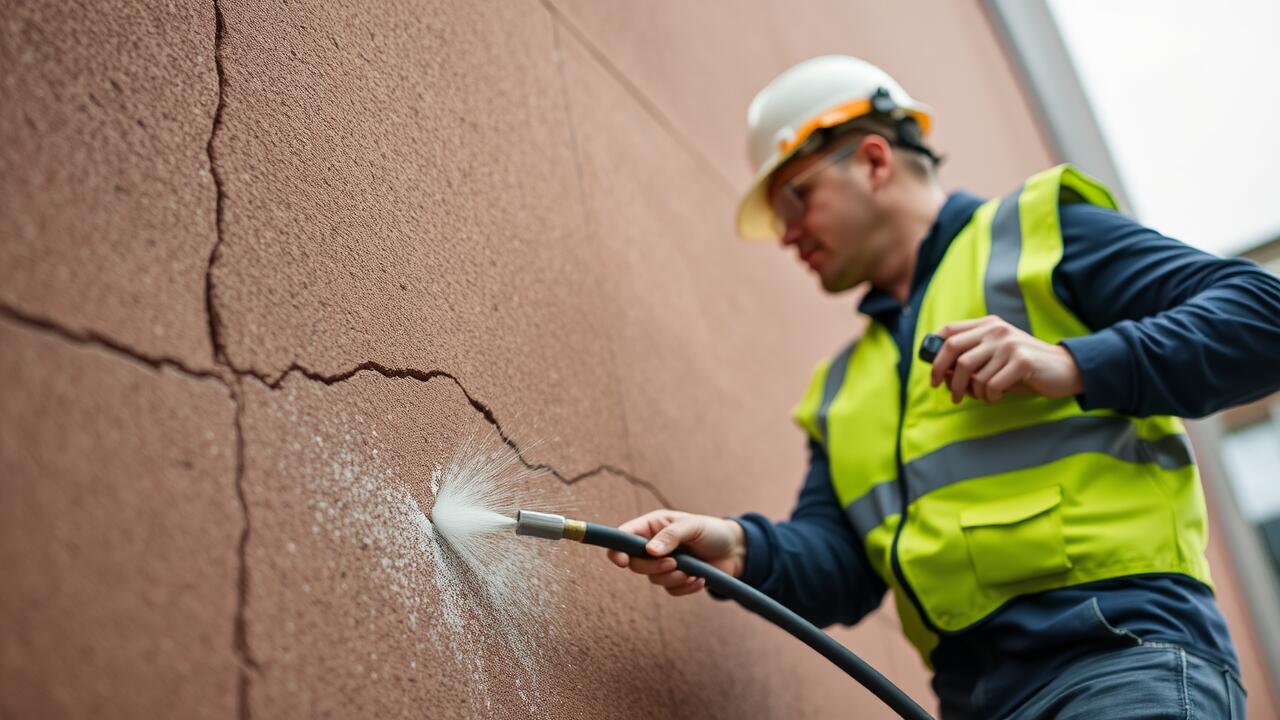
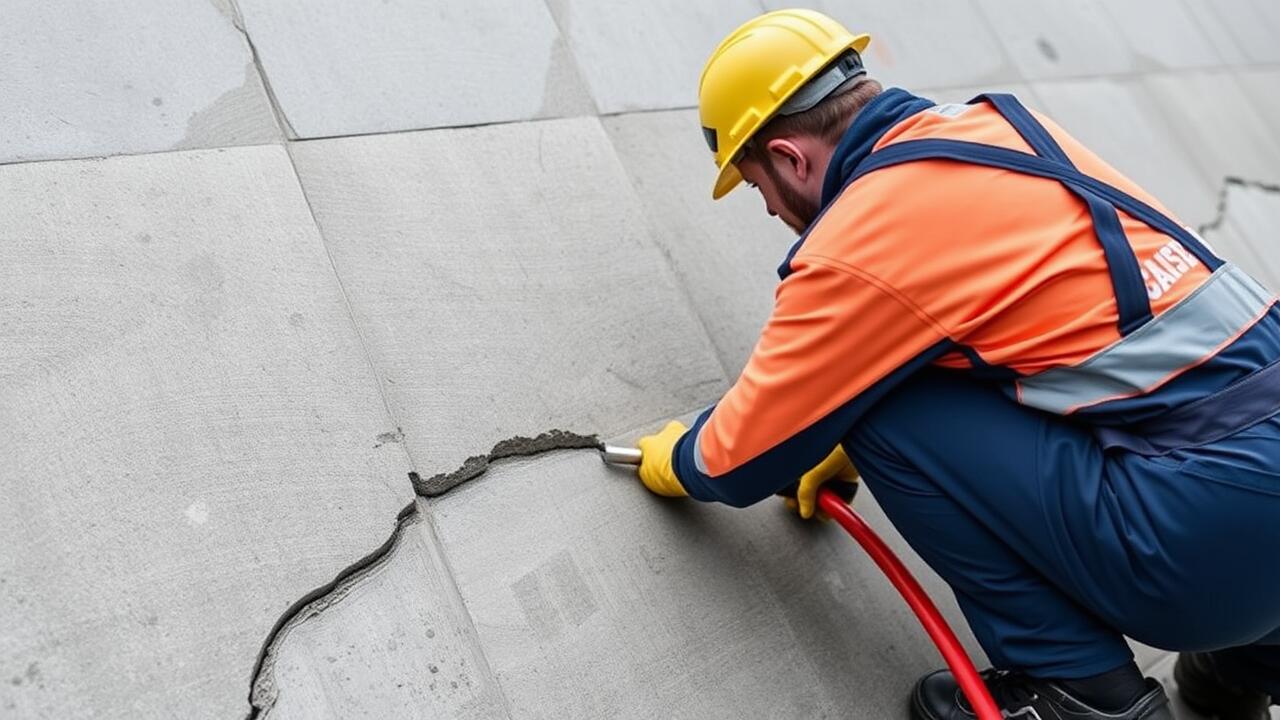
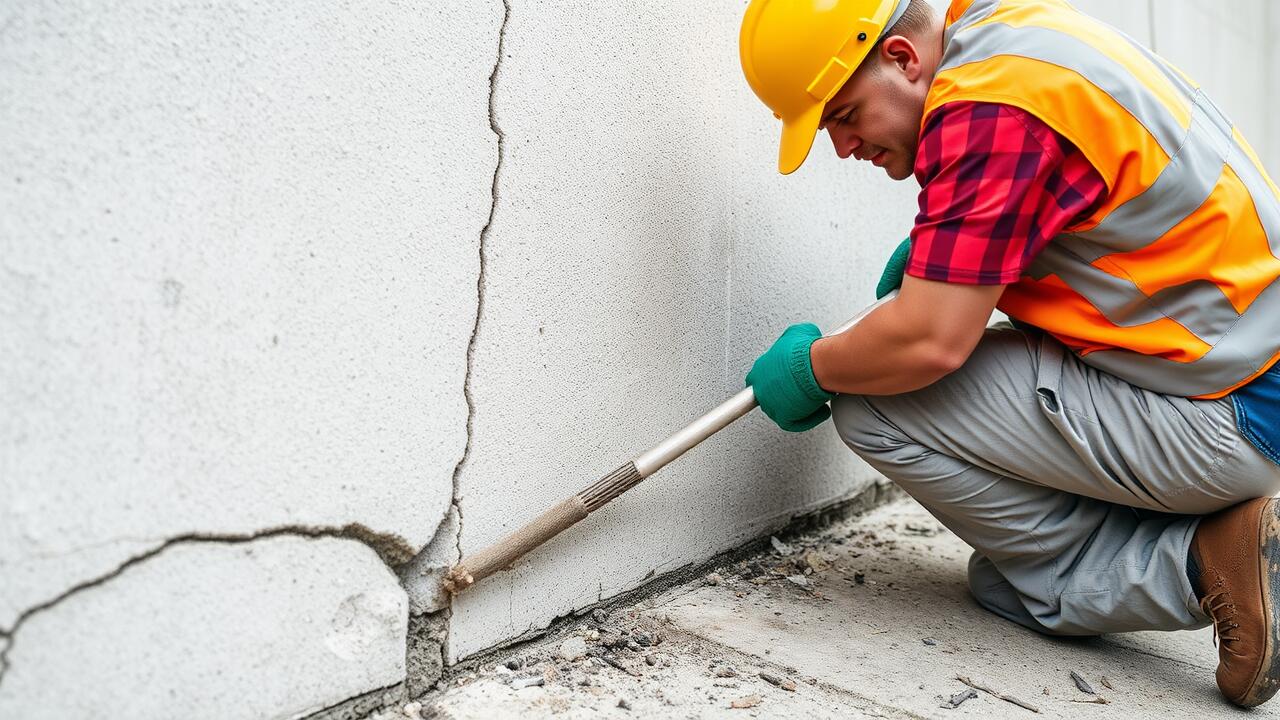
When embarking on a crack repair project, it is crucial to choose the right application technique based on the type and size of the crack. For small or hairline cracks, a simple caulk or epoxy may suffice, allowing for a smooth application with a caulk gun or putty knife. Larger cracks may require a more substantial approach, such as using a patching compound or a repair mix specifically designed for structural integrity. It is vital to clean the area thoroughly prior to filling the cracks to ensure proper adhesion of the materials.
In addition to selecting the correct product, the method of application significantly impacts the effectiveness of the repair. Using a putty knife, apply the filler firmly into the crack, ensuring there are no air pockets trapped within. For deeper cracks, packing the material tightly is essential, and multiple layers may be needed to achieve the desired depth. Once filled, the surface should be smoothed out to blend in with the surrounding structure, which will help the repair visually integrate with the existing material.
Curing and Drying Times
Curing times for crack repair materials can vary based on the product used and environmental conditions. Typically, many epoxy and polyurethane fillers require a minimum of 24 hours to cure fully. During this period, it is essential to keep the area protected from moisture, extreme temperatures, and physical disturbance to ensure optimal adhesion and effectiveness of the repair.
Drying times also play a crucial role in the overall success of the repair. For instance, while some products may feel dry to the touch within a few hours, they may not be structurally sound until they have cured completely. Monitoring the recommended drying times provided by the manufacturer will help achieve the best results, ensuring the crack repair bonds effectively and can withstand stress over time.
Factors Affecting Curing
Curing times for crack repair can vary significantly depending on several environmental conditions. Temperature plays a crucial role; higher temperatures generally accelerate the curing process, while lower temperatures can slow it down. Humidity levels also affect curing rates. High humidity can hinder the evaporation of water in some materials, leading to an extended drying period.
The type of material used for crack repair can impact the curing times as well. Some compounds, like epoxy or polyurethane, are designed to cure quickly but may require specific conditions for optimal results. Additionally, the thickness of the applied material can alter the curing process. Thicker layers may take longer to dry compared to thinner applications, necessitating careful consideration during the repair process.
Preventing Future Cracks
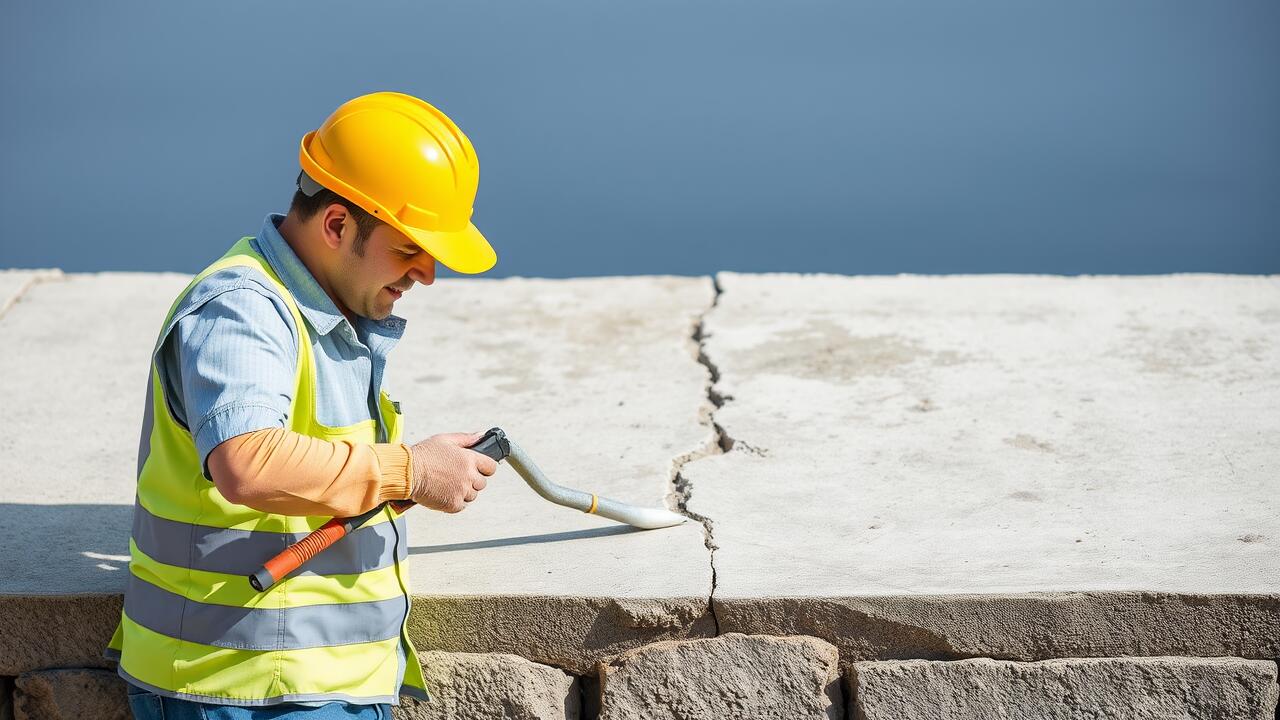
Preventing future cracks requires a proactive approach to maintenance and awareness of environmental factors. Regularly inspect your structures for signs of wear and tear, addressing issues early can prevent extensive damage. Implementing proper drainage systems also plays a crucial role in crack prevention, as water accumulation can lead to soil erosion and foundation shifts. Additionally, using quality materials during construction ensures better durability and resilience against the elements.
Another effective strategy involves routine crack repair. After filling existing cracks, consider applying a sealant to protect the area from moisture and contaminants. Monitoring temperature changes and adjusting for ground movement can further reduce the risk of new cracks forming. Engaging professionals for periodic assessments is beneficial for identifying potential weaknesses before they develop into significant problems.
Maintenance Tips
Regular maintenance is essential for prolonging the life of your surfaces and preventing new cracks from developing. Inspecting your property periodically allows you to identify any early signs of cracking. Addressing issues promptly can save time and money in the long run. Simple actions such as clearing gutters and downspouts can help divert water away from the foundation, an often-overlooked source of structural problems.
Additionally, consider applying a sealant to surfaces prone to cracking. This preventive measure provides an extra layer of protection against moisture infiltration and freeze-thaw cycles. Implementing a routine of crack repair can significantly reduce the risk of major structural issues. Proper landscaping techniques can also aid in managing water drainage, ensuring that soil near your building remains stable and less prone to shifting.
FAQS
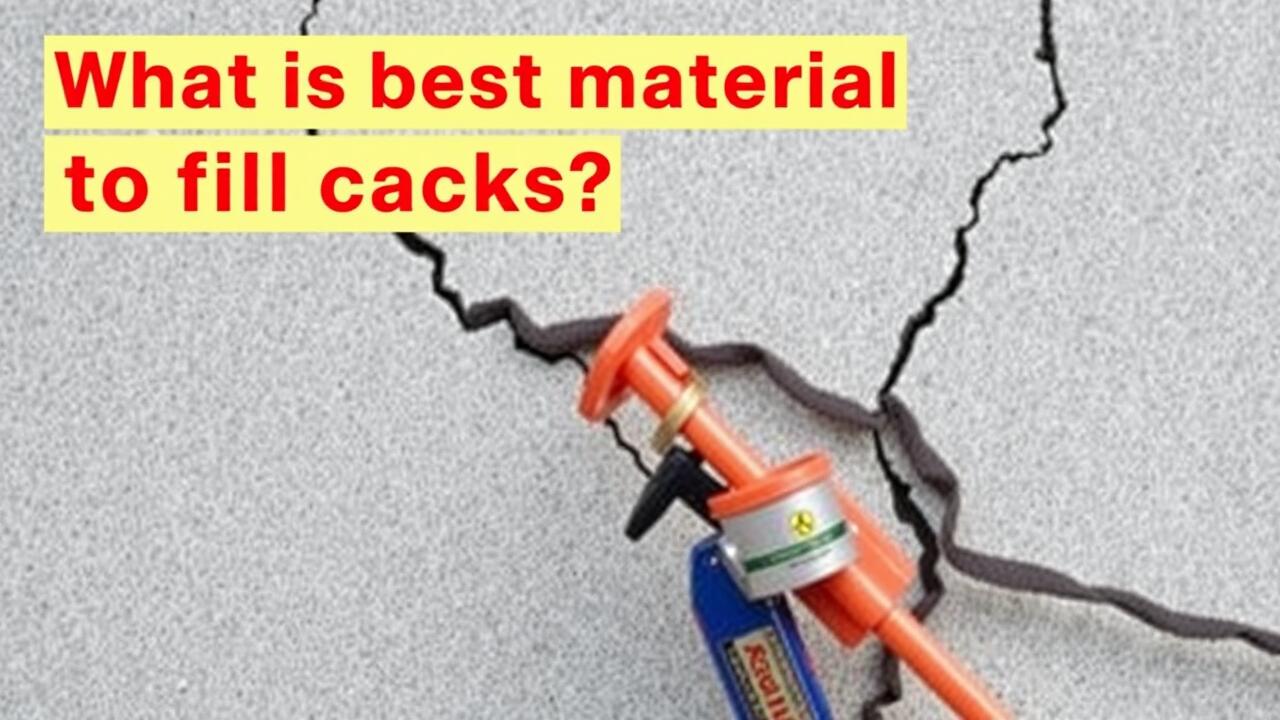
What materials can I use to fill structural cracks?
Common materials for filling structural cracks include epoxy resin, polyurethane foam, concrete patching compounds, and hydraulic cement, depending on the size and type of the crack.
How do I know if a crack is structural or cosmetic?
Structural cracks are typically wider than 1/4 inch and may indicate underlying issues with the foundation or walls, while cosmetic cracks are usually smaller and do not affect the integrity of the structure.
How long does it take for crack filler to cure?
Curing times can vary depending on the material used, but most fillers may take anywhere from 24 hours to several days to cure fully. Always check the manufacturer's instructions for specific guidance.
Can I paint over filled cracks?
Yes, once the filler has fully cured and dried, you can paint over it. Make sure to use a compatible paint that adheres well to the filler material.
What steps can I take to prevent future cracks?
To prevent future cracks, ensure proper drainage around your foundation, maintain stable indoor humidity levels, and regularly inspect your property for signs of settling or water damage.