Table Of Contents
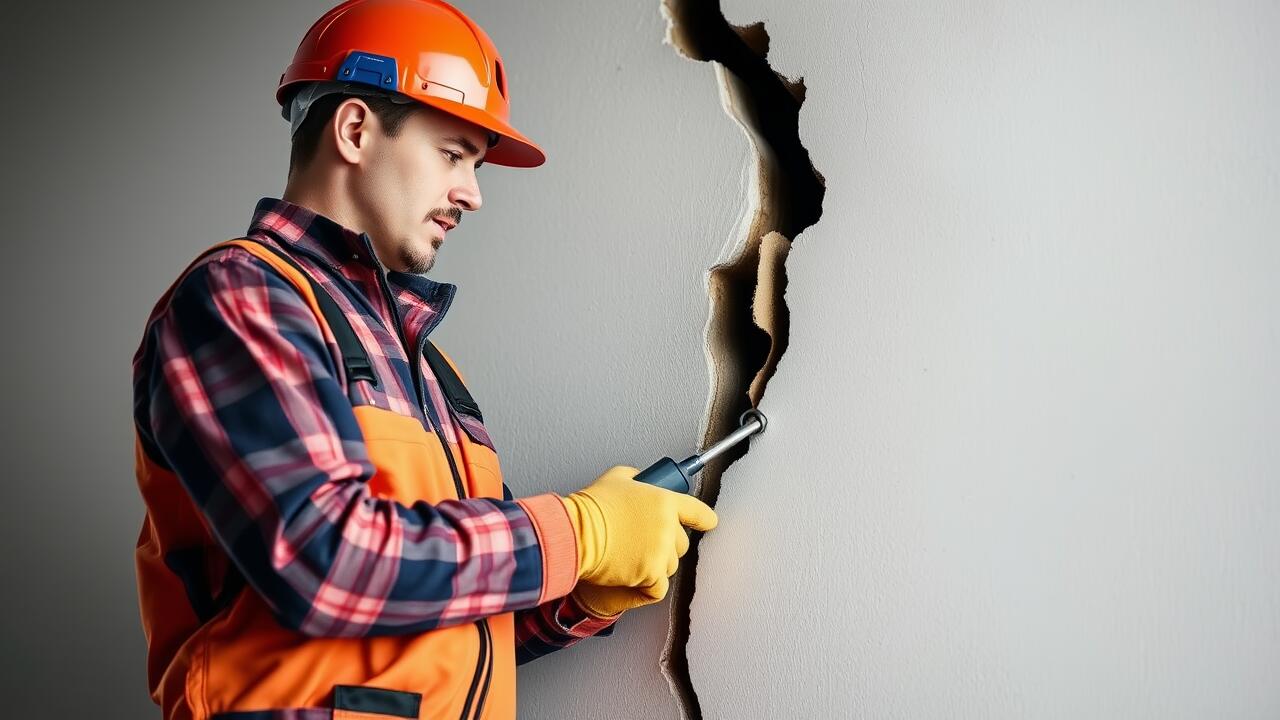
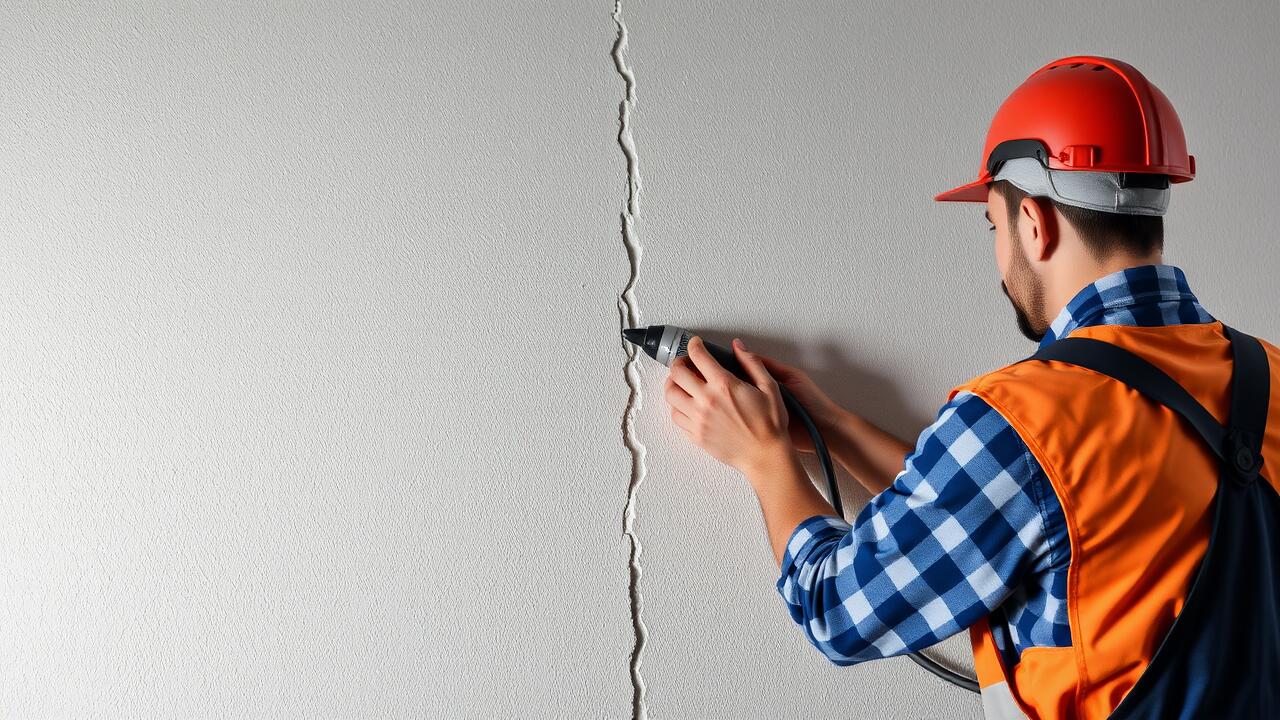
Filling Small Wall Cracks
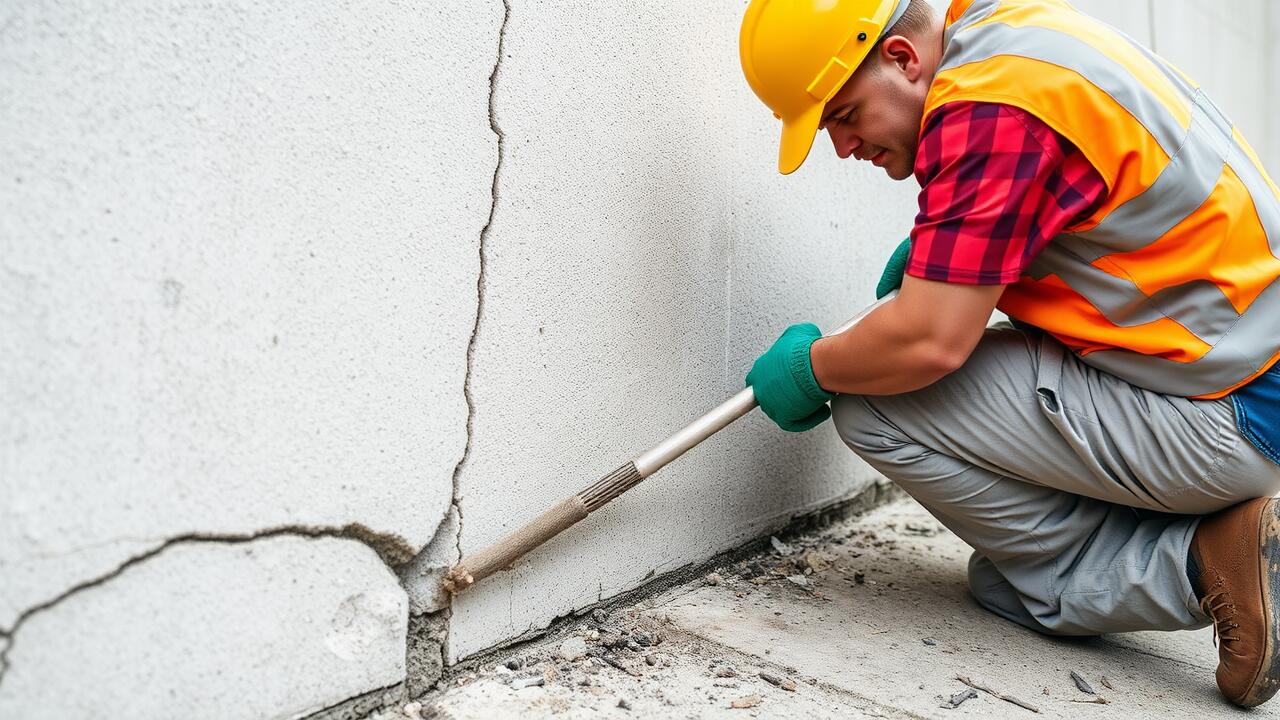
For minor imperfections, filling small wall cracks can be a straightforward process. Start by cleaning the area around the crack to remove dust and debris. This ensures proper adhesion of the repair materials. Using spackling compound or caulk can effectively address these minor flaws. Simply apply the chosen material directly into the crack, using a putty knife or your finger to smooth it out as you go.
Allow the repair material to dry according to the manufacturer’s instructions. Once dry, you can gently sand the area to achieve a smooth finish that blends seamlessly with the rest of the wall. If the wall is painted, consider touching up the area with matching paint for a polished appearance. This simple approach to crack repair helps maintain the overall integrity and aesthetics of your walls.
Using Spackling Compound or Caulk
When dealing with small wall cracks, a spackling compound or caulk can be the ideal choice for effective crack repair. Spackling compound is a lightweight paste that fills shallow gaps and provides a smooth finish once dried. It’s easy to apply using a putty knife, ensuring that you can blend it seamlessly with the surrounding wall surface. Alternatively, caulk is particularly useful for cracks that involve movement, offering flexibility to accommodate slight shifts in the wall structure. Both options serve to seal the crack while preventing moisture penetration and further damage.
Before applying either product, prepare the surface by cleaning it thoroughly. Remove any loose debris or peeling paint to ensure proper adhesion. Once the area is prepped, apply the spackling compound or caulk directly into the crack, filling it completely. For spackling, smooth the surface with a putty knife, while caulk can be smoothed with a wet finger or tool for a neater finish. Allow the material to dry according to the manufacturer’s instructions, and sand lightly if necessary for an even texture. This approach promotes a durable and long-lasting crack repair that enhances the overall appearance of your walls.
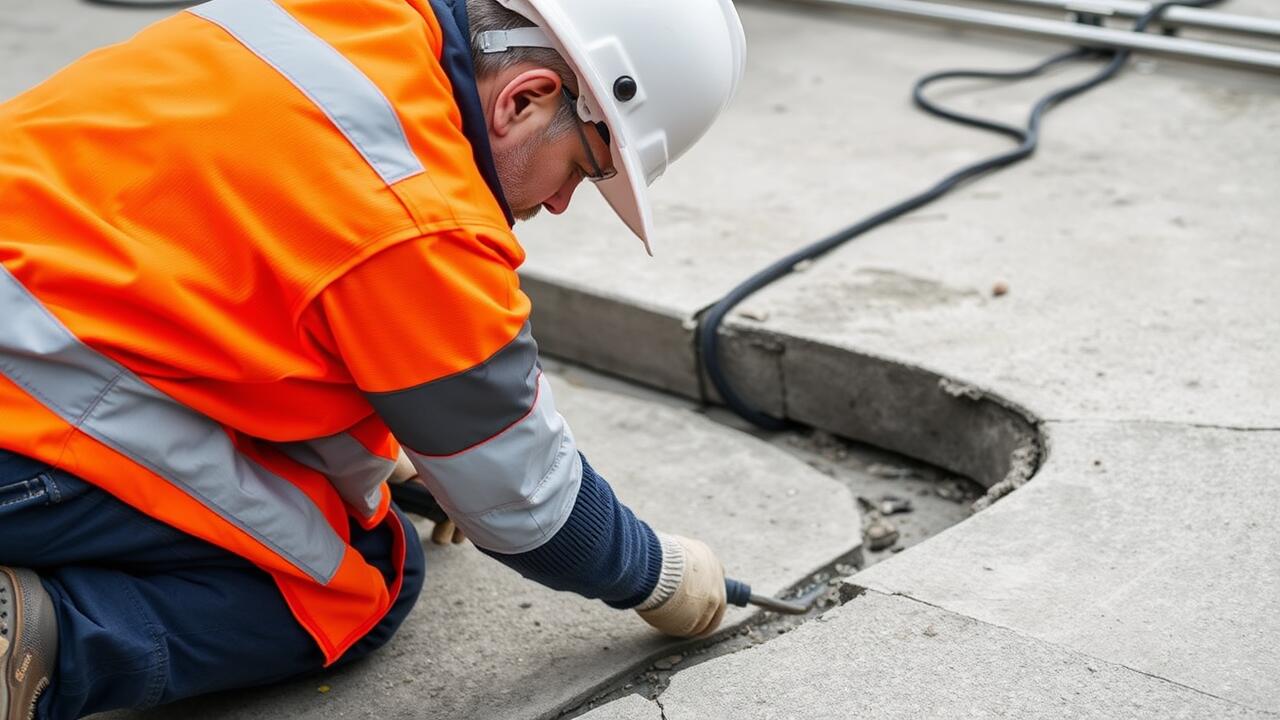
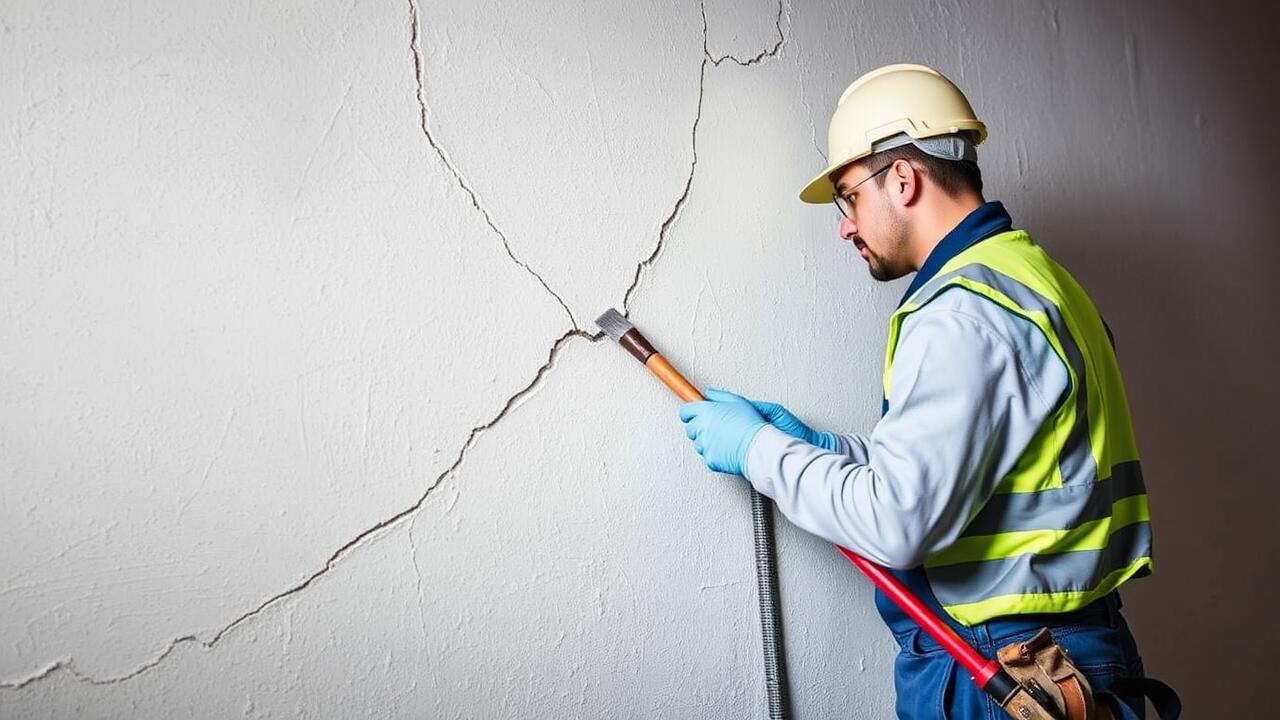
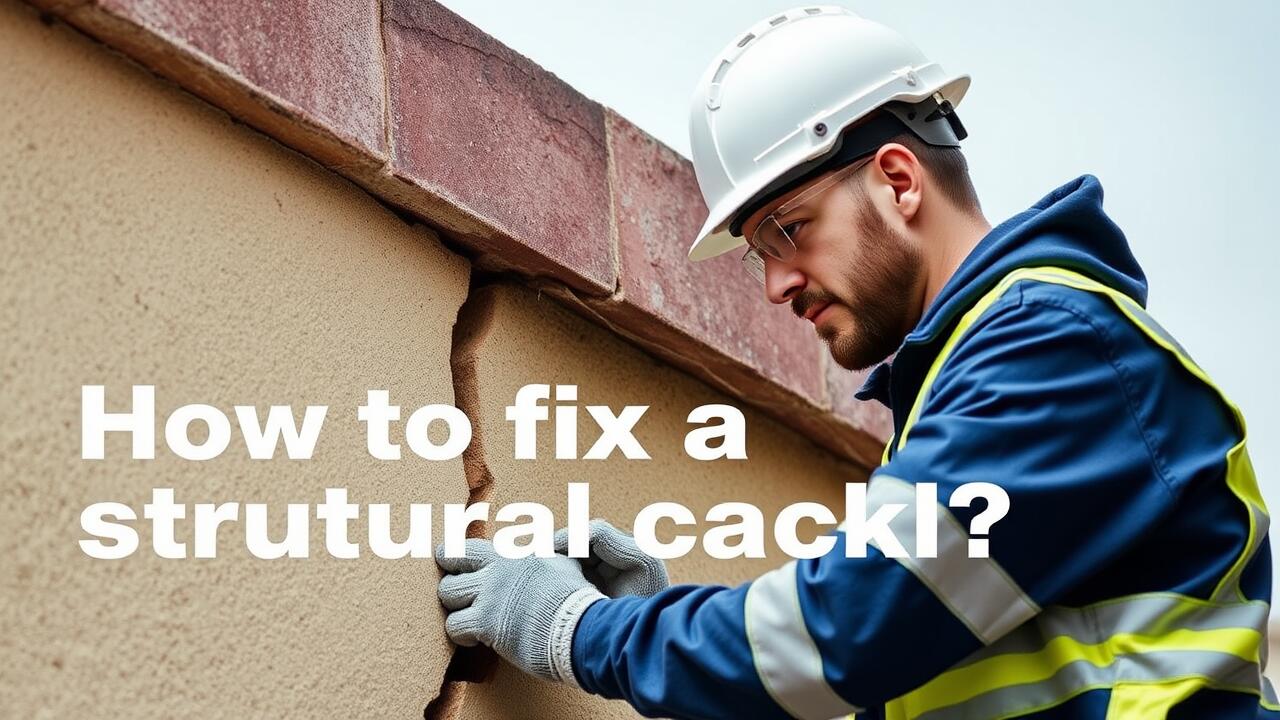
Addressing Larger Cracks
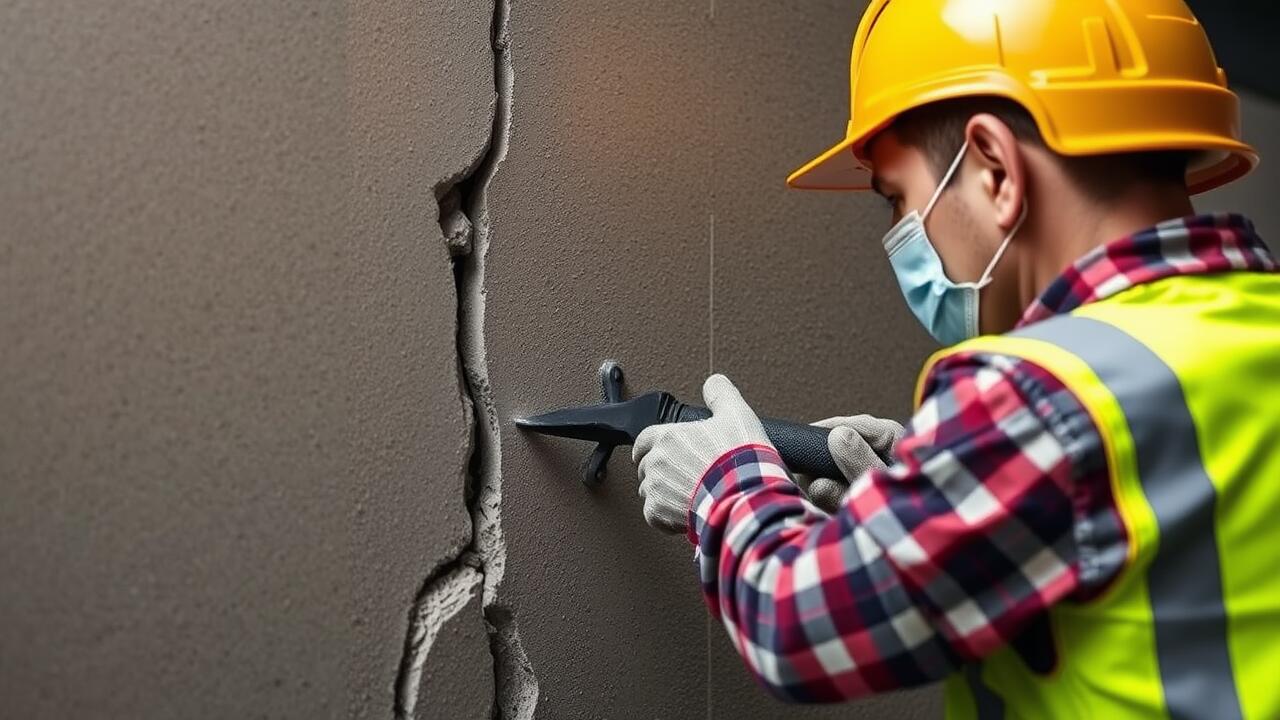
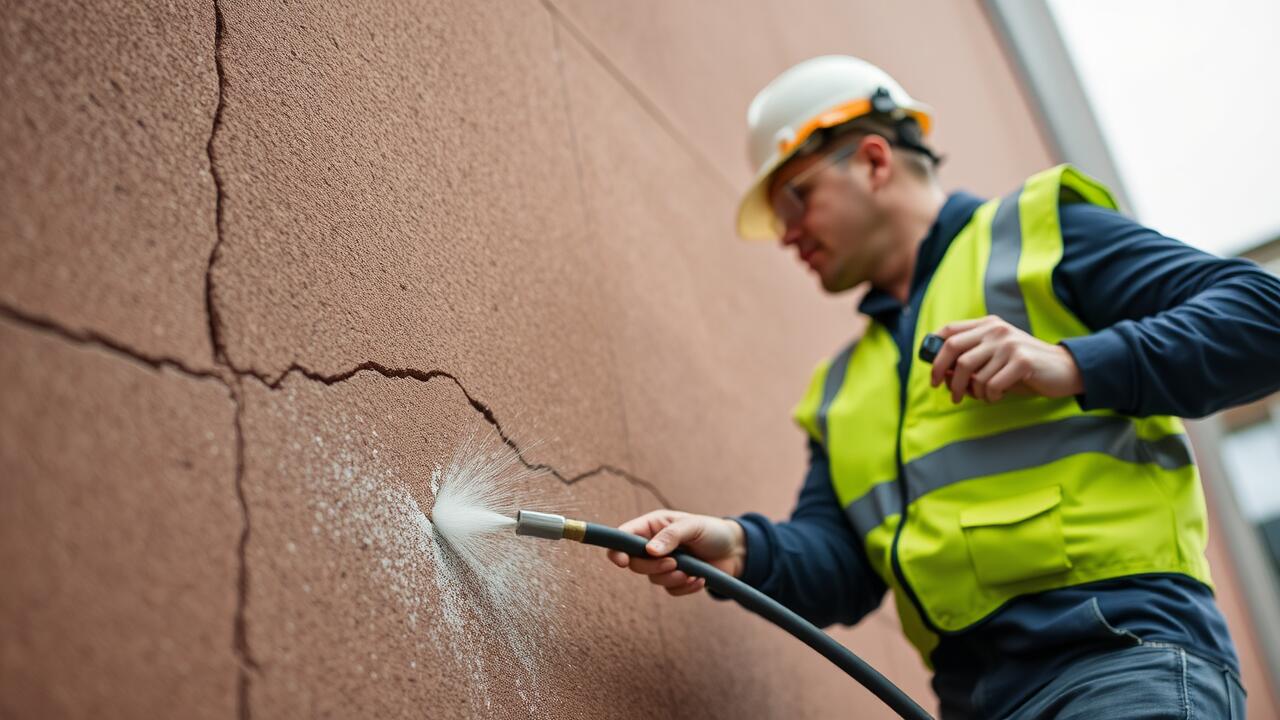
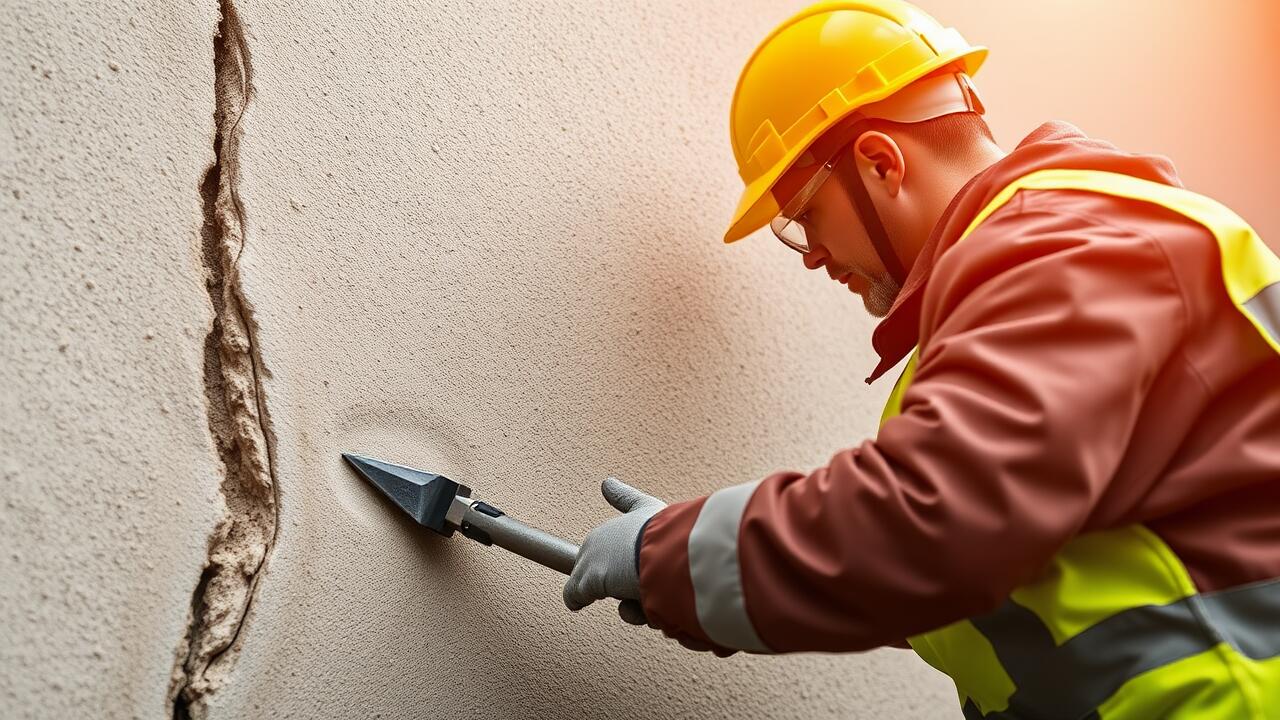
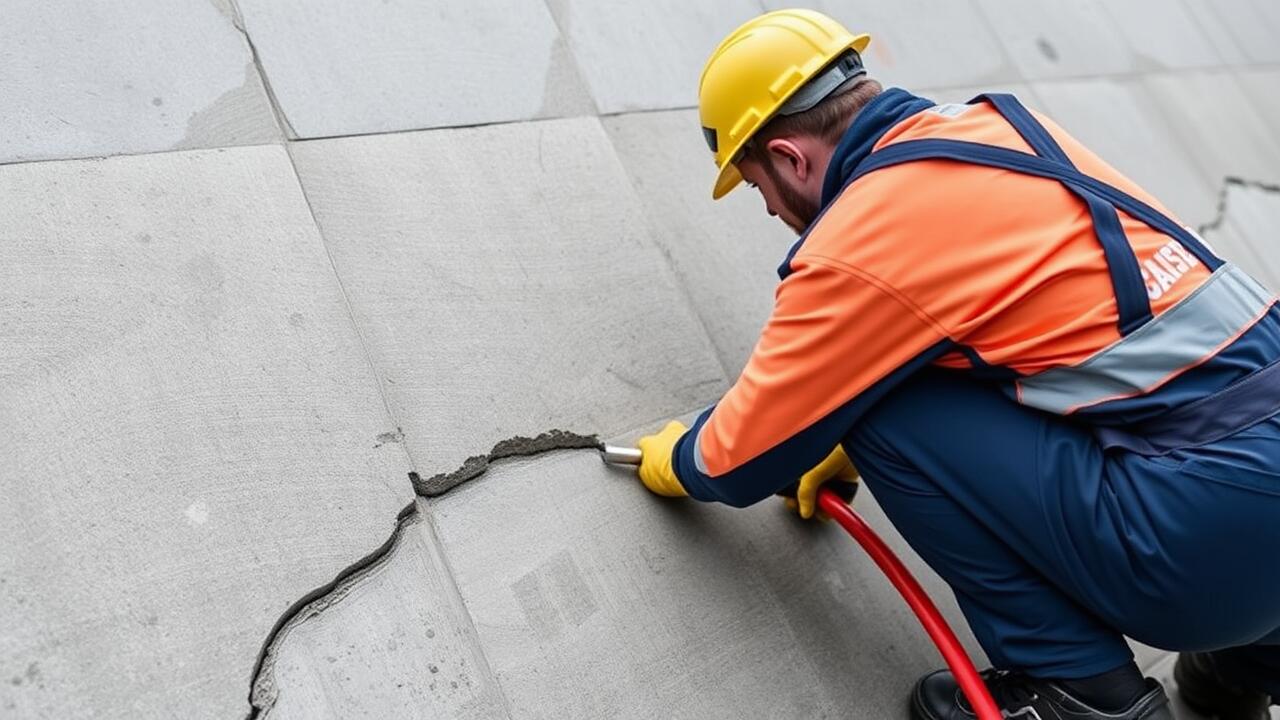
Larger wall cracks often indicate structural issues rather than just superficial damage. For effective repair, it is essential to assess the extent of the crack and determine if it requires additional reinforcement. Start by cleaning the area around the crack, removing any loose debris or paint. This preparation is crucial for ensuring proper adhesion of the materials used in the Crack Repair process.
Once the area is cleaned, apply a patching compound specifically designed for larger cracks. Use a putty knife to fill the crack, pressing the compound firmly into the opening to eradicate any air pockets. Smooth the surface with the knife to ensure it is level with the surrounding wall. Allow it to cure according to the manufacturer’s instructions before sanding and priming for painting, ensuring a seamless finish.
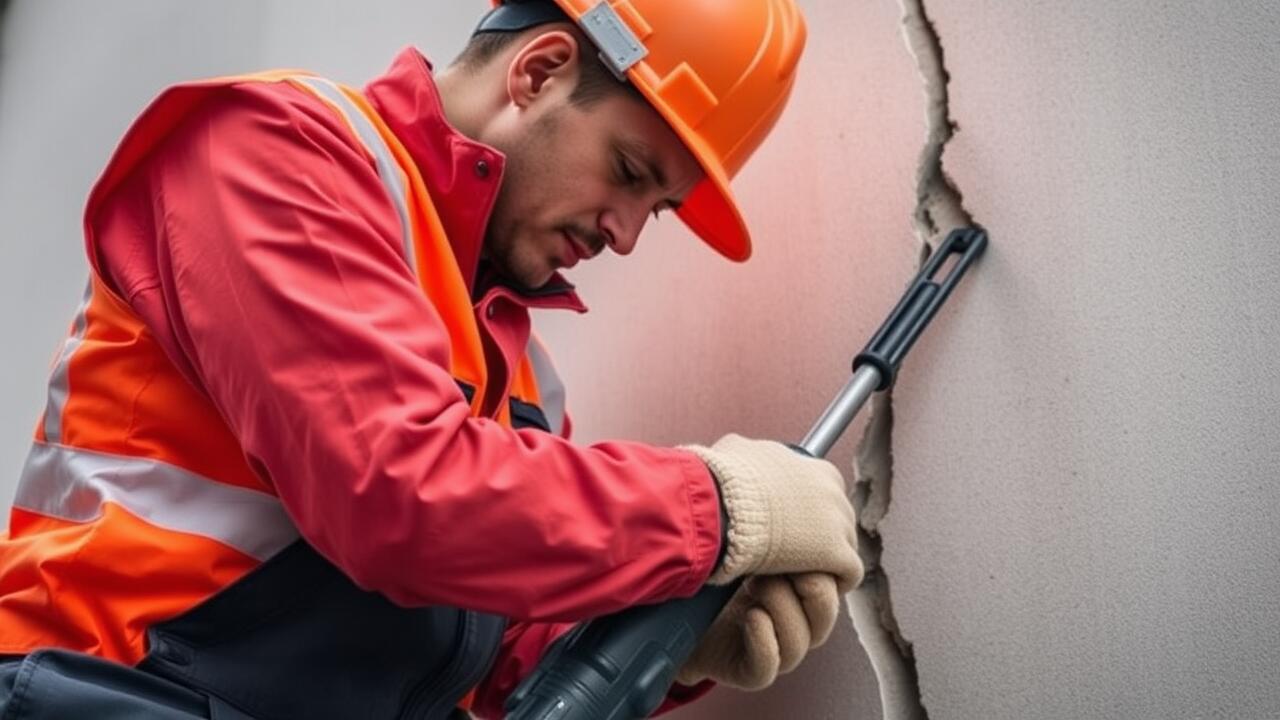
Applying Patching Compound
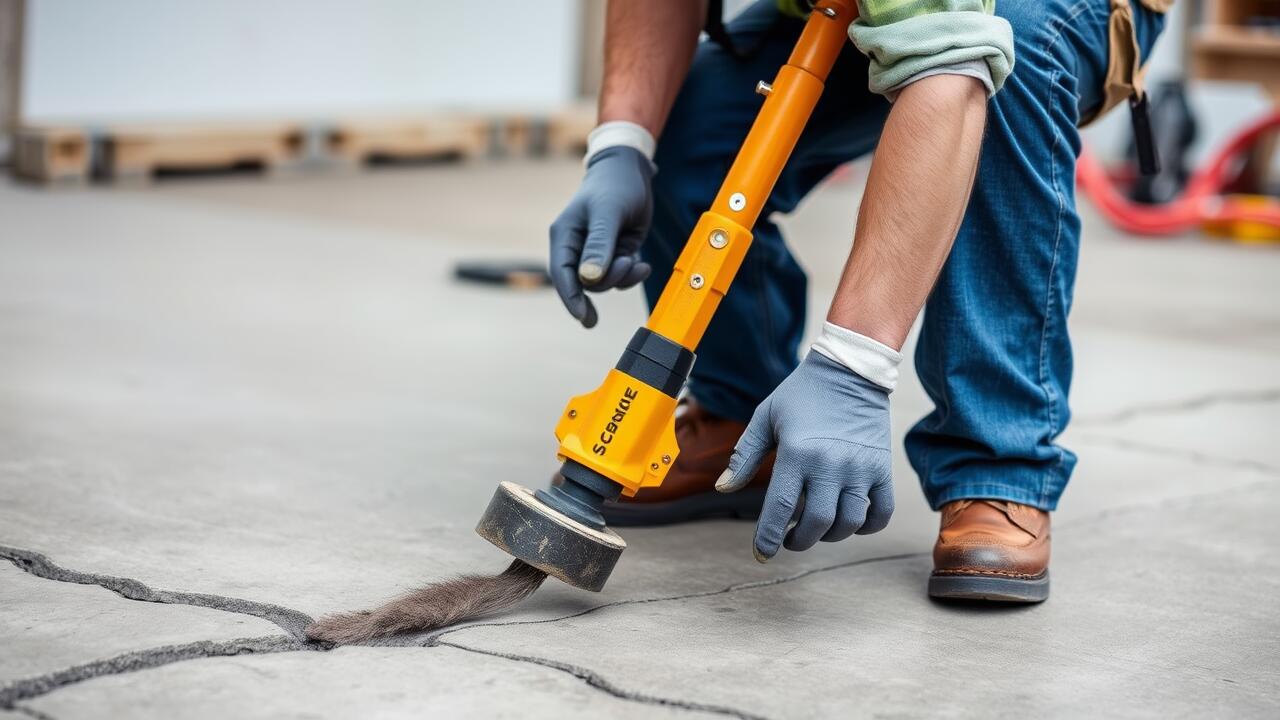
To effectively apply patching compound for larger cracks, start by cleaning the area thoroughly. Remove any loose debris, dust, or previous finishes to ensure a strong bond. It's crucial to follow manufacturer instructions regarding the consistency of the mixture. Use a putty knife to apply the compound, pressing it firmly into the crack to fill it completely. Ensure that the surface is smooth and even, as this will facilitate the painting process later on.
After finishing the application, allow the patching compound to dry according to the specified time on the product label. Once dry, sand the area gently to achieve a seamless transition between the patched surface and the surrounding wall. This step is essential for achieving a professional look in your Crack Repair project. Finally, clean off any dust from sanding to prepare for priming and painting, ensuring that the repair integrates well with the existing wall.
Reinforcing with Mesh Tape
Mesh tape serves as a vital component in the process of crack repair, providing additional strength and stability to your wall. This tape is made from fiberglass or other sturdy materials that help to bridge gaps and prevent further cracking. When applied over larger cracks, mesh tape enhances the bond of the compound used and reinforces the area, ensuring a smoother and more durable finish.
Using mesh tape effectively requires a few simple steps. Begin by applying a suitable joint compound over the crack and pressing the tape into the wet compound. Use a putty knife to smooth the compound over the tape, embedding it securely and ensuring there are no bubbles. Once it dries, additional layers of joint compound can be applied to achieve a seamless appearance, making the wall ready for painting or finishing touches.
How to Use Mesh Tape Effectively
When applying mesh tape for crack repair, it's crucial to ensure that the surface is clean and dry before starting. Begin by cutting a piece of mesh tape that is slightly longer than the crack you intend to fill. Press the tape firmly over the crack, ensuring it adheres well to the wall. Use a putty knife to smooth it out and eliminate any air bubbles, as this will help the tape bond more effectively with the compound later.
Next, apply a layer of joint compound over the mesh tape. Use a broad knife to spread the compound smoothly and evenly over the tape, feathering the edges for a seamless finish. Allow the compound to dry completely before sanding it down to achieve a smooth surface. This method not only reinforces the crack repair but also creates a sturdy base for any subsequent layers or paint, ensuring a long-lasting result.
FAQS
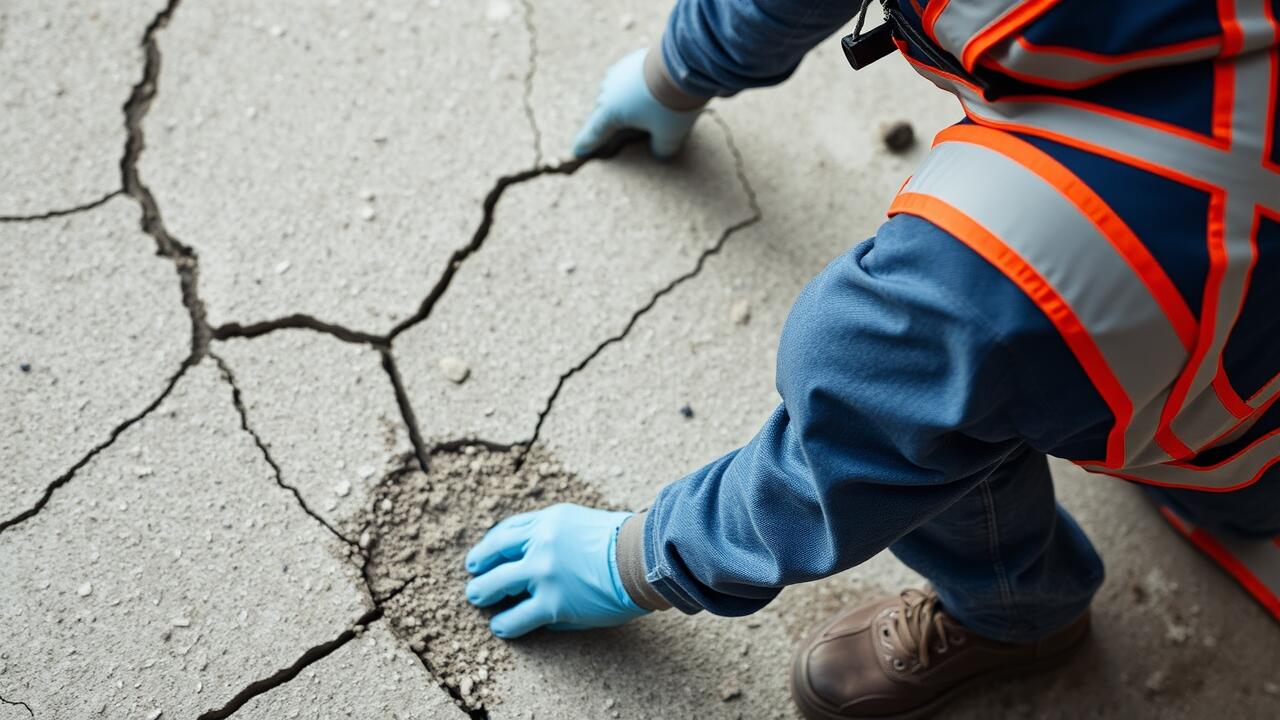
What are the common causes of wall cracks?
Common causes of wall cracks include settling of the foundation, temperature changes, moisture damage, and structural issues with the home.
Can I fix wall cracks myself, or should I hire a professional?
Many small wall cracks can be fixed by homeowners with the right materials and techniques. However, for larger or structural cracks, it may be advisable to hire a professional to ensure proper repair.
How do I know if a crack is small or large?
Small cracks are typically hairline or up to 1/8 inch wide, while larger cracks are wider, deeper, and may indicate underlying structural issues. If a crack is wider than 1/4 inch or shows signs of movement, it's best to consult a professional.
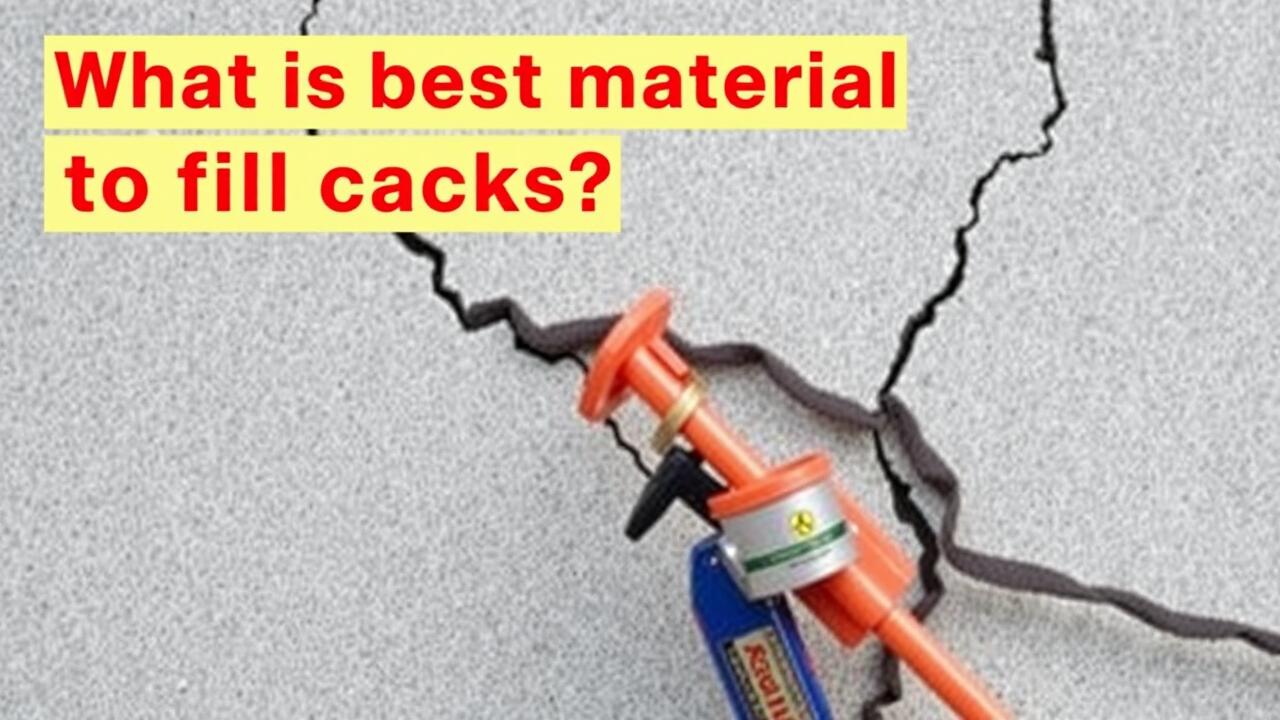
What materials do I need for fixing wall cracks?
For small cracks, you will need spackling compound or caulk. For larger cracks, a patching compound and mesh tape may be necessary to ensure a strong repair.
How long does it take for the repair process to dry?
Drying times can vary depending on the materials used. Generally, spackling compounds may take a few hours to dry, while patching compounds can take 24 hours or longer. Always check the manufacturer's instructions for specific drying times.