Table Of Contents
Choosing the Right Repair Kit
Selecting the appropriate windshield repair kit is essential for achieving the best results in fixing chips and cracks. A good kit should include high-quality resin designed specifically for automotive glass. Verify that the kit contains all necessary tools, such as a windshield repair injector, curing strips, and a scraper. Look for products that have received positive customer reviews, indicating their effectiveness and ease of use.
When choosing a repair kit, consider the size and type of damage you need to address. Some kits are better suited for small chips, while others can handle larger cracks. It is important to choose a kit that matches the specifications required for proper windshield repair. Many manufacturers offer detailed instructions to help you through the process, so ensure that the product you select provides clear guidelines for use.
Key Features to Look For
When choosing a windshield repair kit, it is essential to look for high-quality resin. The resin should be specially formulated for automotive glass. Look for kits that come with a clear resin, as this provides better optical clarity after curing. Additionally, consider kits that include a vacuum injector. A vacuum injector helps in removing air bubbles from the damaged area, leading to a more effective repair.
Another important feature to look for is the ease of application. Kits that come with detailed instructions can make the repair process smoother. Some kits may include a step-by-step guide or instructional videos to assist you. Ensure the kit has all the necessary tools for a complete repair. This can enhance your chances of restoring the windshield to its original condition.
Techniques for Smooth Application
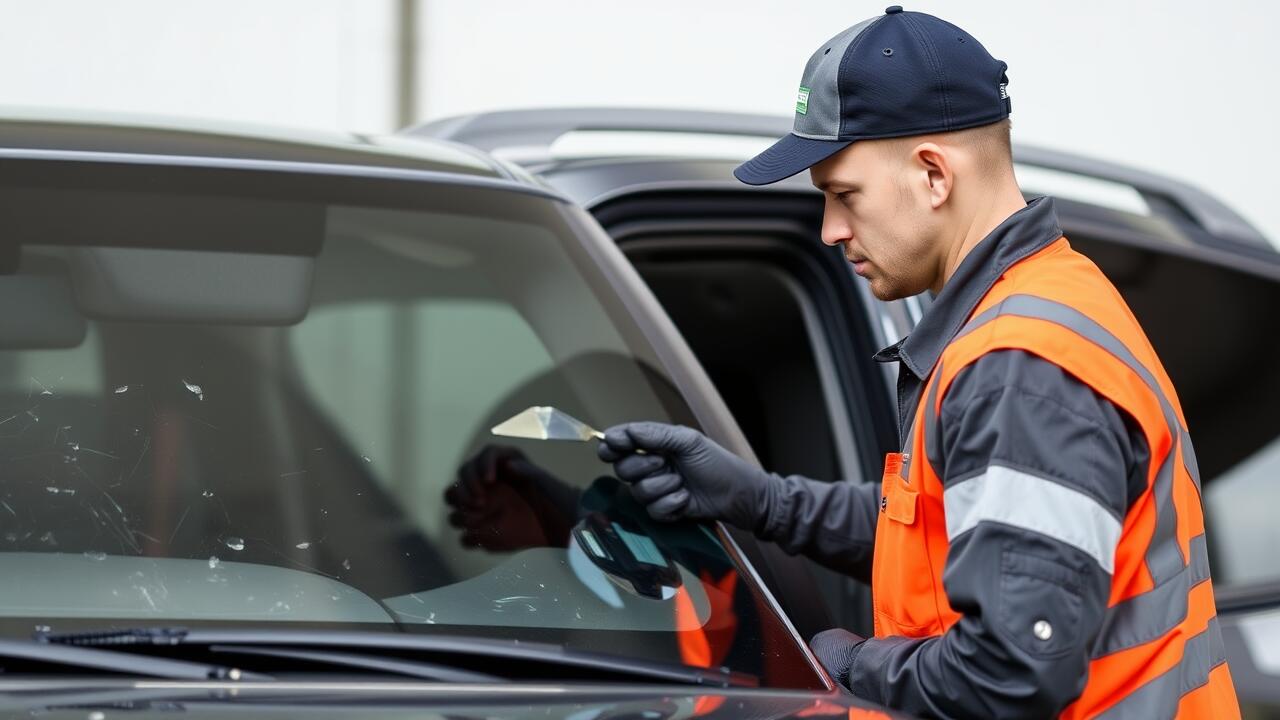
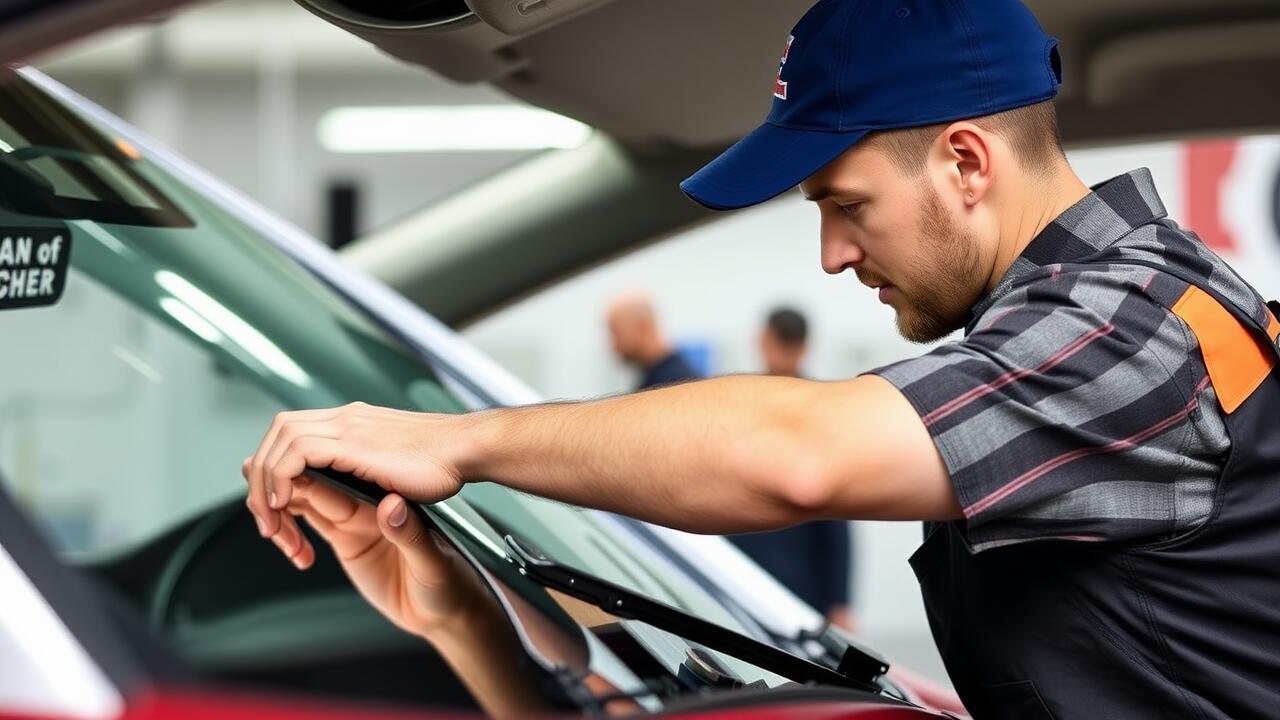
Achieving a smooth application during a windshield repair is crucial for ensuring a seamless finish. Begin by cleaning the damaged area thoroughly to remove any dirt or debris. This step not only enhances adhesion but also prevents air bubbles from forming underneath the resin. Once the surface is prepped, apply the resin according to the manufacturer's instructions, focusing on filling the chip completely. A controlled and steady hand will make a noticeable difference in the final appearance.
After applying the resin, use a plastic injector to push it into the crack. This method helps eliminate air pockets while ensuring even distribution of the resin. If the chip is deep or broad, multiple applications may be necessary to achieve an optimal fill. Once the resin is in place, avoid disturbing the repair area to maintain smoothness. Patience during this phase leads to a more professional result.
Tips for a Flawless Finish
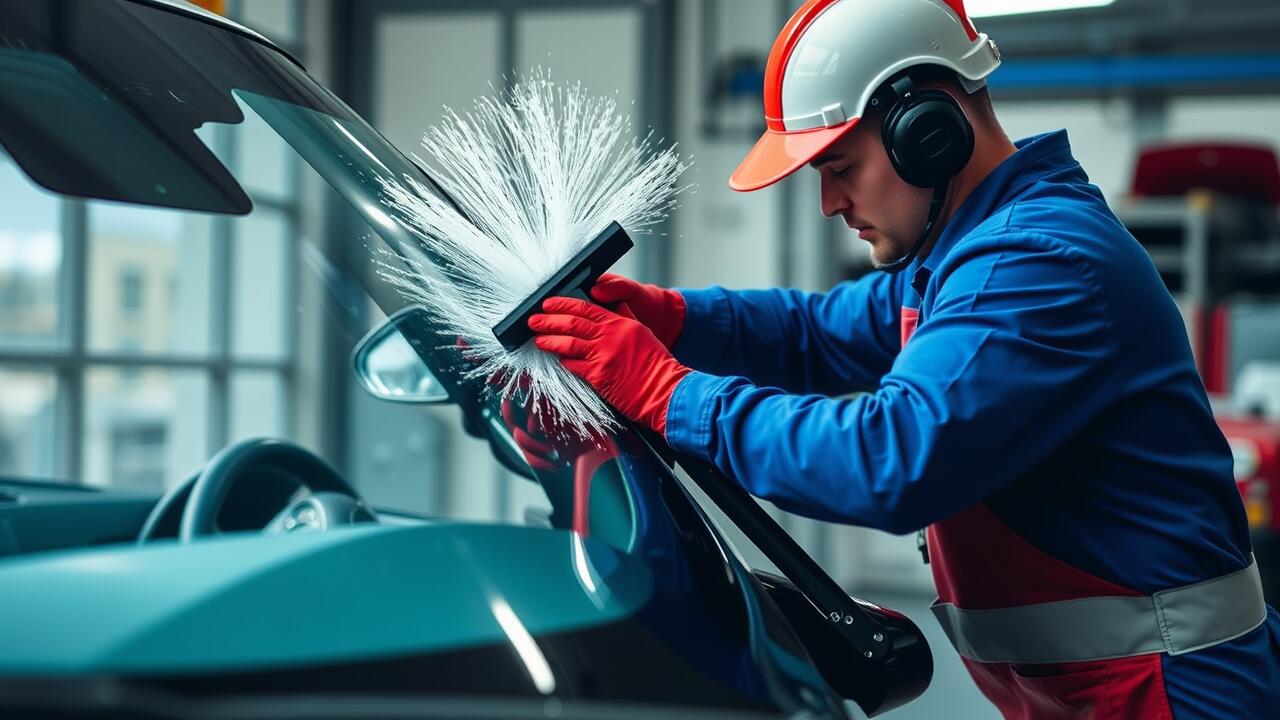
Achieving a flawless finish during windshield repair requires careful attention to detail. Begin by working in a clean environment to prevent dust and debris from contaminating the resin. Ensure that the chip is completely clean; use a soft cloth to wipe away any dirt or grease. The absence of contaminants will promote better adhesion and clarity.
When applying the resin, use precise techniques to minimize air bubbles and achieve an even spread. Slowly squeeze the resin into the chip, allowing it to fill all the voids and cracks. After application, avoid touching or manipulating the resin too much, as this can disrupt the curing process. Monitoring the windscreen’s surface during setting will help to reveal any imperfections, enabling timely touch-ups if necessary.
Curing the Resin
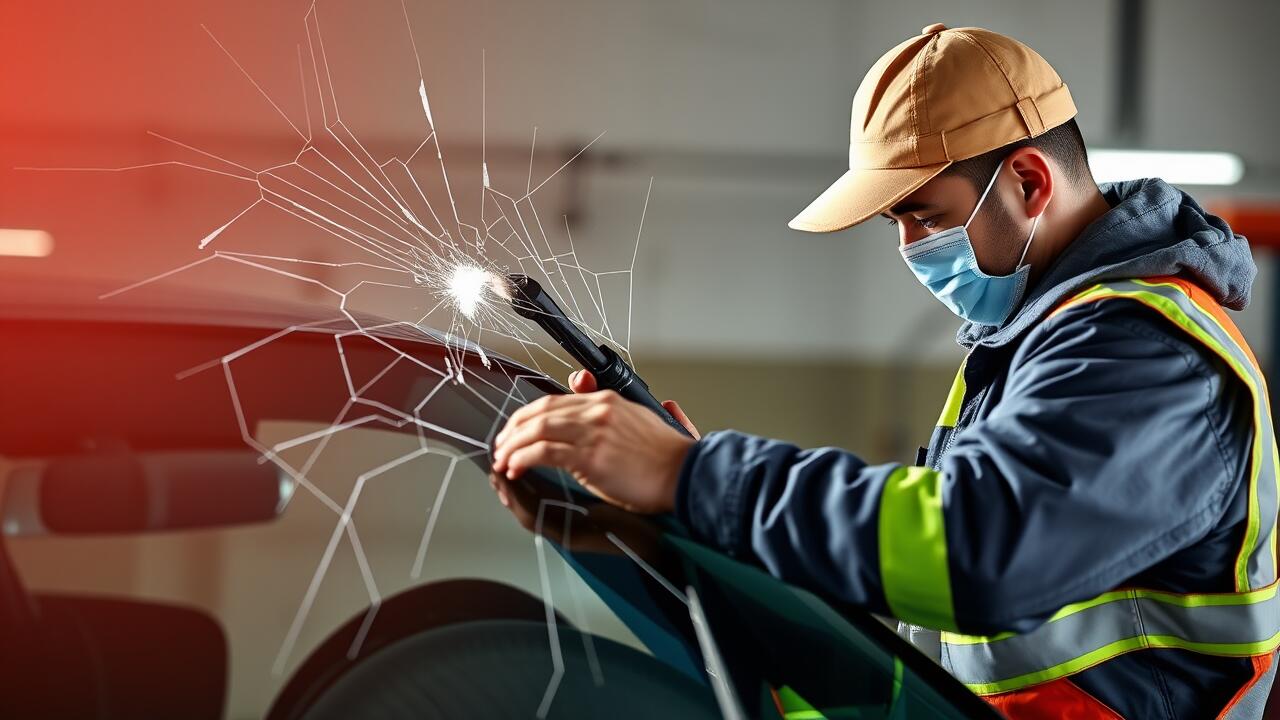
Curing the resin is a crucial step in the windshield repair process. Proper curing ensures that the resin adheres firmly to the glass and fills in any cracks or chips effectively. Many repair kits include UV resin that requires exposure to sunlight for optimal setting. Choosing a day with plenty of sunlight can enhance the curing process. If sunlight isn’t available, some kits provide alternative curing lights that can achieve the desired result.
Monitoring the curing time specified by the manufacturer is essential. Typically, UV resin may require anywhere from a few minutes to several hours depending on the product’s guidelines and the weather conditions. After the resin has cured, it is advisable to check for any remaining imperfections. A thorough assessment will help determine if additional applications are necessary for a seamless finish. Applying consistent pressure during the initial setting phase can also contribute to a more polished final appearance.
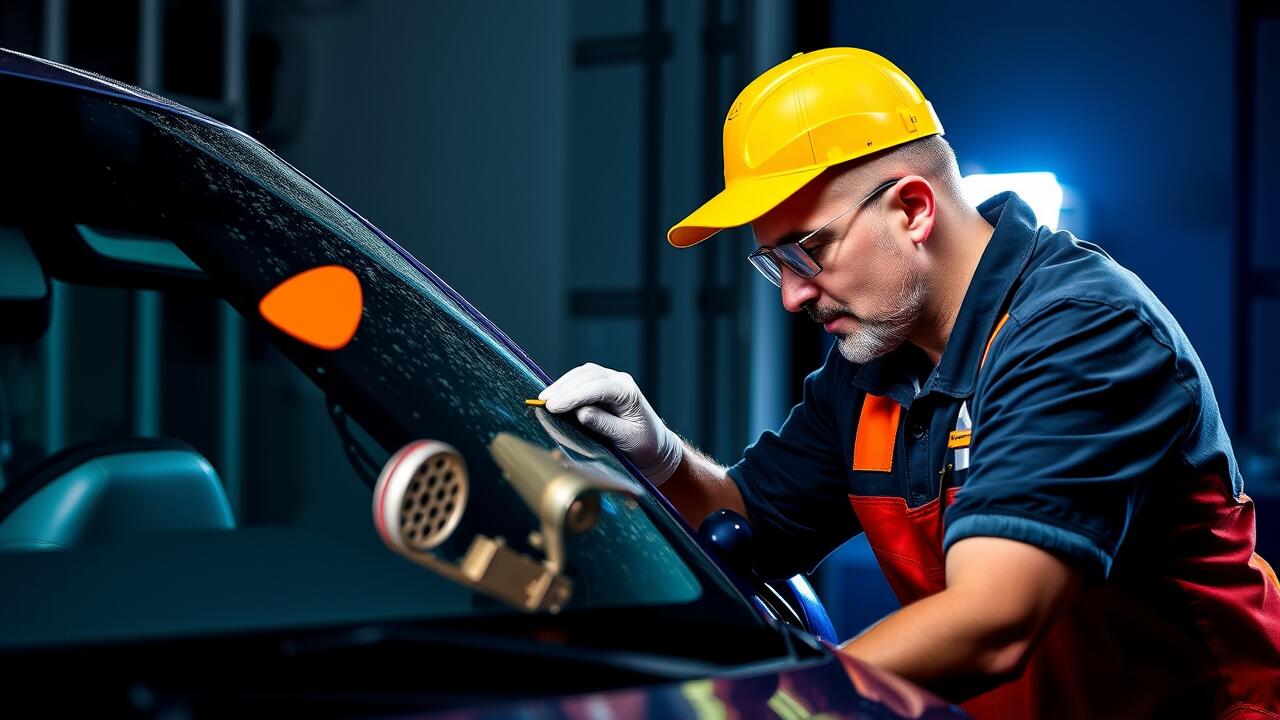
Methods to Ensure Proper Setting
Properly setting the resin is crucial for a successful windshield repair. Ensure that the temperature is appropriate for curing, generally between 50°F and 75°F. Avoid direct sunlight during application, as UV rays can cause the resin to cure too quickly, resulting in an uneven finish. If necessary, use a shaded area or cover the repair site with a towel to maintain optimal conditions.
Curing time can vary depending on the product used. Refer to the instructions provided with your windshield repair kit for specific guidelines. Allow enough time for the resin to set completely before removing any adhesion strips or tools. A thorough inspection after curing can help identify any areas that may require additional attention, ensuring a long-lasting repair.
FAQS
Can I repair a windscreen chip myself?
Yes, you can repair a windscreen chip yourself using a suitable repair kit designed for this purpose.
What should I look for in a windscreen repair kit?
Look for key features like resin quality, ease of application, instructions, and any additional tools that may be included in the kit.
How do I ensure a smooth application of the repair resin?
To achieve a smooth application, clean the area around the chip thoroughly, follow the kit's instructions carefully, and apply the resin evenly using the provided tools.
What are some tips for achieving a flawless finish?
Make sure to work in a shaded area to avoid premature curing, apply the resin slowly, and remove any excess resin immediately after application.
How do I cure the resin properly?
Ensure proper setting by following the manufacturer's instructions, which may include using UV light or allowing the resin to cure for a specified amount of time without exposure to moisture.