Table Of Contents
Ensuring Proper Compaction
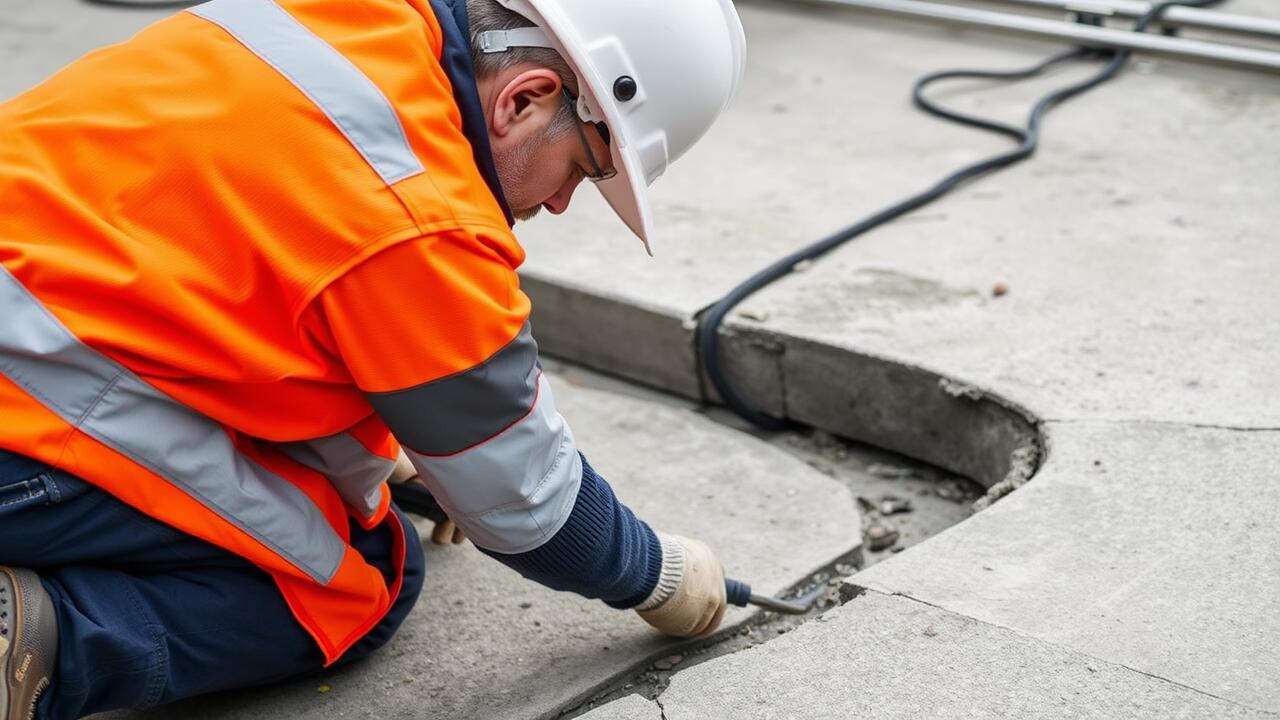
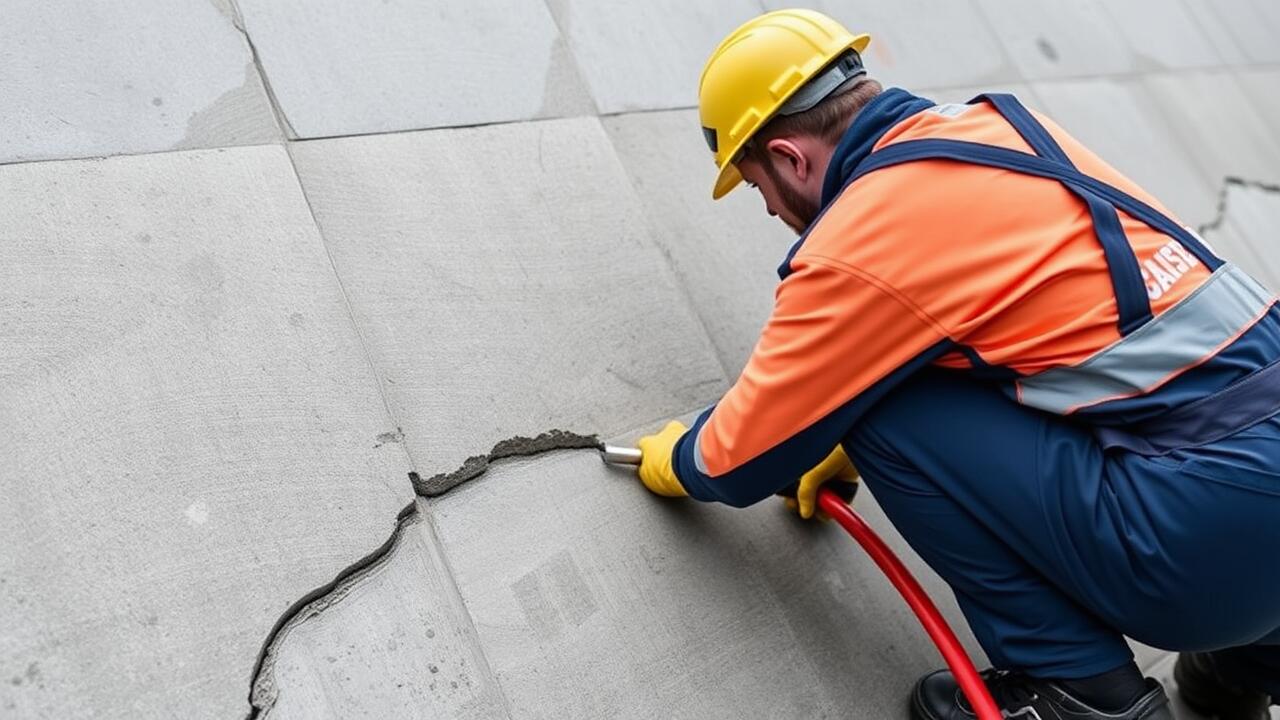
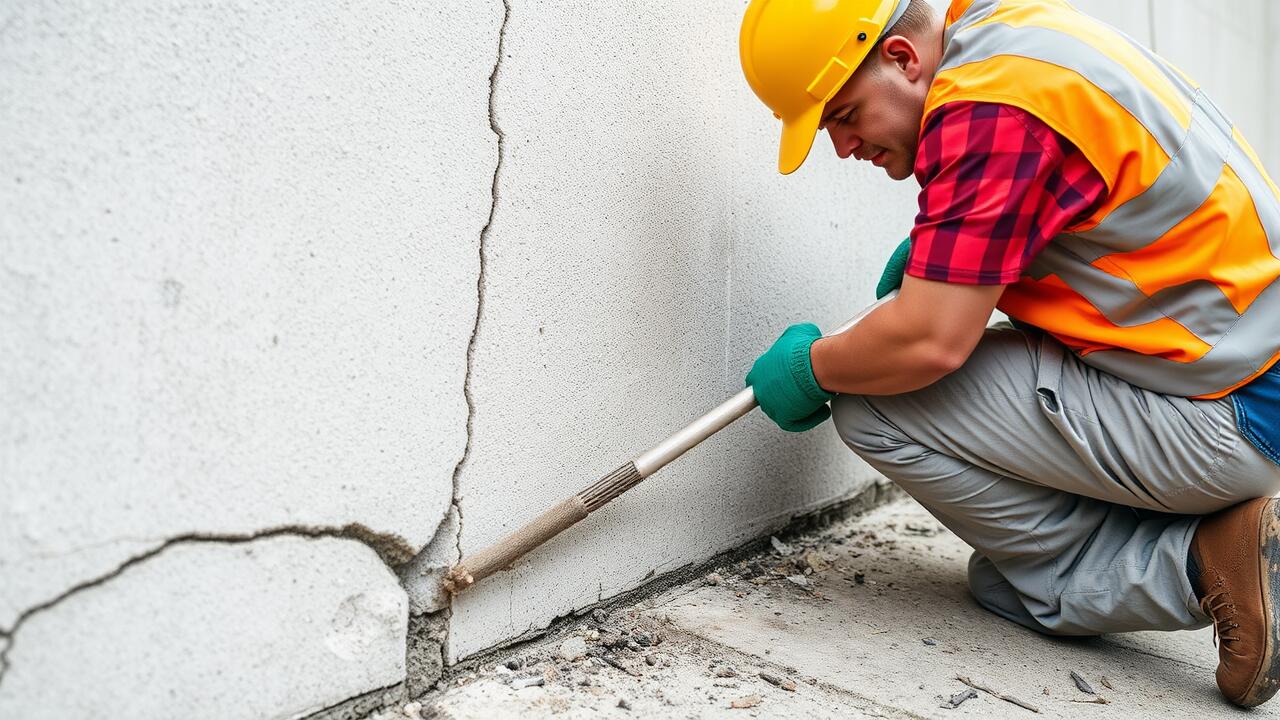
Proper compaction is crucial when filling a 4-inch gap in concrete. Insufficient compaction can lead to settling or cracking over time. It's essential to remove any debris or loose material from the gap before compacting. Ensuring a solid base will help prevent future issues. Use a suitable compactor or hand tamper to compress the filler material evenly. This step is particularly important when dealing with areas that will bear weight or experience foot or vehicle traffic.
In situations where the gap is part of a larger repair project, such as crack repair, thorough compaction becomes even more vital. Addressing existing cracks while ensuring the filler is compacted correctly will promote a longer-lasting repair. Regularly check the compaction as you progress to avoid any discrepancies. A well-compacted fill not only boosts the integrity of the repair but also contributes to a uniform surface that adheres well to the surrounding concrete.
Tools to Use for Effective Compaction
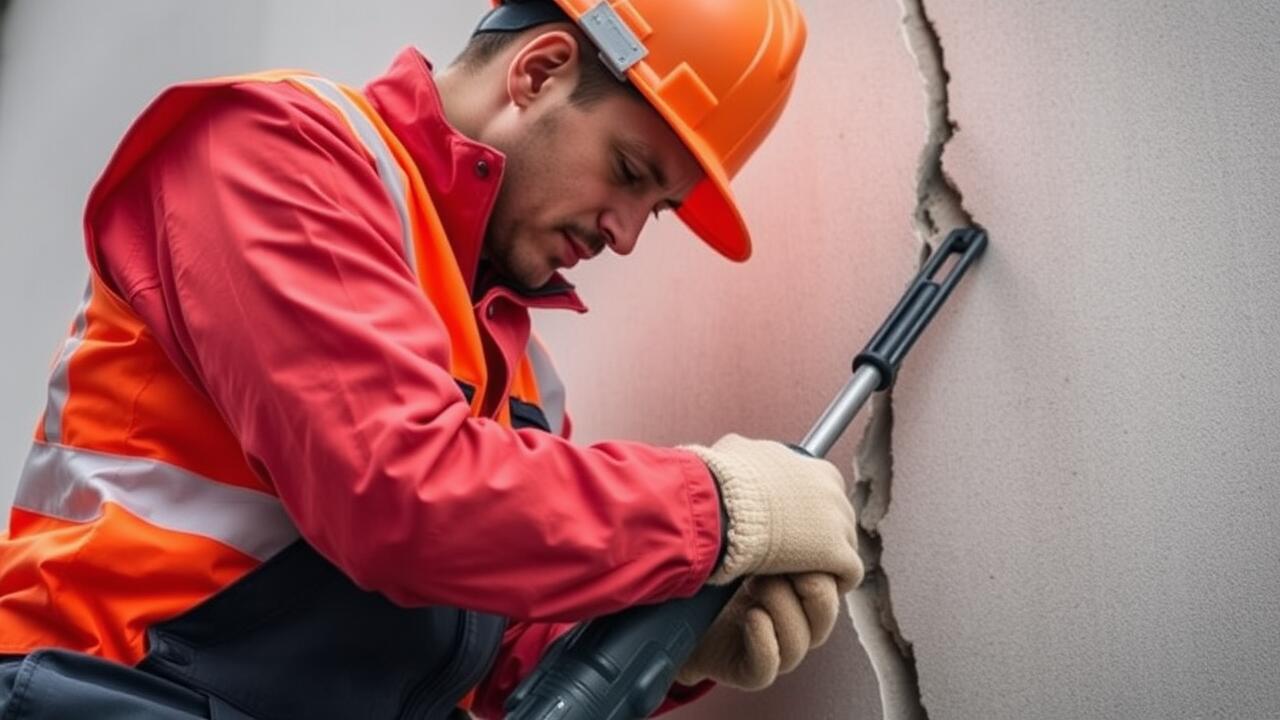
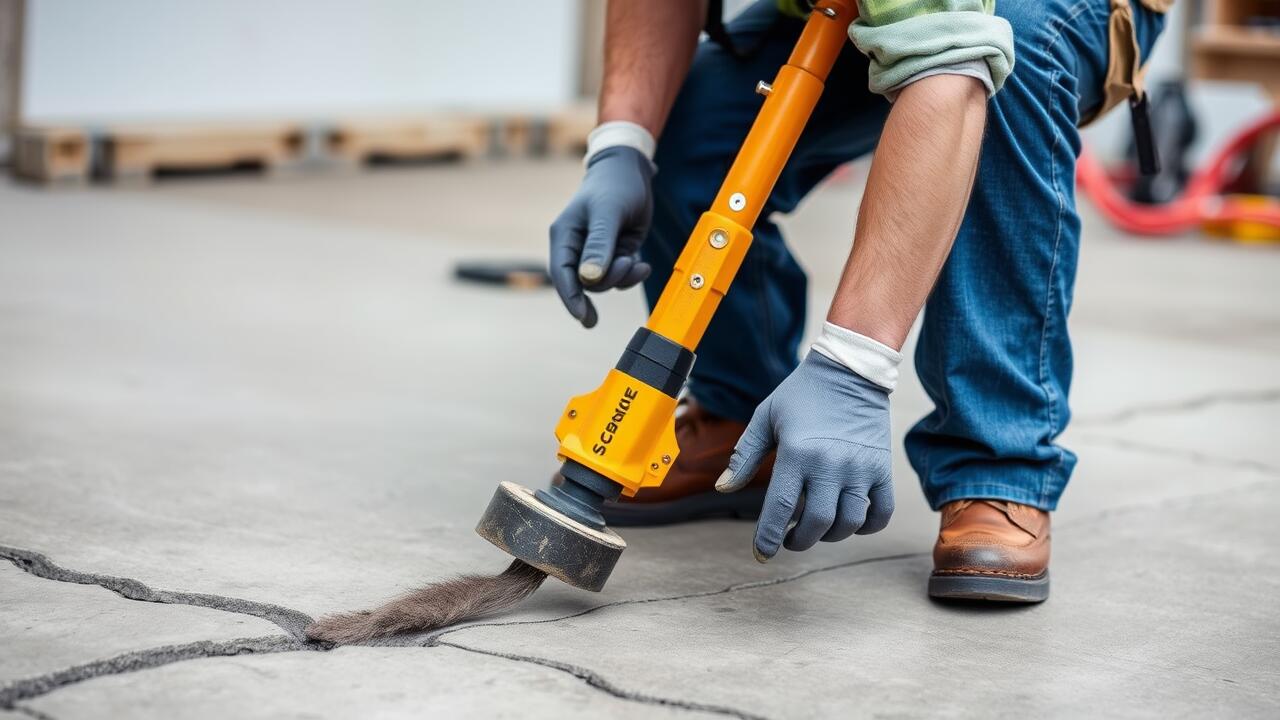
For effective compaction when filling a four-inch gap in concrete, selecting the right tools is essential. A plate compactor is commonly used for its ability to deliver high-frequency vibrations, which help settle the material evenly. Ensure the plate compactor is properly sized for the gap, as too small of a machine can lead to inadequate compaction and potential voids. Additionally, hand tampers are useful for smaller areas or for reaching tight spots where larger machines cannot operate.
Using these tools correctly can significantly enhance the durability of the filled area. If the gap includes cracked sections, applying crack repair solutions prior to filling is advisable. This ensures a solid foundation and prolongs the life of the repair. Always follow the manufacturer's guidelines for your chosen tools to achieve the best results in compaction and surface integrity.
Finishing the Surface
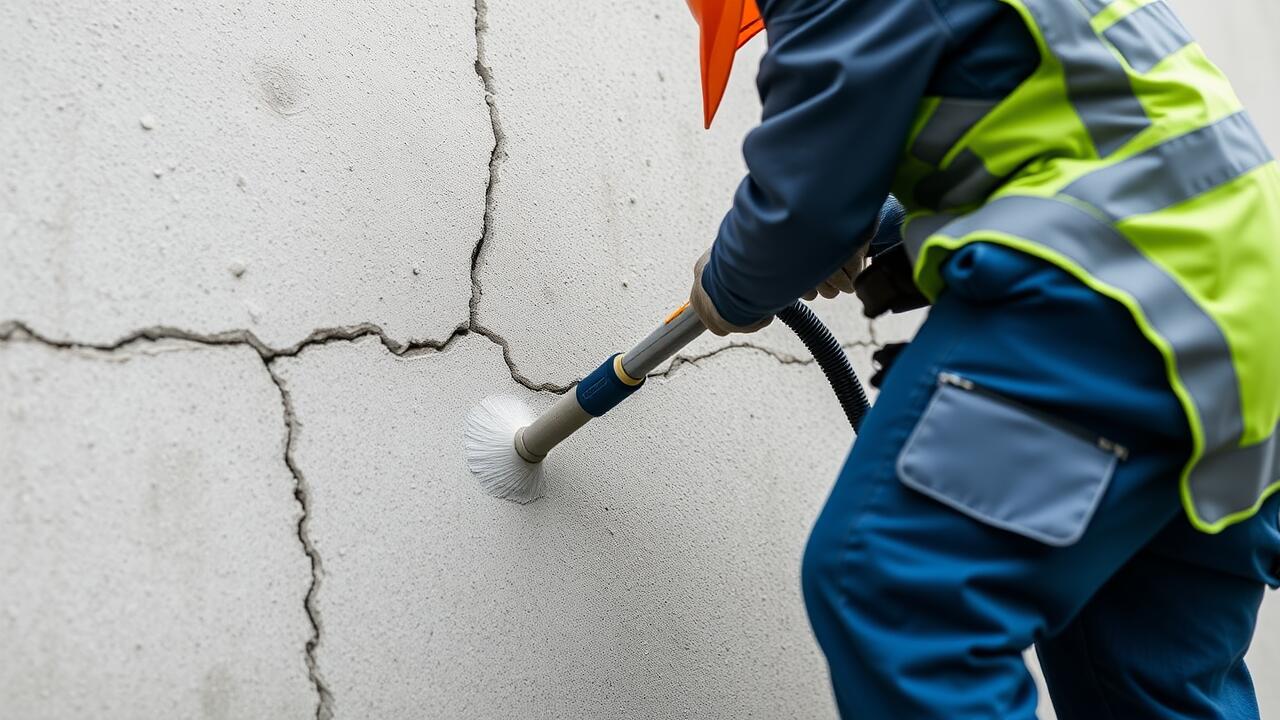
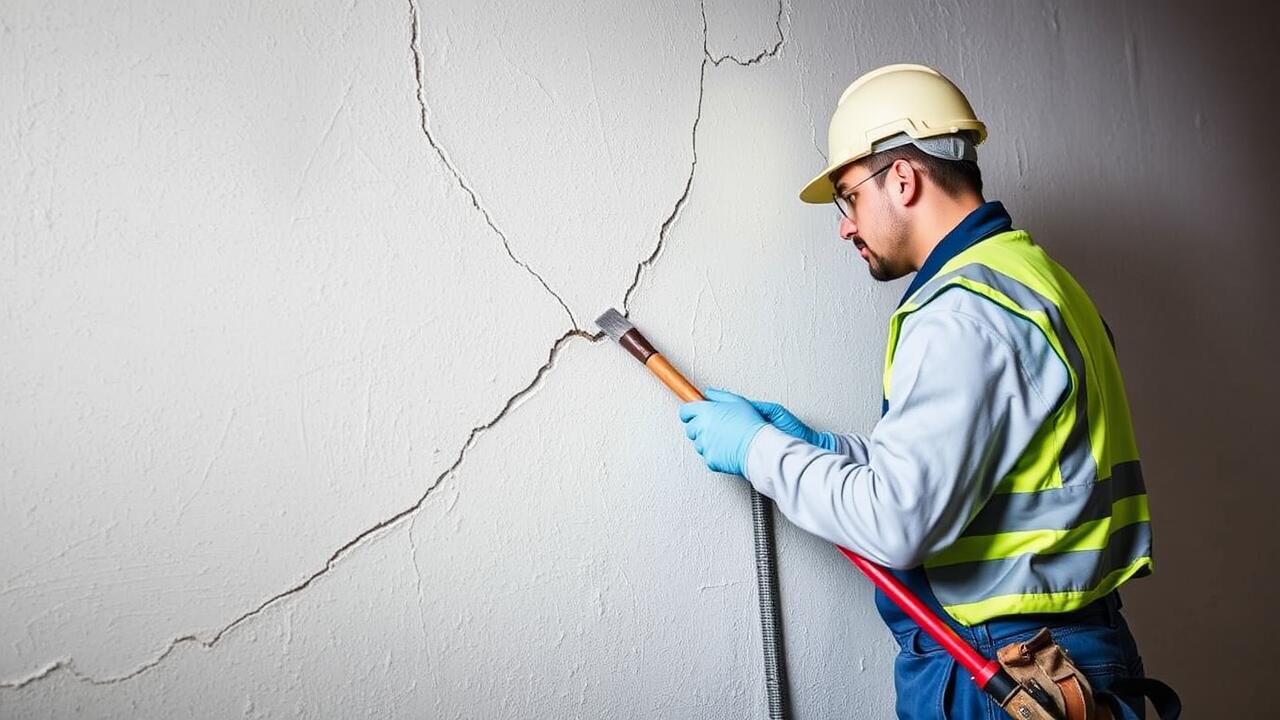
After filling the gap in concrete, it's important to focus on finishing the surface to achieve a smooth and even appearance. Start by using a trowel to spread the filler material evenly across the surface. This step helps ensure that the new material blends seamlessly with the surrounding concrete. For larger areas, consider using a finishing broom to create a texture that matches the existing surface. This can be especially useful in areas where slip resistance is necessary.
Proper finishing will also enhance the durability of the repair. After smoothing the surface, allow the filler to cure according to the manufacturer's specifications. If the gap has been filled as part of a larger crack repair project, pay attention to surrounding areas that may require additional finishing. Keeping the surface consistent not only improves aesthetics but also prevents water infiltration and further damage.
Smoothing and Leveling Techniques
Smoothing and leveling the surface after filling a gap in concrete is crucial for achieving a uniform appearance. Start by using a trowel or a float to press down the filler, ensuring that it compacts evenly into the gap. Work at a slight angle to eliminate excess material and create a smooth finish. If the repaired area is substantial, consider using a larger level to help guide the surface. This technique not only enhances the overall look but also strengthens the patch against future damage.
For best results in crack repair, always pay attention to the curing process. After leveling, it may be beneficial to lightly mist the surface with water to aid the bonding of the filler. Cover the area with plastic sheeting to retain moisture and protect it from the elements. Regularly check the patch as it cures to ensure it remains free of debris or disturbances. Following these smoothing and leveling techniques will set the foundation for a durable and lasting repair.
Curing the Filler
Curing the filler effectively is essential for the long-term durability of any concrete repair, especially in scenarios involving crack repair. The curing process helps to maintain moisture in the filler material, ensuring optimal hydration and strength development. Typically, it's recommended to keep the area covered for at least a week to prevent the filler from drying out too quickly. This can be accomplished using plastic sheeting or wet burlap to maintain a consistent moisture level.
Monitoring the temperature conditions during the curing period is important. Extreme heat can accelerate drying times, while cold temperatures can significantly delay the process. It is advisable to implement curing compounds that form a film on the surface of the filler, which aids in moisture retention. By implementing these best practices for curing times, you can help ensure a solid, long-lasting repair.
Best Practices for Curing Times
Proper curing times are essential for ensuring the durability and longevity of the concrete filler used in gap repairs. After filling the gap, it is crucial to allow sufficient time for the material to set and gain strength. Generally, the initial curing period should last at least 24 to 48 hours, during which the filler should be protected from water and extreme temperatures. Monitoring the ambient conditions can help maintain an optimal environment for effective curing.
In addition to the initial curing phase, it is advisable to keep the filled area moist for several days. This practice is particularly important in warmer and drier climates where evaporation can occur more rapidly. Incorporating curing compounds can also enhance moisture retention. For projects focusing on crack repair, adhering strictly to the recommended curing times ensures that the filler bonds effectively with the existing concrete, reducing the likelihood of future cracks and enhancing the overall integrity of the repaired area.
FAQS
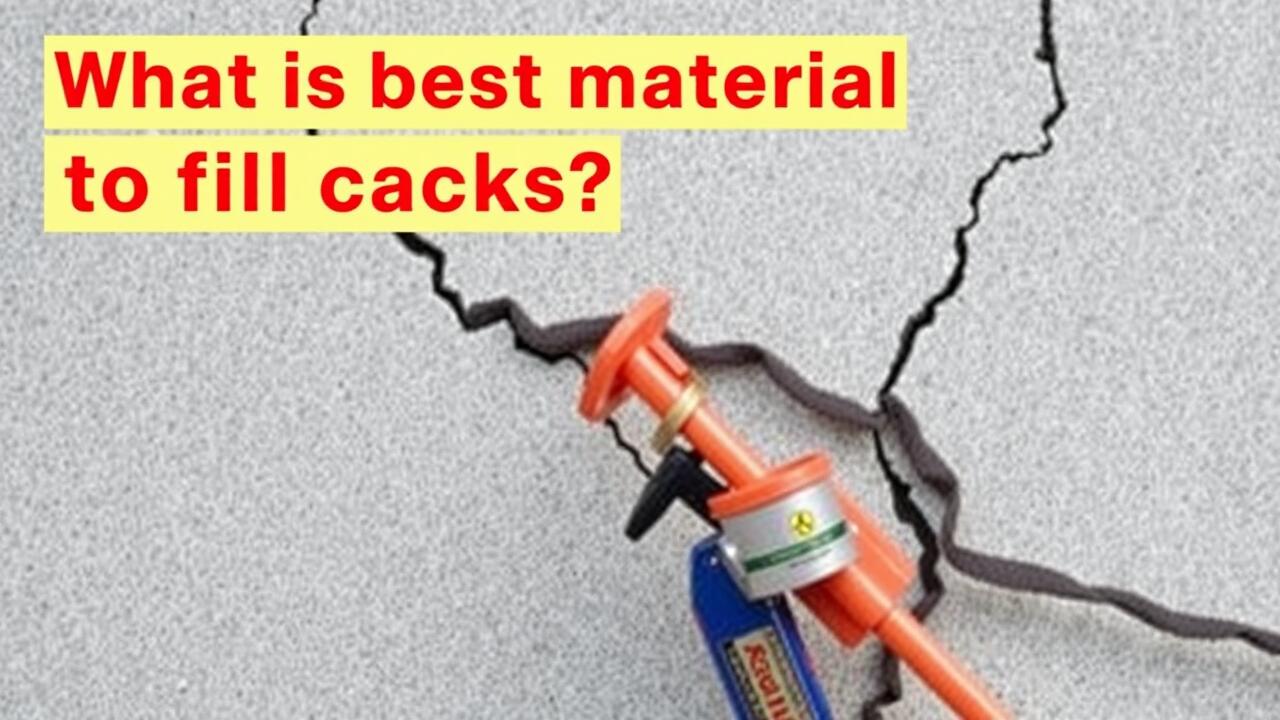
What materials can I use to fill a 4 inch gap in concrete?
You can use a variety of materials such as concrete mix, epoxy filler, or a combination of sand and cement for filling a 4 inch gap in concrete.
How do I ensure proper compaction when filling the gap?
To ensure proper compaction, use a compactor tool or tamper to compress the filling material firmly into the gap, ensuring there are no air pockets.
What tools are recommended for smoothing and leveling the surface?
Recommended tools include a trowel, float, or a concrete finishing broom, which will help in achieving a smooth and level surface after filling the gap.
How long should I cure the filler after completing the job?
The curing time varies depending on the material used, but generally, you should allow the filler to cure for at least 24 to 48 hours before applying any load or stress.
Are there best practices for ensuring the filler cures properly?
Yes, it's best to keep the filled area moist during the curing process, avoid direct sunlight, and cover it with plastic sheeting or damp burlap to retain moisture.